OEM
BYD Atto 3
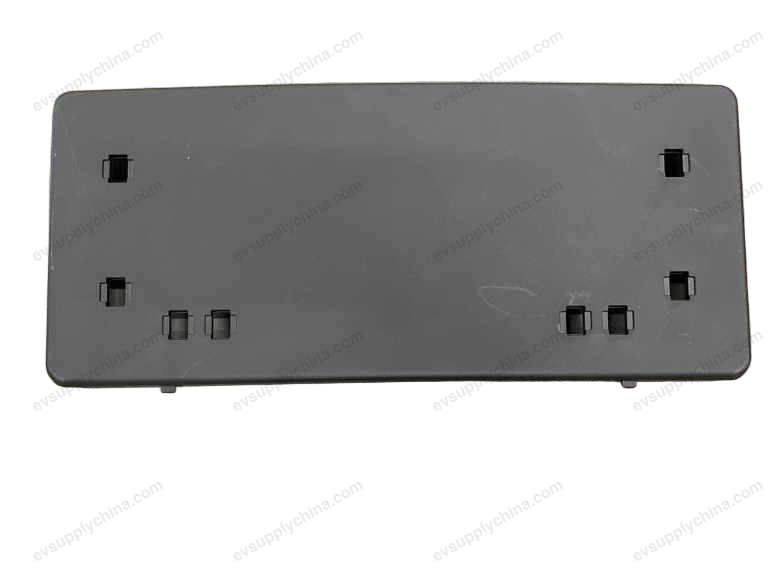
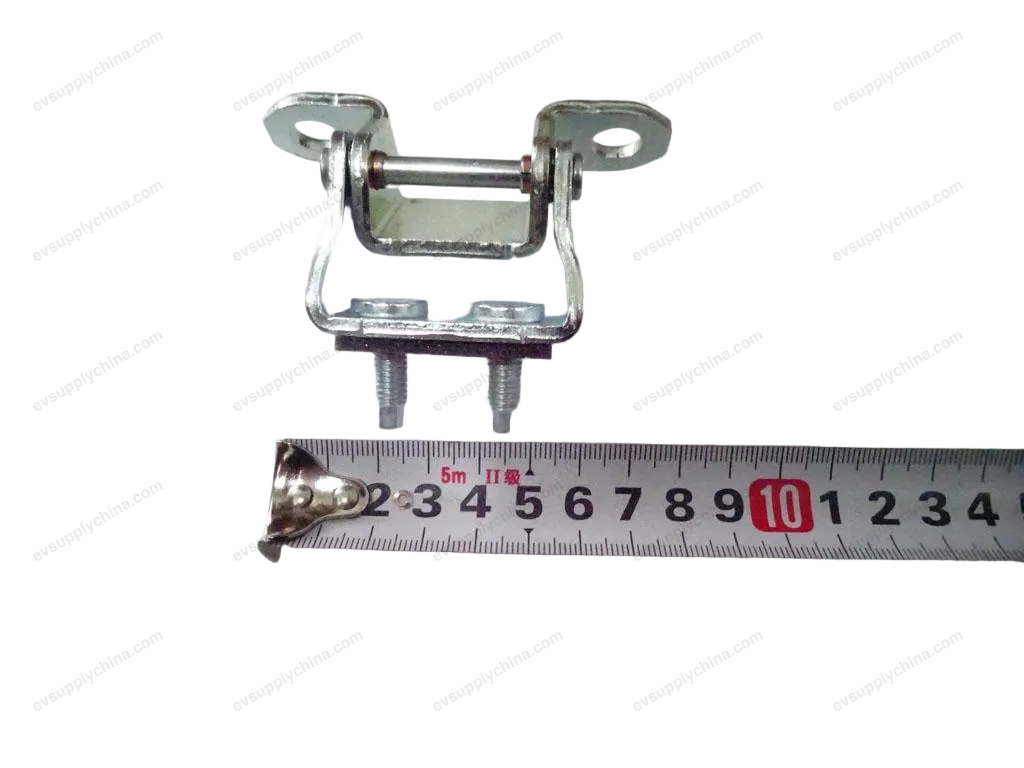
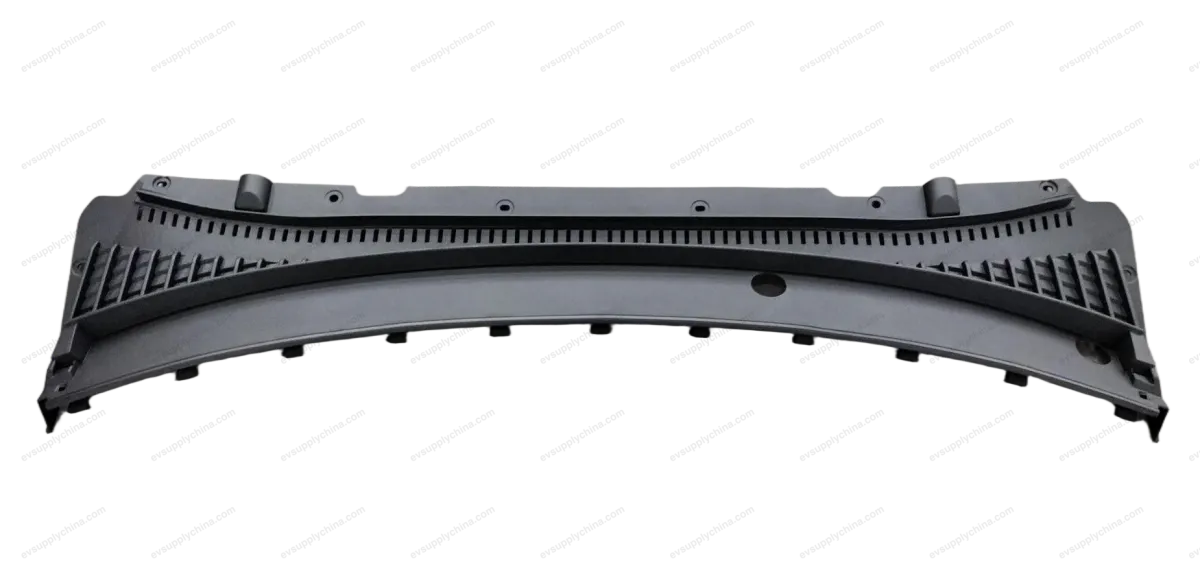
Left rear door handle assembly
OE / Material Codes
13168428-00SA3F-6205100DPrice on requestIn Stock
Technical Specifications
- Vehicle Model
- BYD Atto 3
- Steering Configuration
- Universal (Left & Right-Hand Drive)
- Category
- Exterior Body Parts
Shipping & Returns
Ships worldwide from China via air or sea freight. Standard delivery 5–30 business days, express 2–10 business days. Shipping cost is calculated at checkout.
7-day return window for unused items in original packaging. Contact us before returning any item.
Compatible Vehicles — Left rear door handle assembly
BYDYuan PLUS/Atto 3
2022–2025Left rear door handle assembly Workshop Guide — BYD Atto 3
Left Rear Door Outer Handle Assembly - Removal and Installation
Removal
- Raise the left rear door glass to the limit position.
- Remove the left rear door sealing plug I. See Left Rear Door Sealing Plug I - Removal and Installation
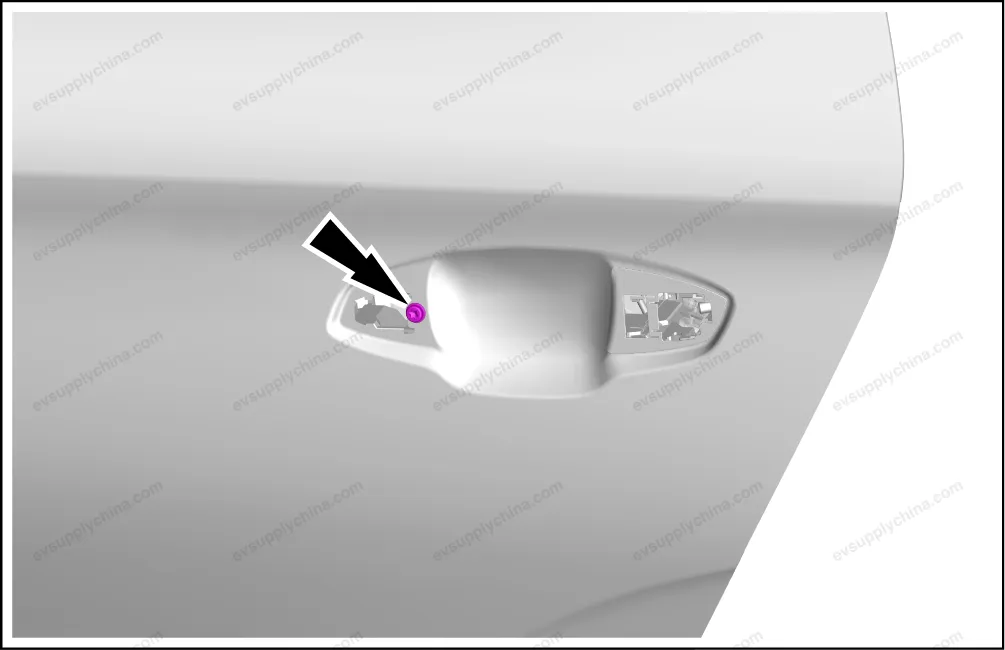
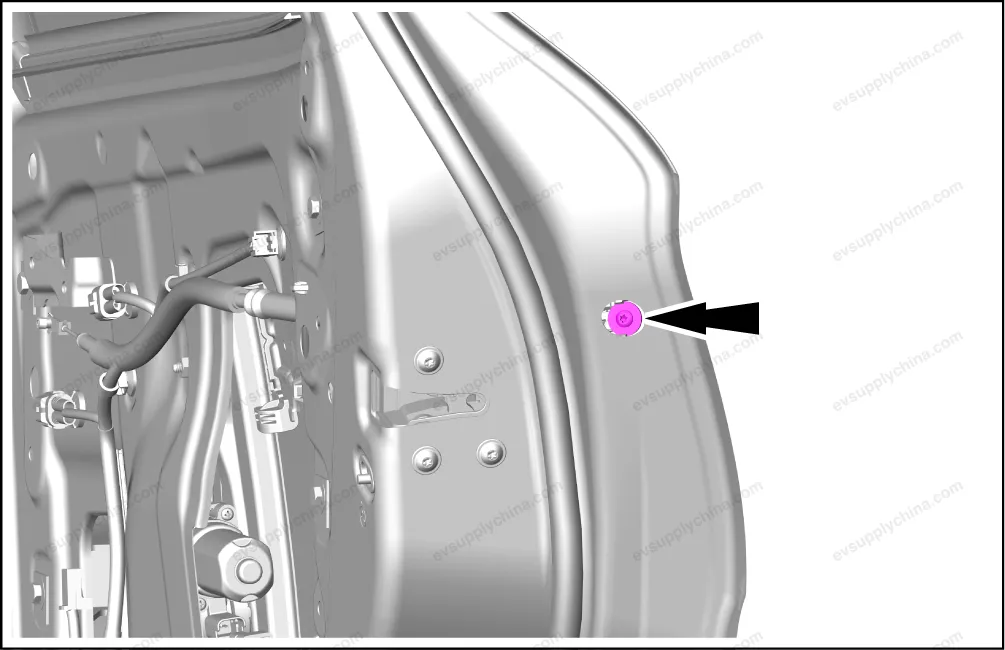
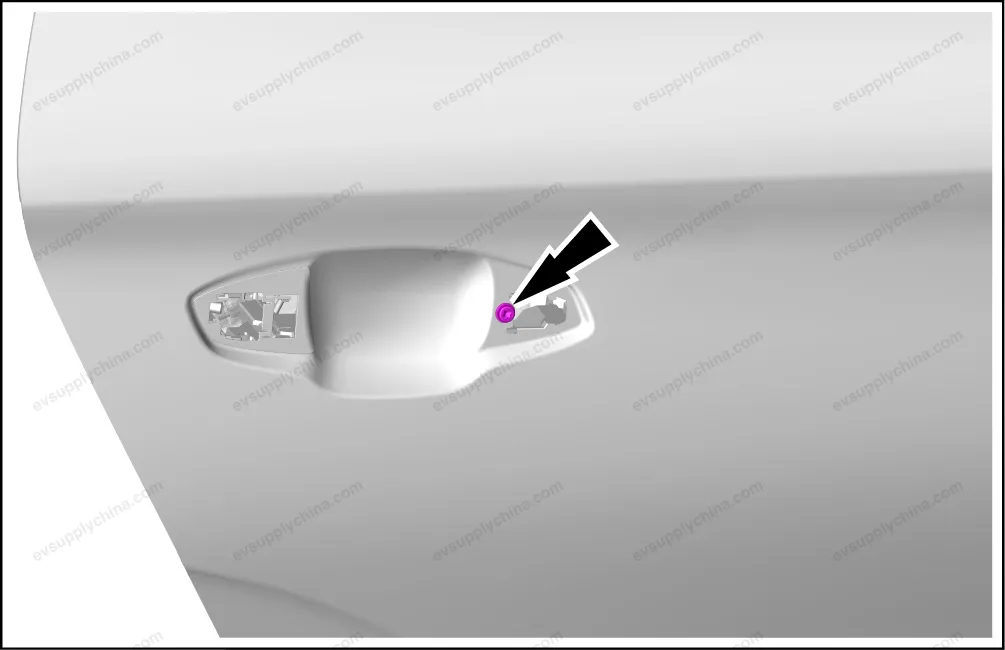
- Take out 1 screw cover, and loosen 1 fixing screw of the left rear door outer handle assembly.
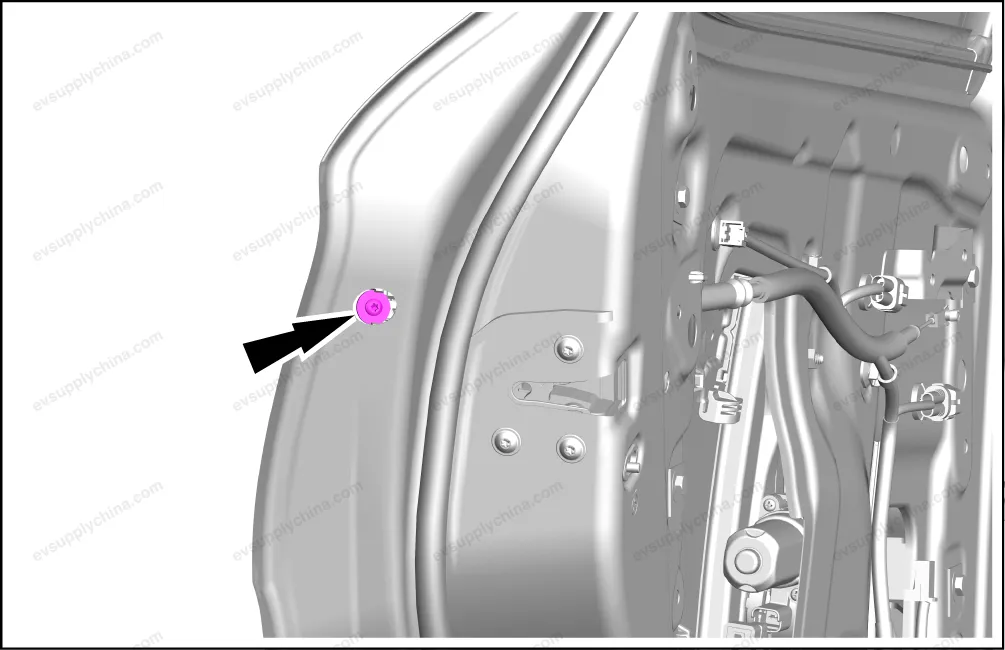
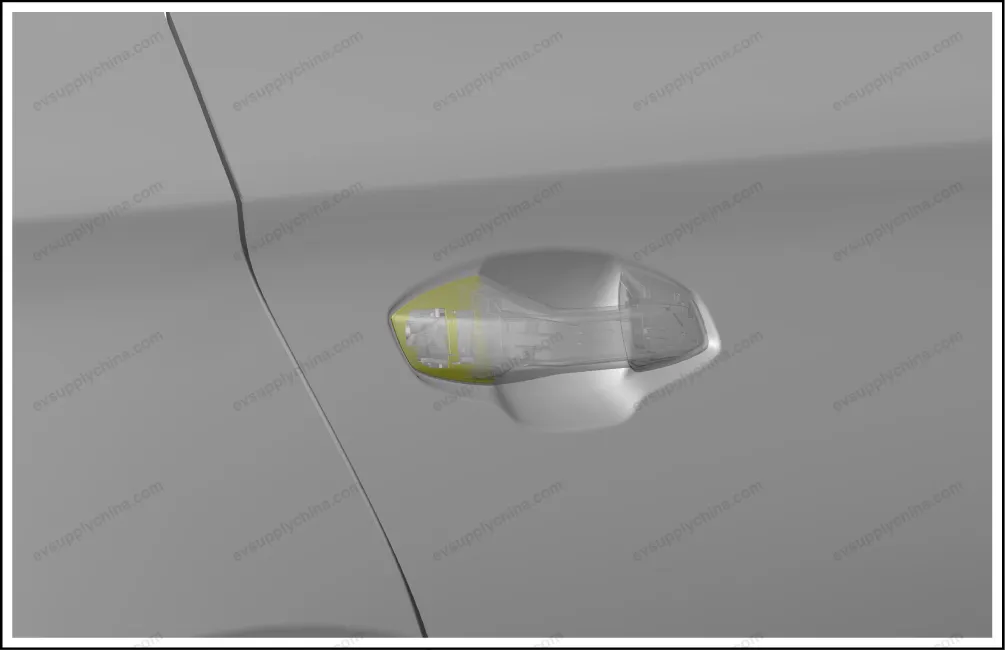
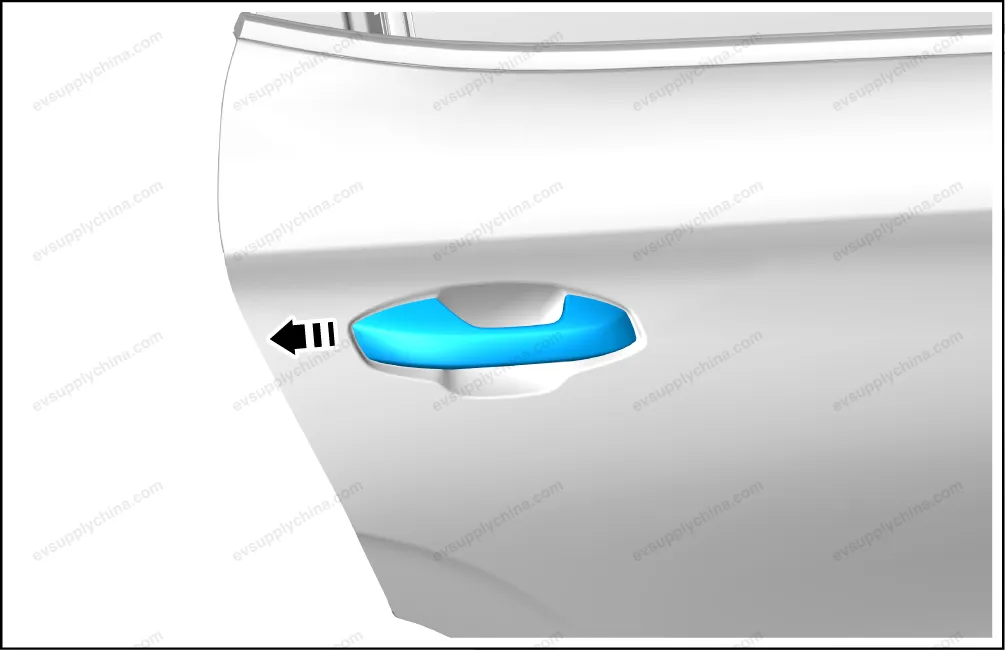
- Pull the outer handle, and take out the plug.
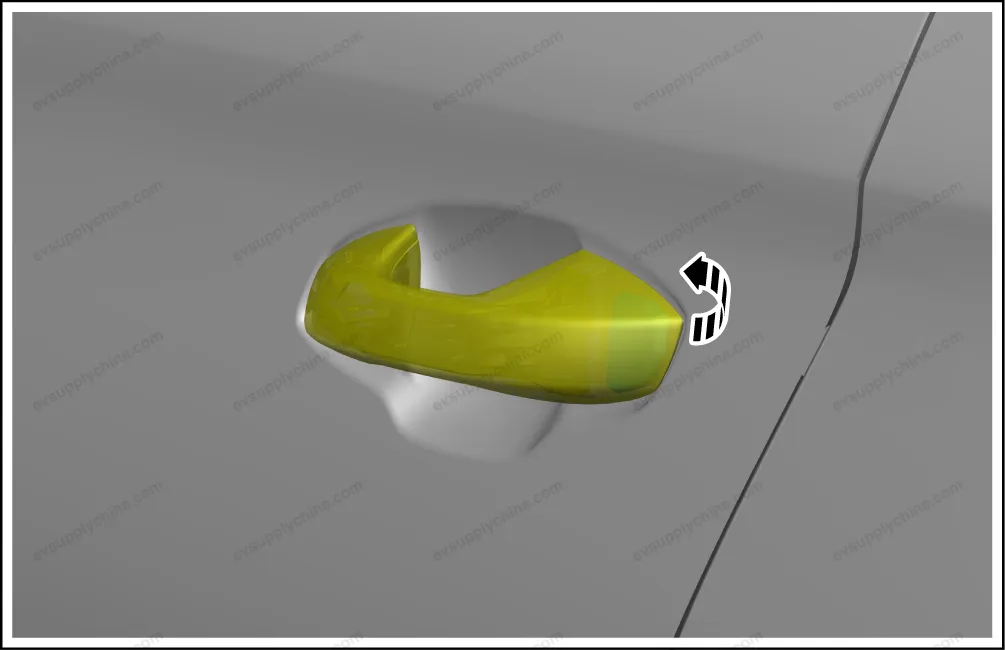
- Detach the outer handle gasket.
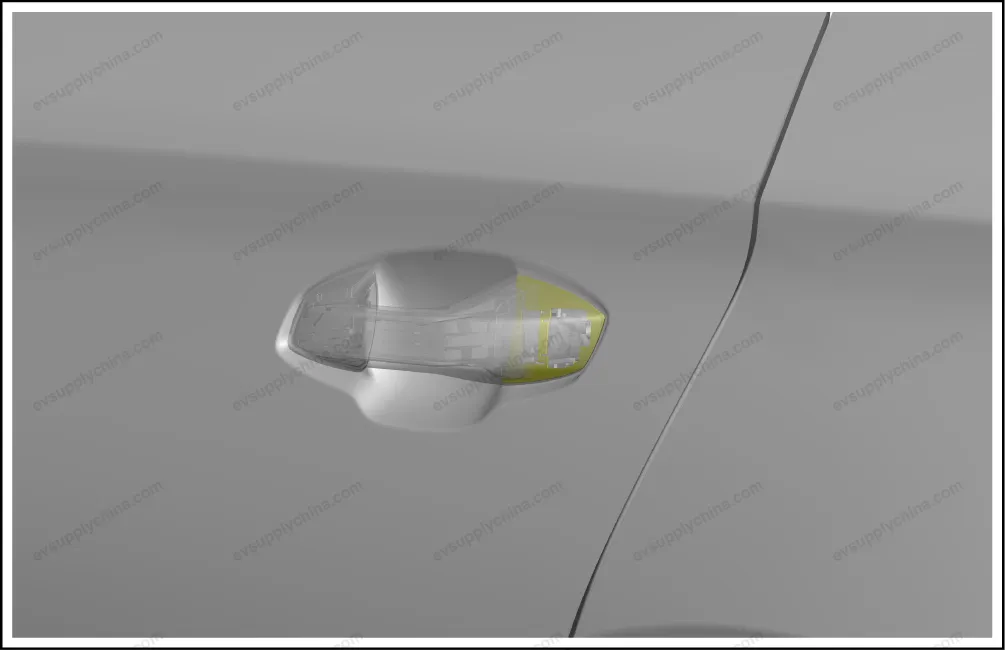
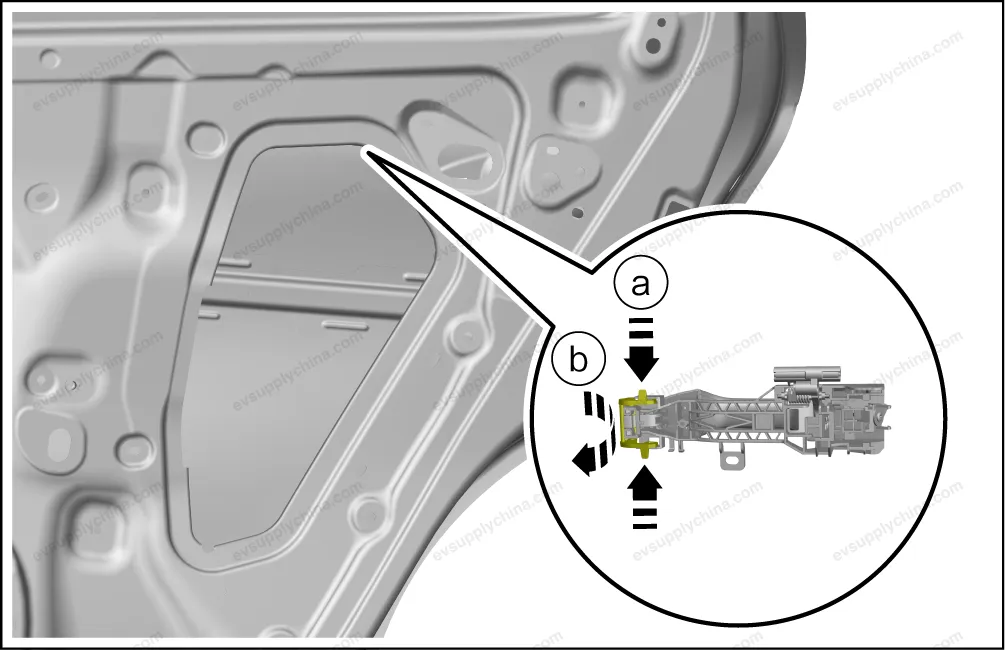
- Unlock the left rear door outer handle assembly.
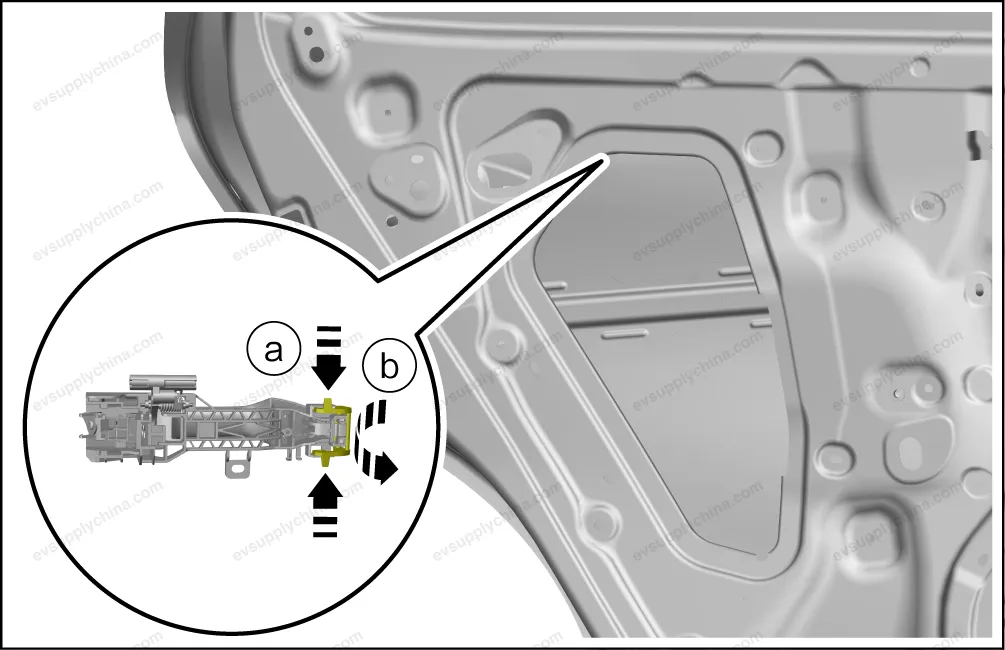
- Press the locking mechanism by hand.
- And turn the unlocking mechanism over at the same time.
- Take out the left rear door outer handle assembly.

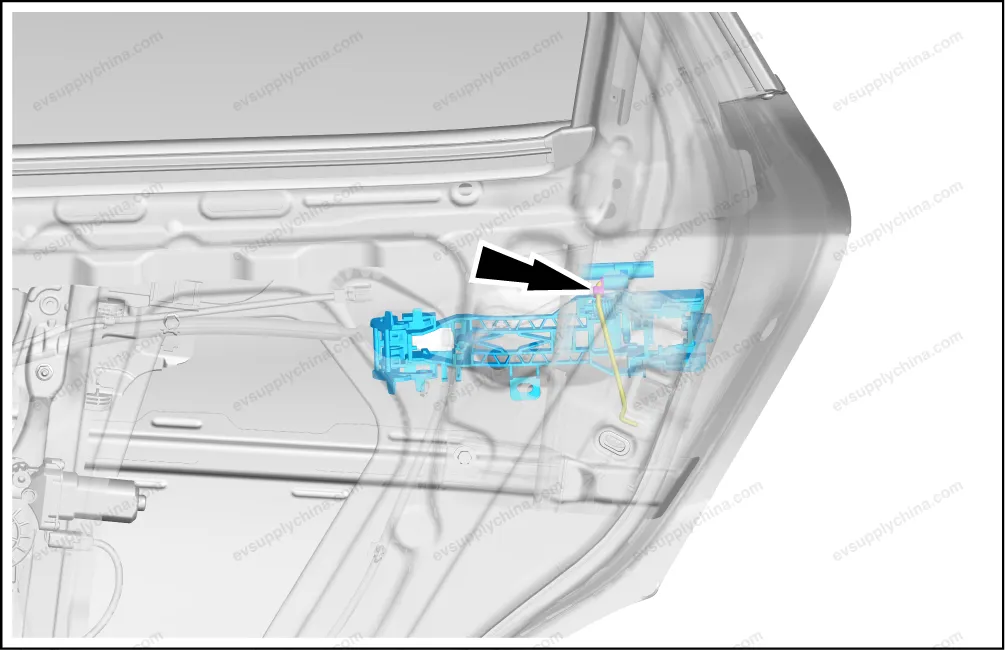
- Remove 1 fixing screw of the left rear door outer handle seat assembly.
- Remove the left rear door outer handle seat assembly.
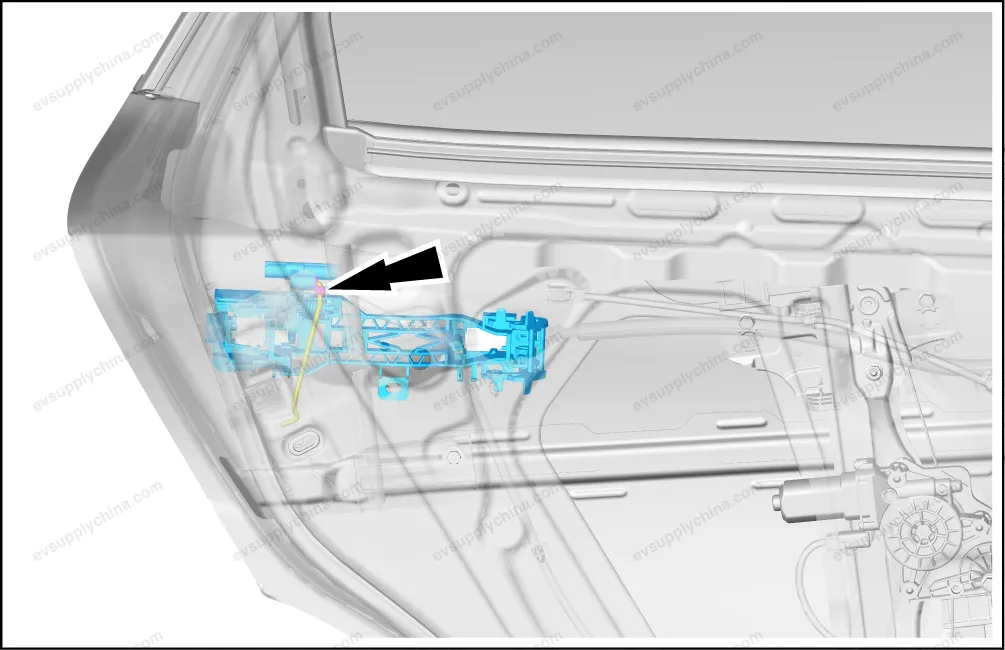
- Detach 1 fixing clip, and detach the left rear door lock outward-opening lever from the left rear door outer handle seat assembly.
- Take out the left rear door outer handle seat assembly.
Installation
- The installation steps are opposite to the removal steps.
Left Rear Door Handle Box Cover Plate - Removal and Installation
Removal
- Pry up the left rear door handle box cover.
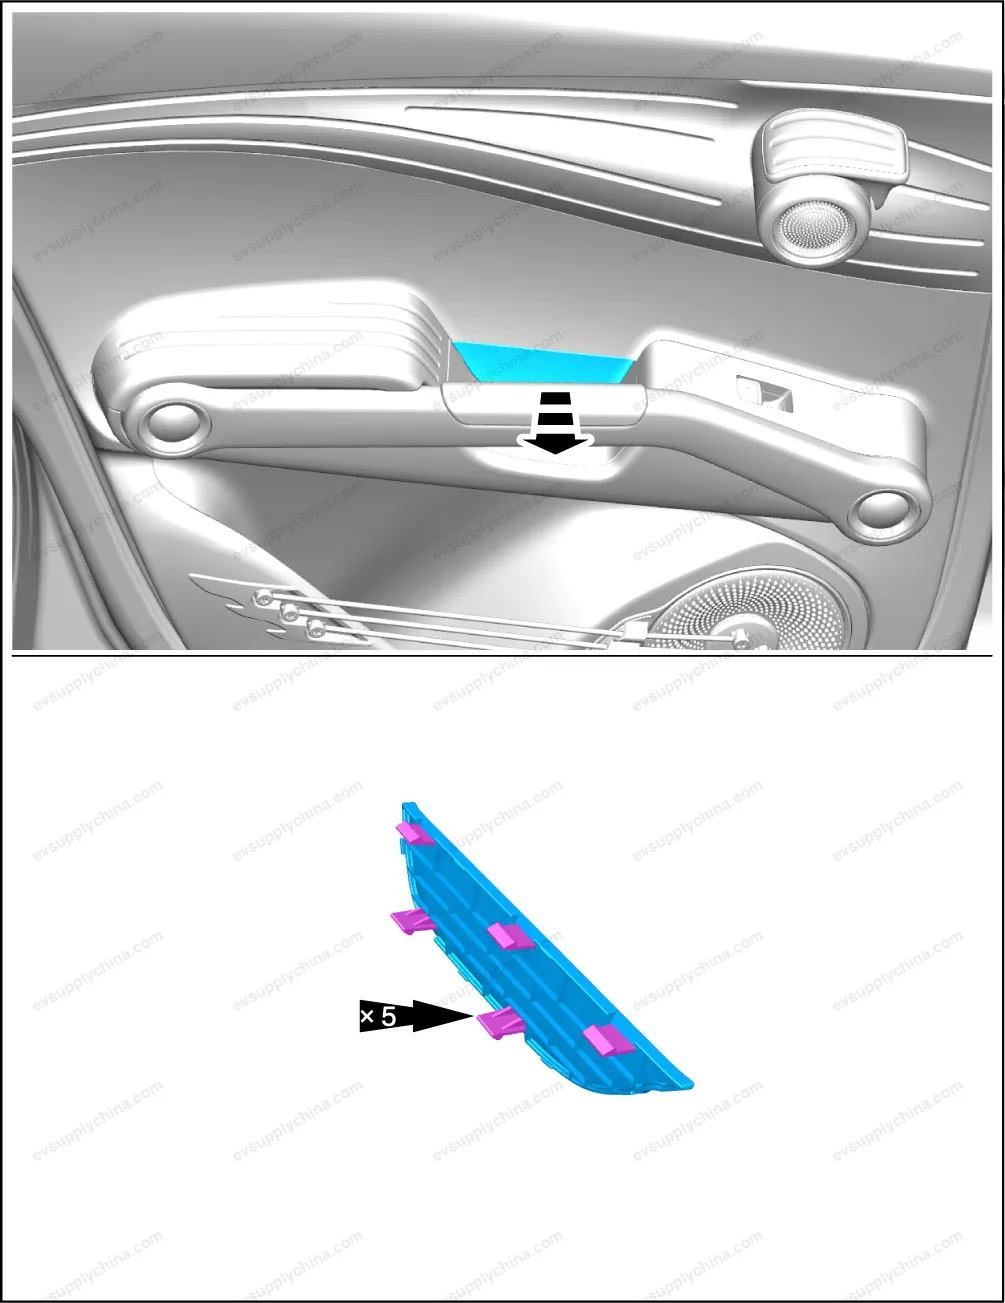
Caution Be careful when removing the trim panel to avoid scratching the surface material.
Installation
- The installation steps are opposite to the removal steps.
Right Rear Door Outer Handle Assembly - Removal and Installation
Removal
- Lift the right rear door glass to the limit position.
- Remove the right rear door sealing plug I. See Right Rear Door Sealing Plug I - Removal and Installation
- Take out 1 screw cover, and loosen 1 fixing screw of the right rear door outer handle assembly.
- Pull the outer handle, and take out the plug.

- Detach the outer handle gasket.
- Unlock the right rear door outer handle assembly.
- Press the locking mechanism by hand.
- And turn the unlocking mechanism over at the same time.
- Take out the right rear door outer handle assembly.
- Remove 1 fixing screw of the right rear door outer handle seat assembly.
- Remove the right rear door outer handle seat assembly.
- Detach 1 fixing clip, and detach the right rear door lock outward-opening lever from the right rear door outer handle seat assembly.
- Take out the right rear door outer handle seat assembly.
Installation
- The installation steps are opposite to the removal steps.