OEMPremium
BYD Atto 3
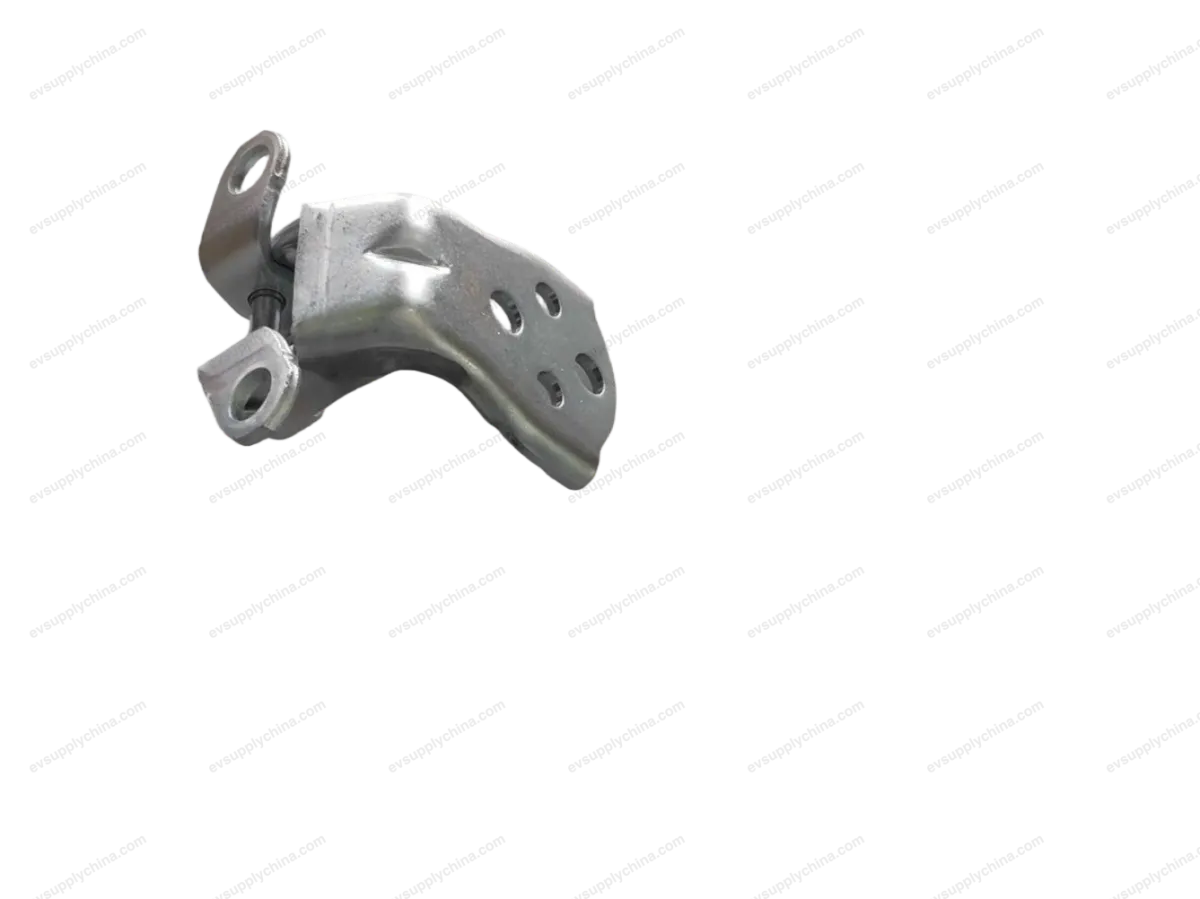
Left front door upper hinge assembly
OE / Material Codes
13165114-00ST-6106100C$4USD
In StockTechnical Specifications
- Vehicle Model
- BYD Atto 3
- Steering Configuration
- Universal (Left & Right-Hand Drive)
- Category
- Doors & Tailgates
Shipping & Returns
Ships worldwide from China via air or sea freight. Standard delivery 5–30 business days, express 2–10 business days. Shipping cost is calculated at checkout.
7-day return window for unused items in original packaging. Contact us before returning any item.
Compatible Vehicles — Left front door upper hinge assembly
BYDSong Plus New Energy DM-i
2021–2024BYDDolphin
2021–2024BYDSong Pro New Energy DM-i
2022–2024BYDYuan PLUS/Atto 3
2022–2024BYDSeagull
2023–2024BYDSong PLUS New Energy EV
2023–2024Left front door upper hinge assembly Workshop Guide — BYD Atto 3
Left Front Door Upper Hinge Assembly - Removal and Installation
Removal
- Remove the left fender assembly. See Left Fender Assembly - Removal and Installation
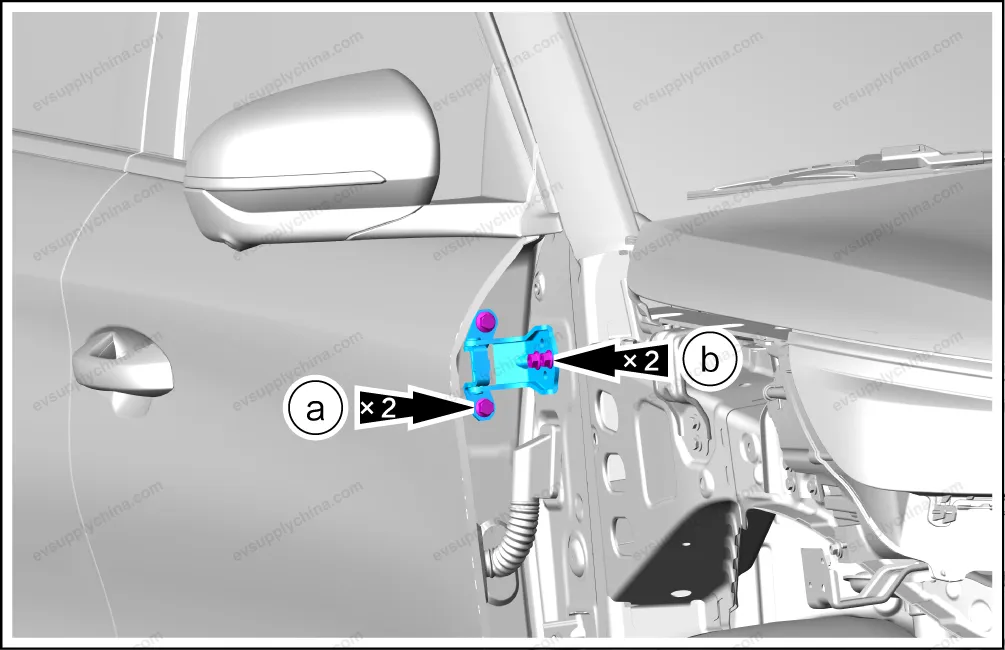
- Remove the left front door upper hinge assembly.
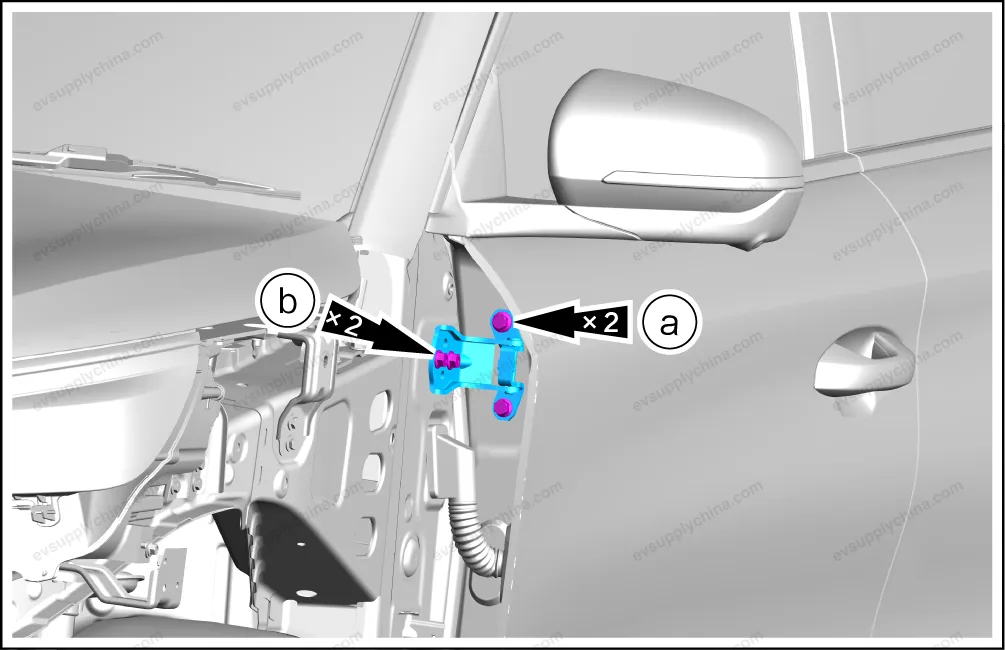
- Remove 2 fixing bolts between the left front door upper hinge assembly and the door.
- Remove 2 fixing bolts between the left front door upper hinge assembly and the vehicle body.
- Take out the left front door upper hinge assembly.
Installation
- The installation steps are opposite to the removal steps.
- After the installation, adjust the front door assembly. See Adjustment of Front Door Assembly
Right Front Door Upper Hinge Assembly - Removal and Installation
Removal
- Remove the right fender assembly. See Right Fender Assembly - Removal and Installation
- Remove the right front door upper hinge assembly.
- Remove 2 connecting bolts between the right front door upper hinge assembly and the door.
- Remove the connecting bolts between the right front door upper hinge assembly and the vehicle body.
- Take out the right front door upper hinge assembly.
Installation
- The installation steps are opposite to the removal steps.
- After the installation, adjust the front door assembly. See Adjustment of Front Door Assembly