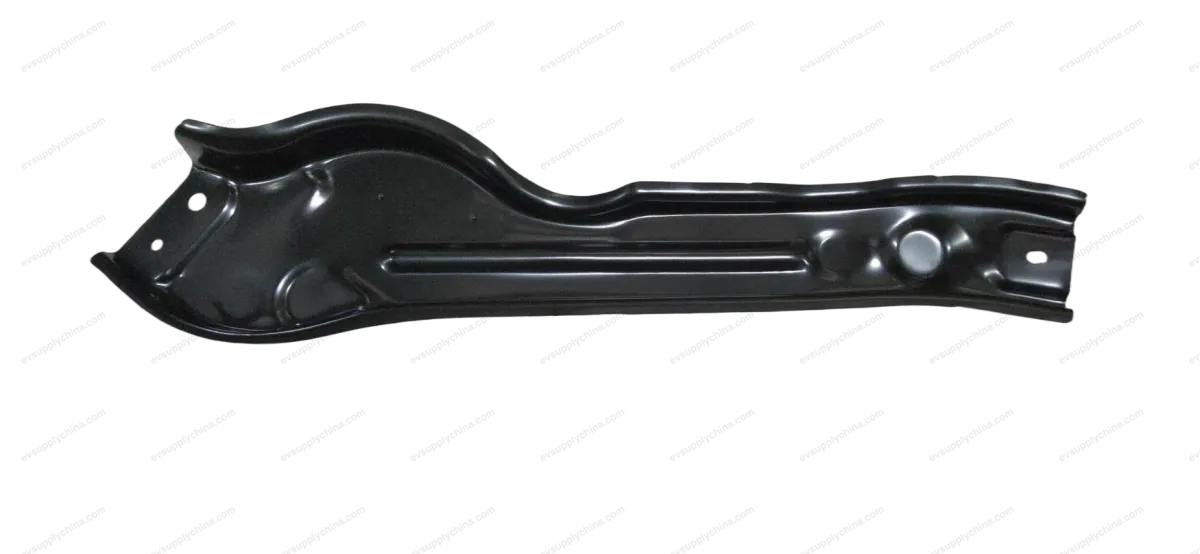
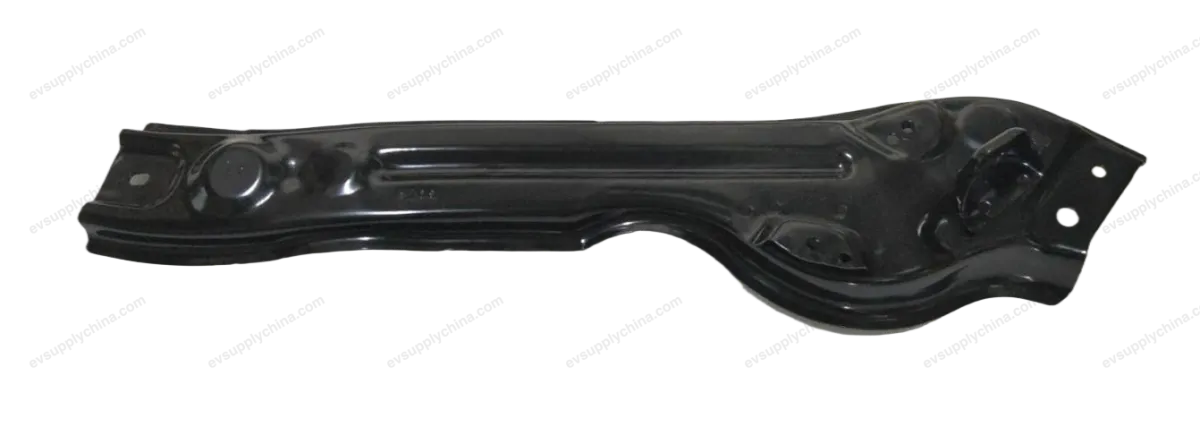
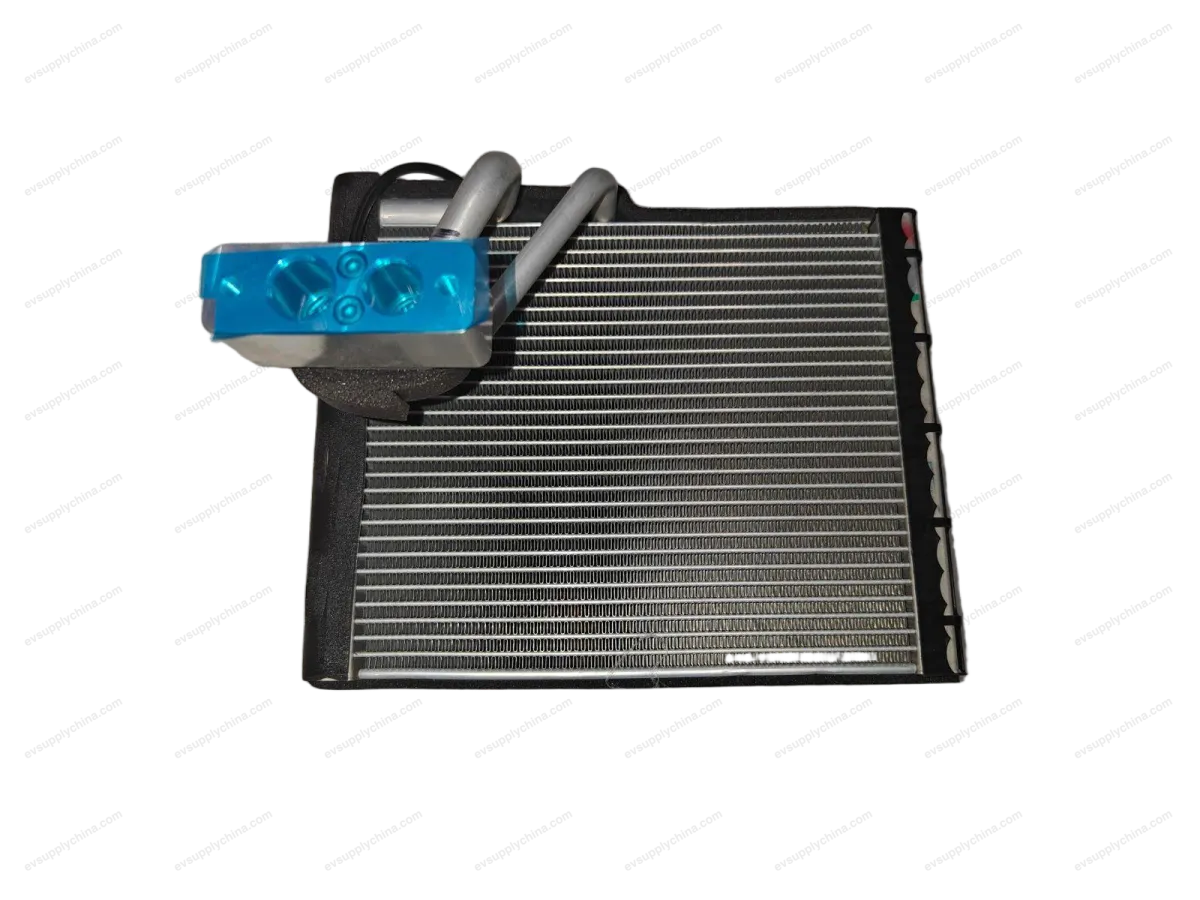
OEM
BYD Atto 3
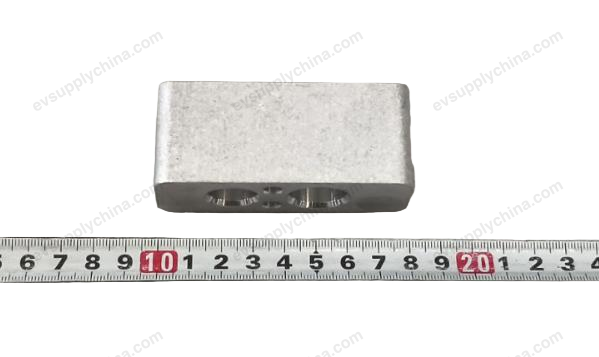
Electric three-way water valve assembly
OE / Material Codes
13679361-00SC2EM-8101950Price on requestIn Stock
Technical Specifications
- Vehicle Model
- BYD Atto 3
- Steering Configuration
- Left-Hand Drive & Right-Hand Drive
- Category
- Radiator & Cooling
Shipping & Returns
Ships worldwide from China via air or sea freight. Standard delivery 5–30 business days, express 2–10 business days. Shipping cost is calculated at checkout.
7-day return window for unused items in original packaging. Contact us before returning any item.
Compatible Vehicles — Electric three-way water valve assembly
BYDYuan PLUS/Atto 3
2024Electric three-way water valve assembly Workshop Guide — BYD Atto 3
Three-Way Valve Body Assembly - Removal and Installation
Removal
- Discharge coolant. See Replacement of Coolant
- Remove the front motor lower mudguard assembly. See Front Motor Lower Mudguard Assembly - Removal and Installation
- Detach the pipeline connection of the three-way water valve body assembly.
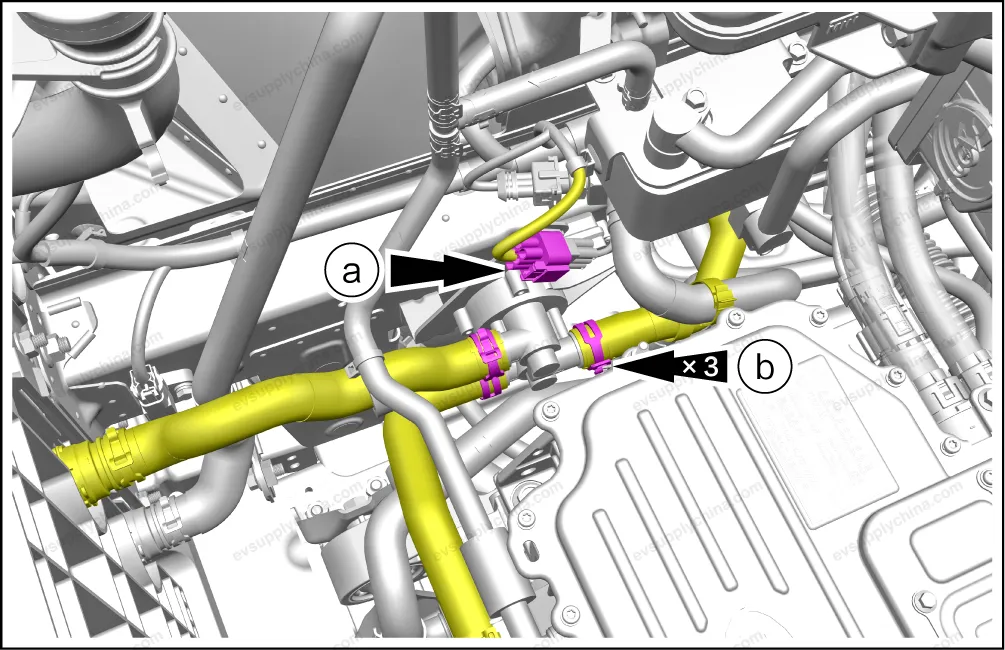
- Disconnect 1 connector.
- Loosen 3 fixing clamps, and detach the cooling pipe assembly 3, the motor cooling water pump inlet pipe assembly and the plate heat exchanger outlet pipe assembly from the three-way water valve body assembly.
- Remove 2 fixing bolts, and take out the three-way water valve body assembly.
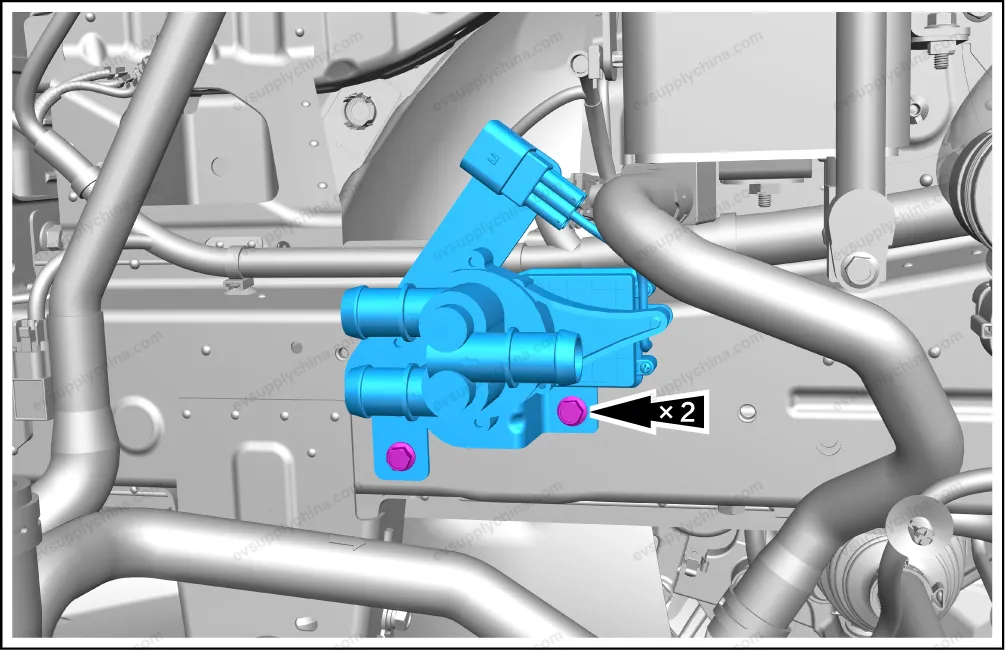
Installation
- The installation steps are opposite to the removal steps.
Caution After installation, check the pipeline joints to make sure there is no leakage. If any, the inspection and repair shall be carried out again.
Electric Water Pump Assembly I - Removal and Installation
Removal
- Discharge coolant. See Replacement of Coolant
- Remove the front motor lower mudguard assembly. See Front Motor Lower Mudguard Assembly - Removal and Installation
- Detach the pipeline connection of electric water pump assembly I.

- Disconnect 1 connector.
- Loosen 2 fixing clamps, and detach the connection between the plate heat exchanger inlet pipe assembly, the cooling pipe assembly 2 and the electric water pump assembly I.
- Remove 2 fixing bolts, and take out the electric water pump assembly I.
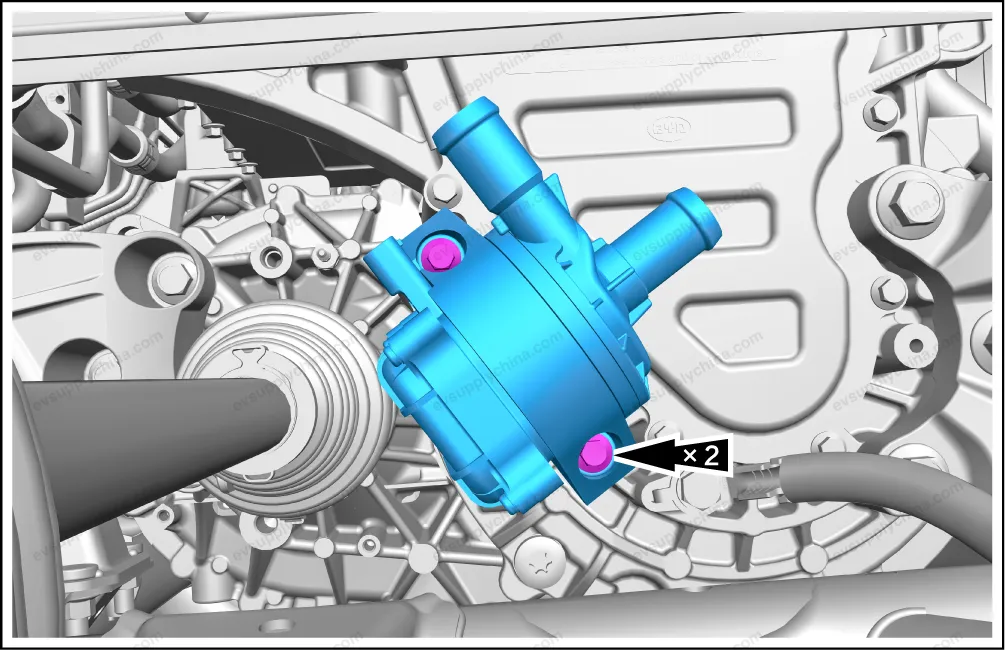
Installation
- The installation steps are opposite to the removal steps.
Caution After installation, check the pipeline joints to make sure there is no leakage. If any, the inspection and repair shall be carried out again.