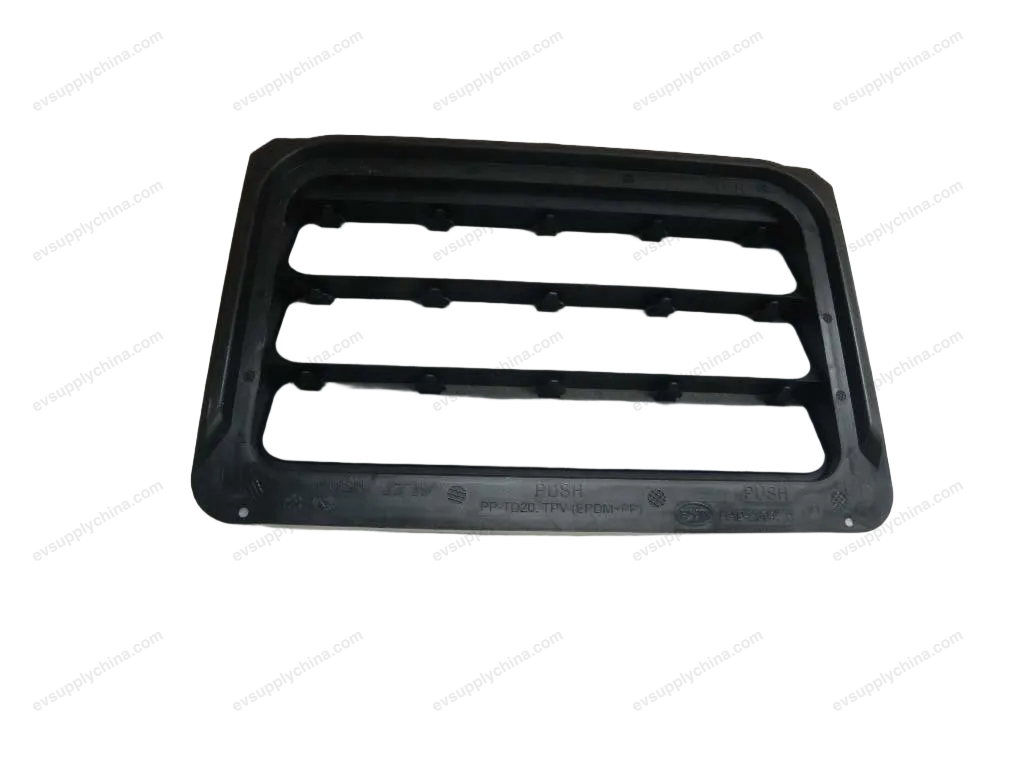
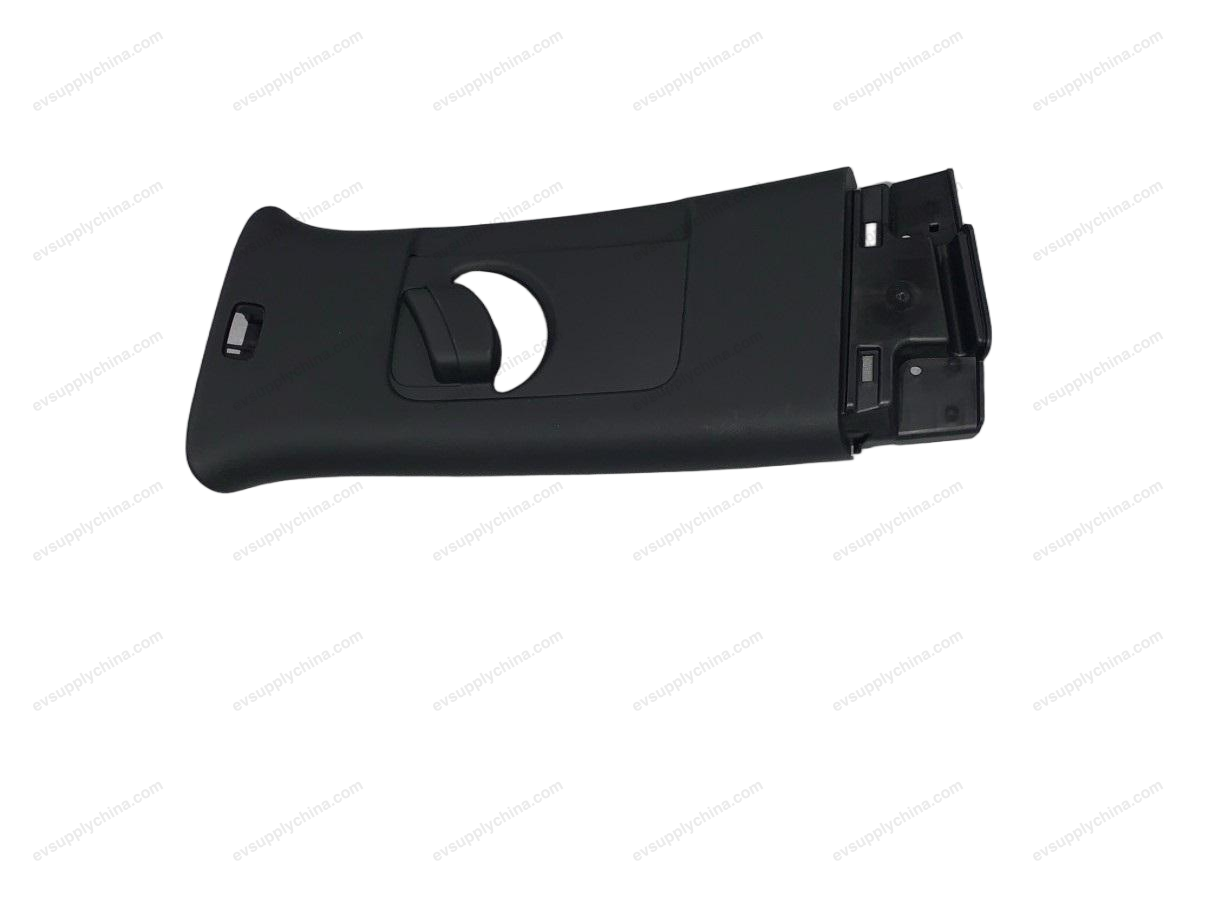
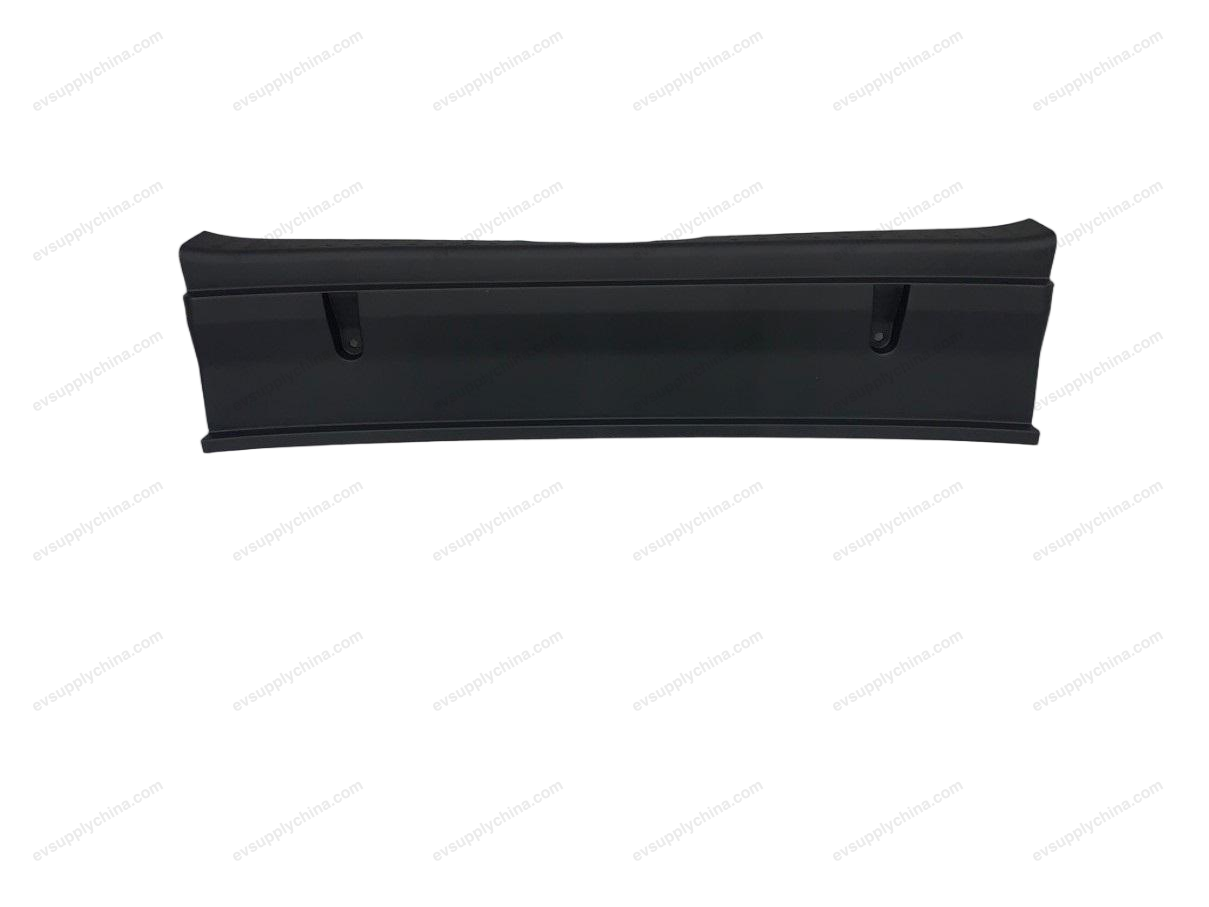
Right B-pillar upper guard plate assembly
OE / Material Codes
13182860-00SC2E-5402220ATechnical Specifications
- Vehicle Model
- BYD Atto 3
- Steering Configuration
- Universal (Left & Right-Hand Drive)
- Category
- Interior Trim
Shipping & Returns
Ships worldwide from China via air or sea freight. Standard delivery 5–30 business days, express 2–10 business days. Shipping cost is calculated at checkout.
7-day return window for unused items in original packaging. Contact us before returning any item.
Compatible Vehicles — Right B-pillar upper guard plate assembly
Right B-pillar upper guard plate assembly Workshop Guide — BYD Atto 3
Right A-Pillar Upper Guard Assembly - Removal and Installation
Removal
- Detach part of the right front door frame weather strip.
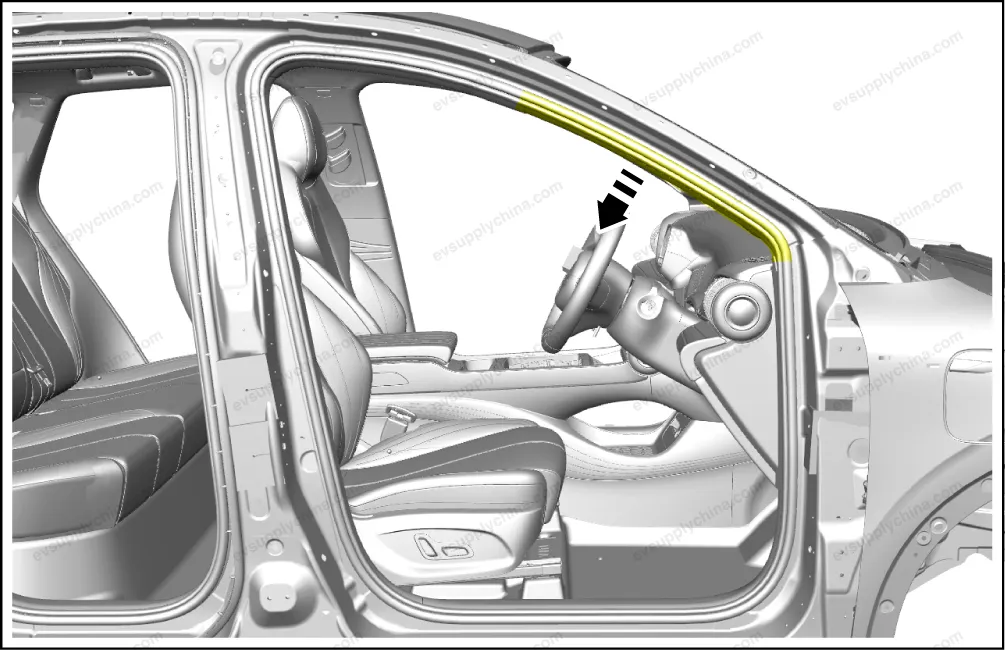
- Pry up the right A-pillar upper guard assembly.

Caution Be careful when removing the trim panel to avoid scratching the surface material.
Installation
- The installation steps are opposite to the removal steps.
Caution Before installation, it is necessary to check whether all the clips are missing or damaged, and if so, install new clips, and then install the trim panel; After installation, check whether all clips are installed in place. The installation position of the trim panel may deviate, resulting in warping or abnormal gaps.
Right B-Pillar Upper Guard Assembly - Removal and Installation
Removal
- Remove the right B-pillar lower guard assembly. See Right B-Pillar Lower Guard Assembly - Removal and Installation
- Insert the front removal hole with an appropriate tool.

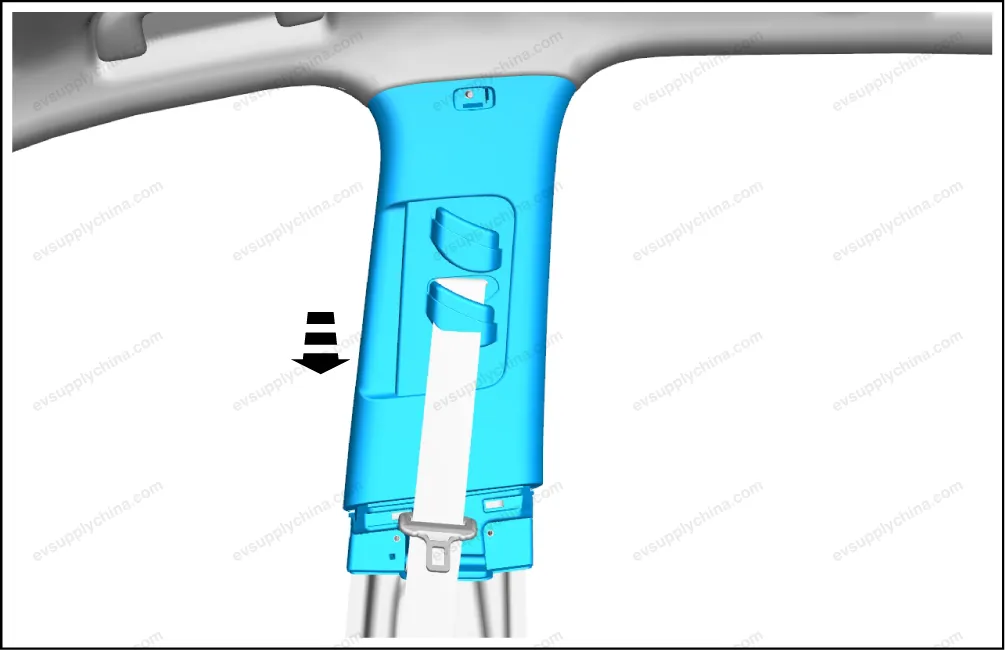
- Insert the rear removal hole with an appropriate tool,and detach the connection between seat belt and buckle.
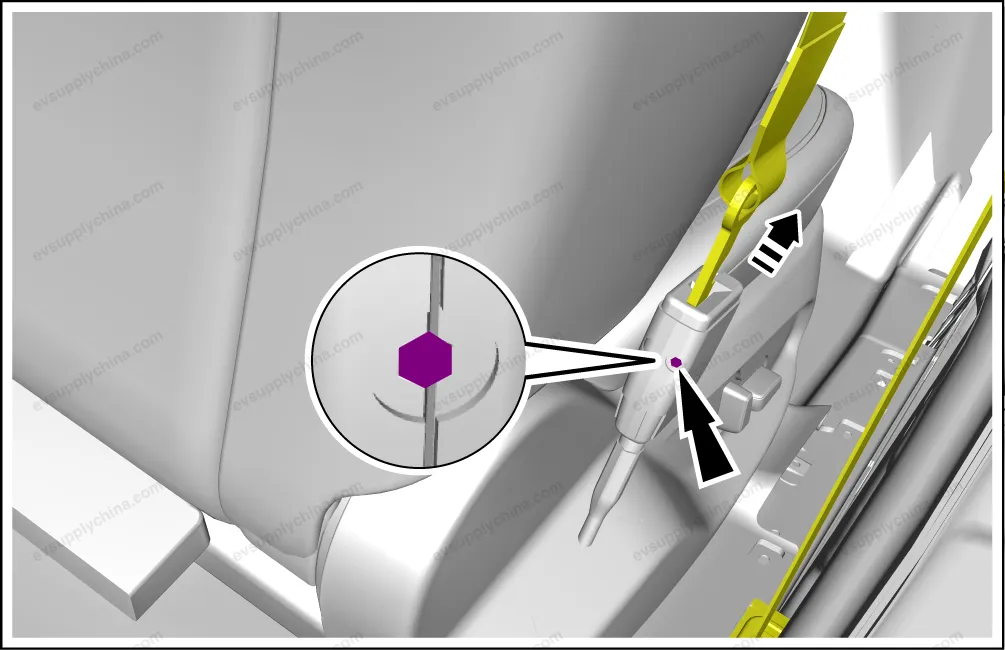
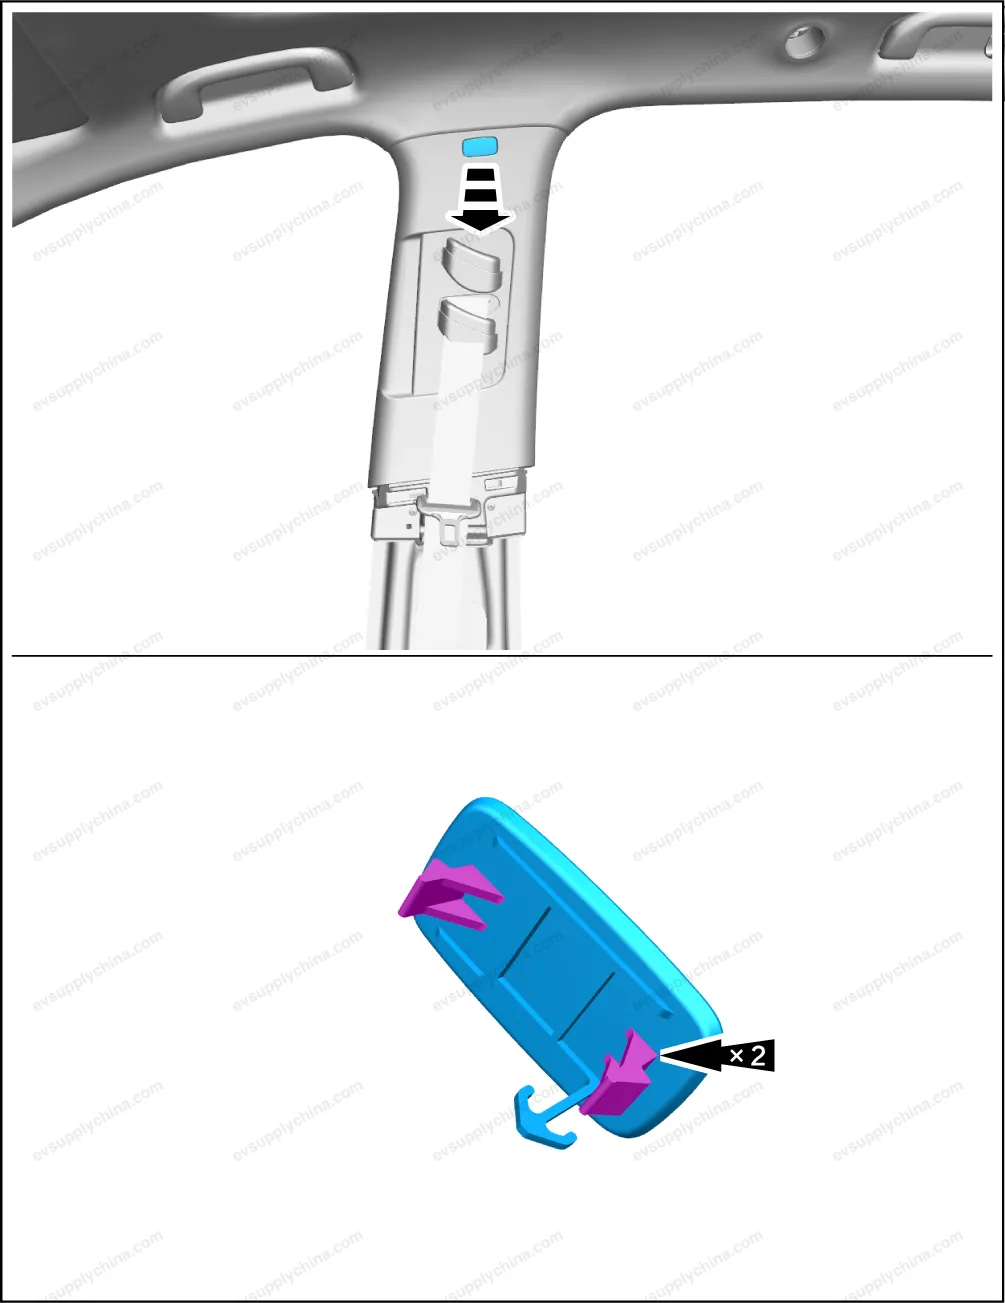
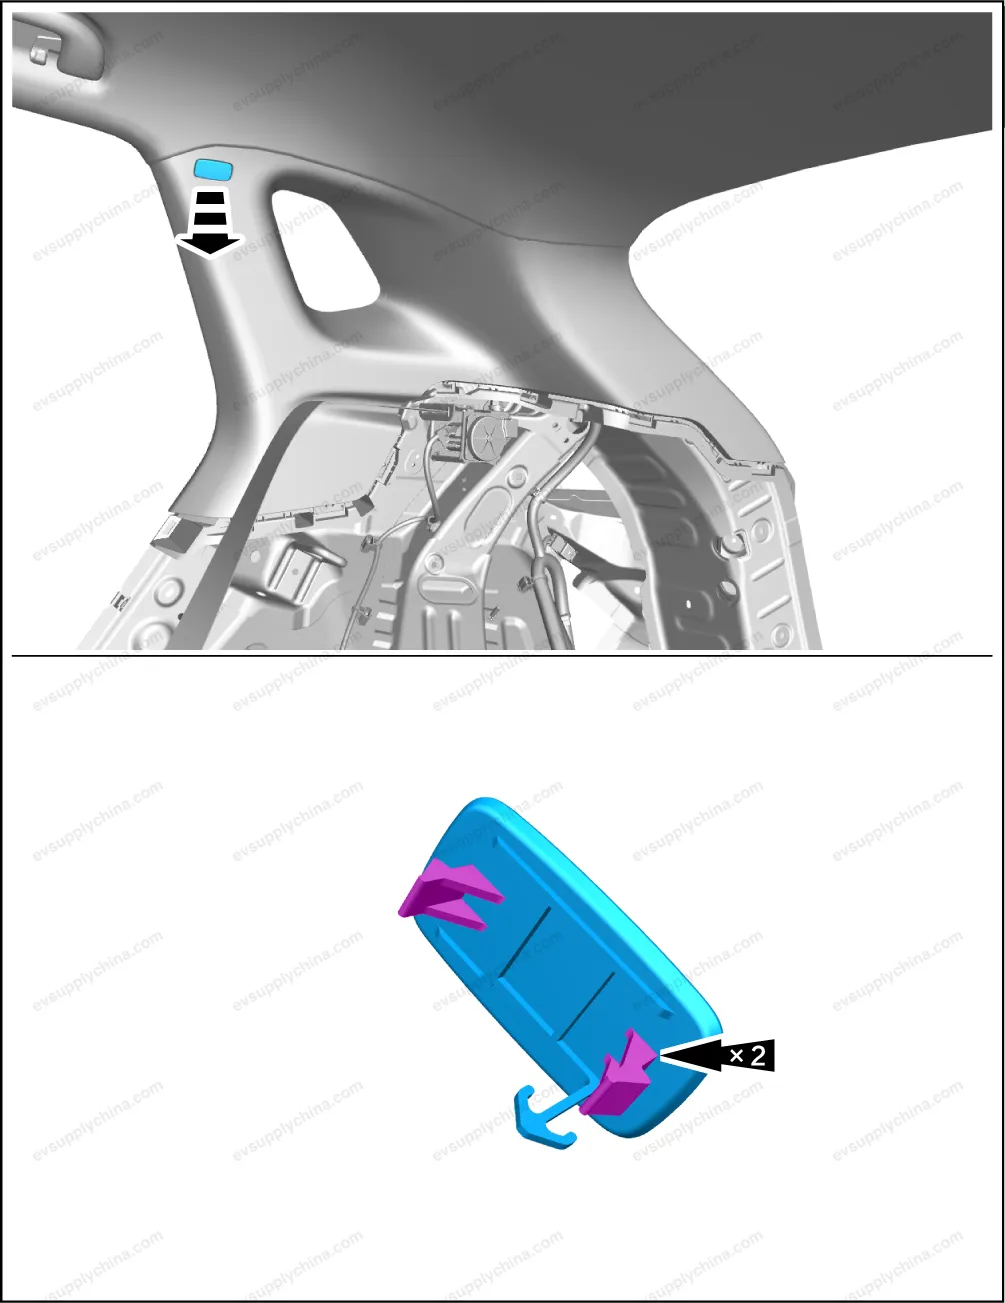
- Pry up the side air curtain identification cover.
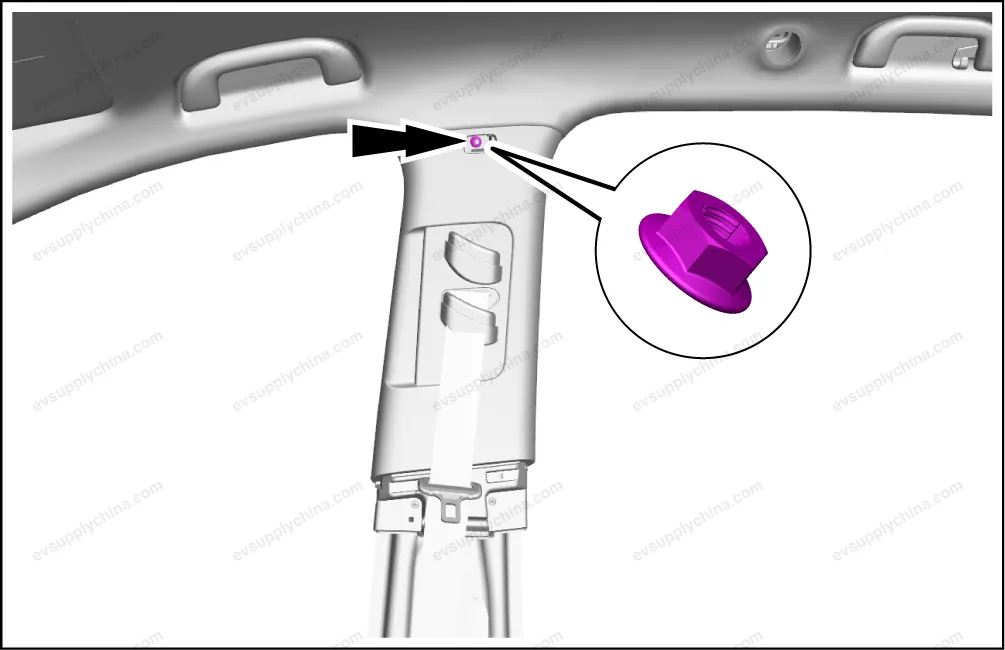
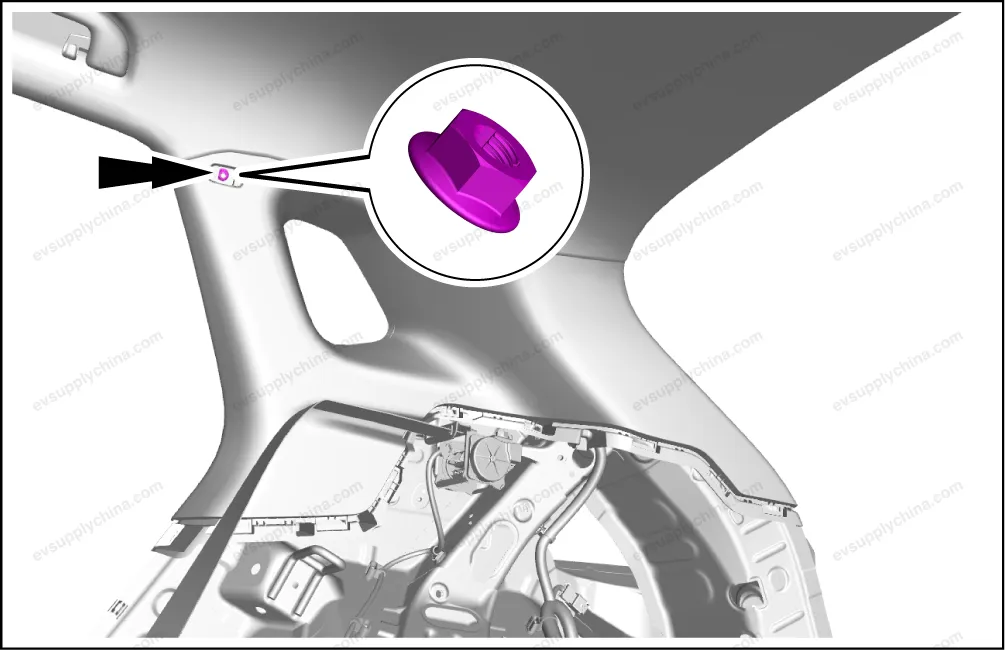
- Remove 1 fixing nut of the right B-pillar upper guard assembly.
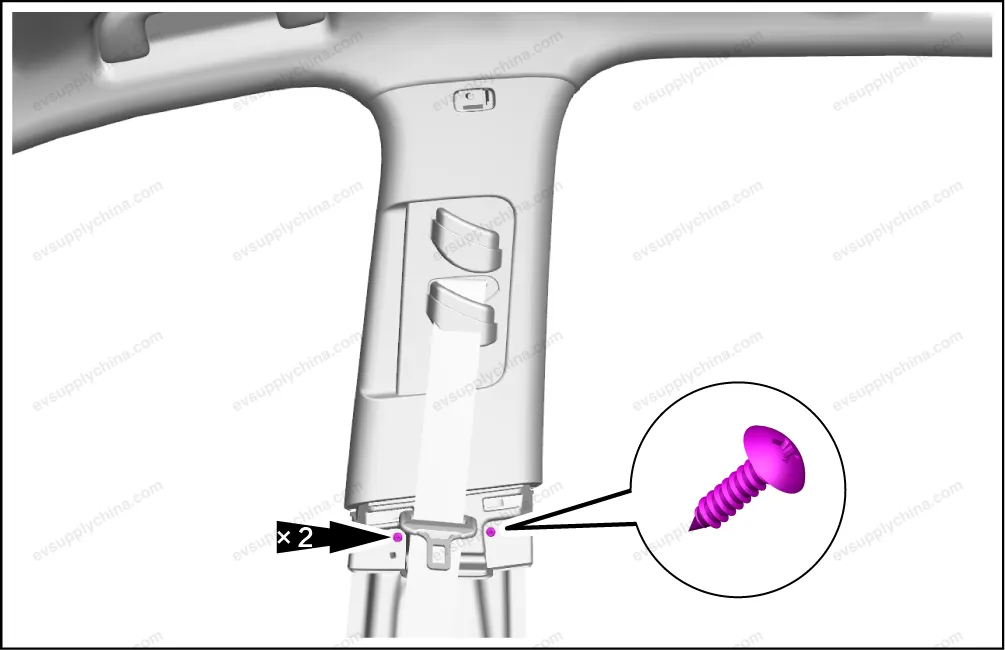
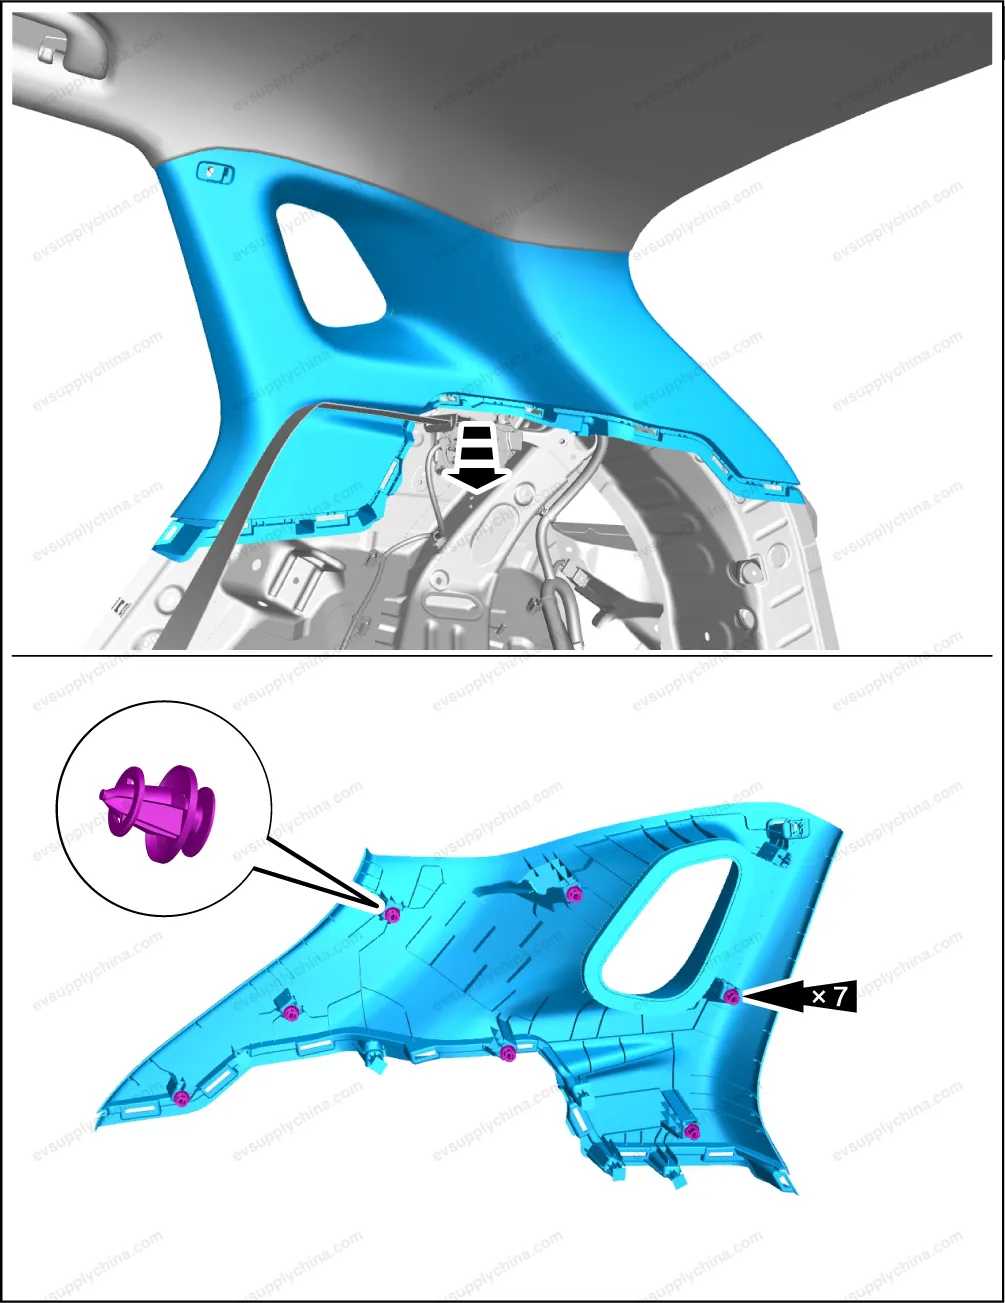
- Remove 2 fixing bolts of the right B-pillar upper guard assembly.
- Take out the right B-pillar upper guard assembly.
Installation
- The installation steps are opposite to the removal steps.
Caution Before installation, it is necessary to check whether all the clips are missing or damaged, and if so, install new clips, and then install the trim panel; After installation, check whether all clips are installed in place. The installation position of the trim panel may deviate, resulting in warping or abnormal gaps.
Right C-Pillar Upper Guard Assembly - Removal and Installation
Removal
- Remove the right rear side wall guard assembly. See Right Rear Side Wall Guard Assembly - Removal and Installation
- Pry up the side air curtain identification cover.
- Remove 1 fixing nut from the right C-pillar upper guard assembly.
- Pry up the right C-pillar upper guard assembly.
Installation
- The installation steps are opposite to the removal steps.
Caution Before installation, it is necessary to check whether all the clips are missing or damaged, and if so, install new clips, and then install the trim panel; After installation, check whether all clips are installed in place. The installation position of the trim panel may deviate, resulting in warping or abnormal gaps.