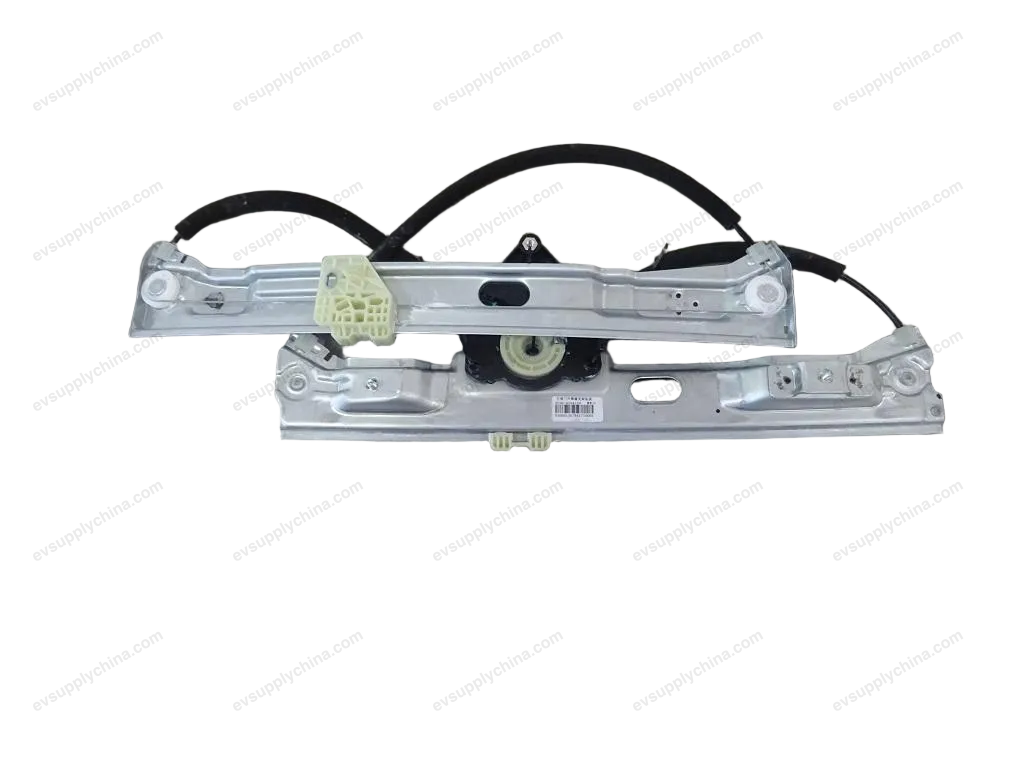
Left front door window regulator bracket assembly
OE / Material Codes
13180420-00SC2E-6104110Technical Specifications
- Vehicle Model
- BYD Atto 3
- Steering Configuration
- Universal (Left & Right-Hand Drive)
- Category
- Window Regulators
Shipping & Returns
Ships worldwide from China via air or sea freight. Standard delivery 5–30 business days, express 2–10 business days. Shipping cost is calculated at checkout.
7-day return window for unused items in original packaging. Contact us before returning any item.
Compatible Vehicles — Left front door window regulator bracket assembly
Left front door window regulator bracket assembly Workshop Guide — BYD Atto 3
Left Front Window Regulator Bracket Assembly - Removal and Installation
Removal
- Remove the left front door glass assembly. See Left Front Door Glass Assembly - Removal and Installation
- Remove the left front door sealing plug II. SeeLeft Front Door Sealing Plug II - Removal and Installation
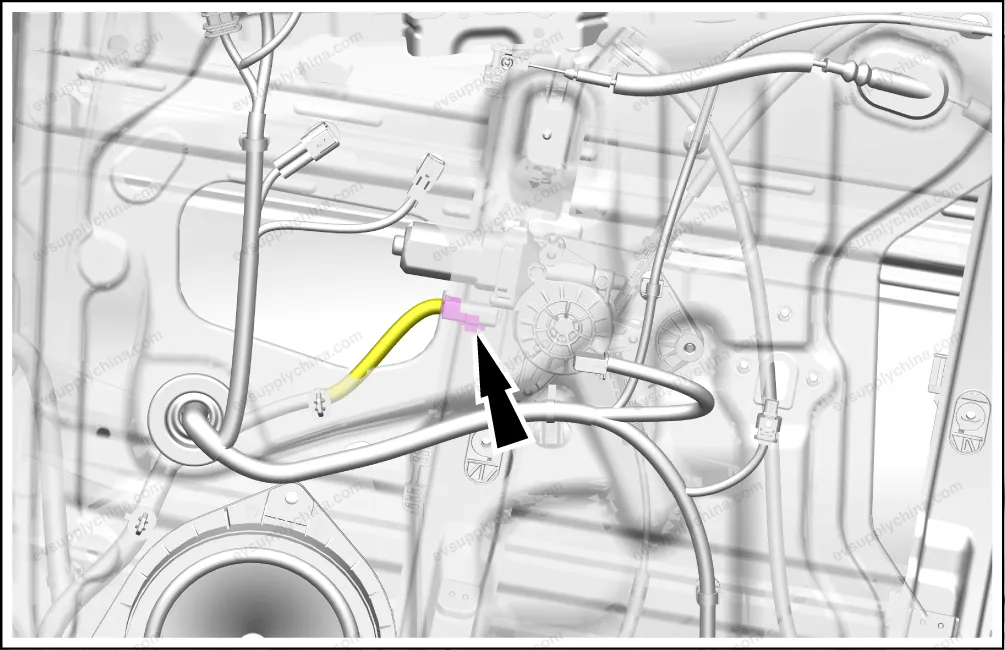
- Disconnect one connector of the left front window regulator bracket assembly.
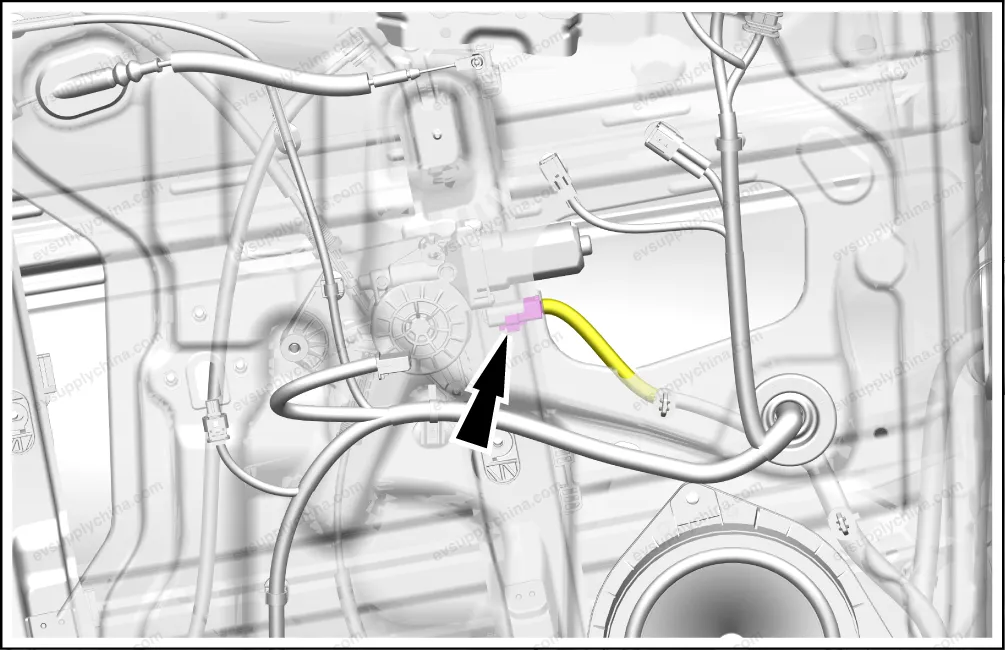
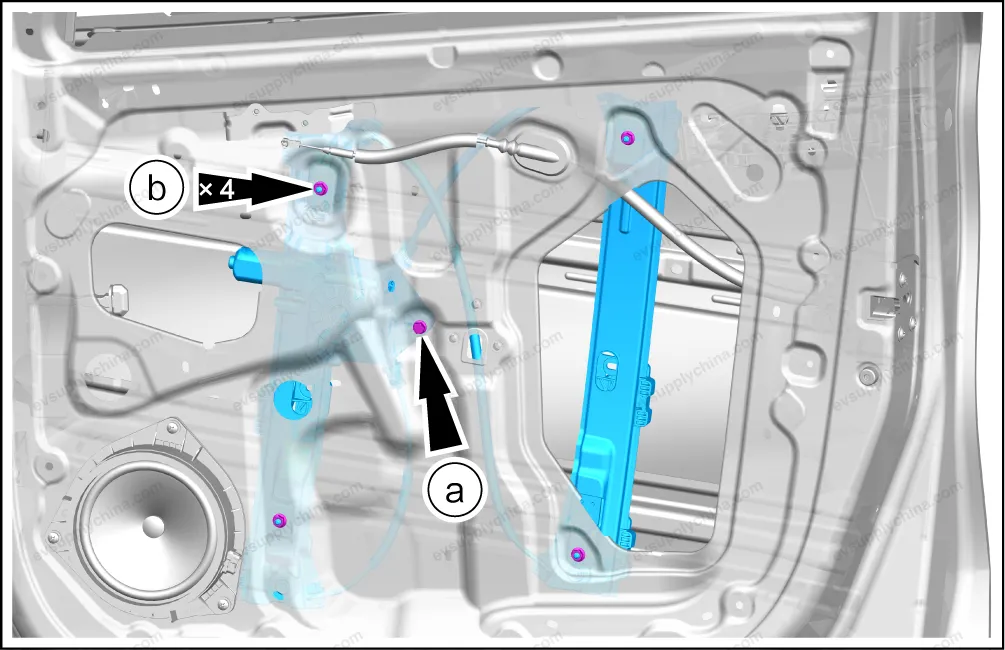
- Remove the left front window regulator bracket assembly.

- Remove one fixing bolt.
- Remove 4 fixing nuts, and take out the left front window regulator bracket assembly.
- Where replacing the left front window regulator bracket assembly is required, remove the following accessories of the left front window regulator bracket assembly:
Installation
- Follow the removal steps in reverse order to install.
Caution After the installation, test the front window regulator bracket assembly for normal function.
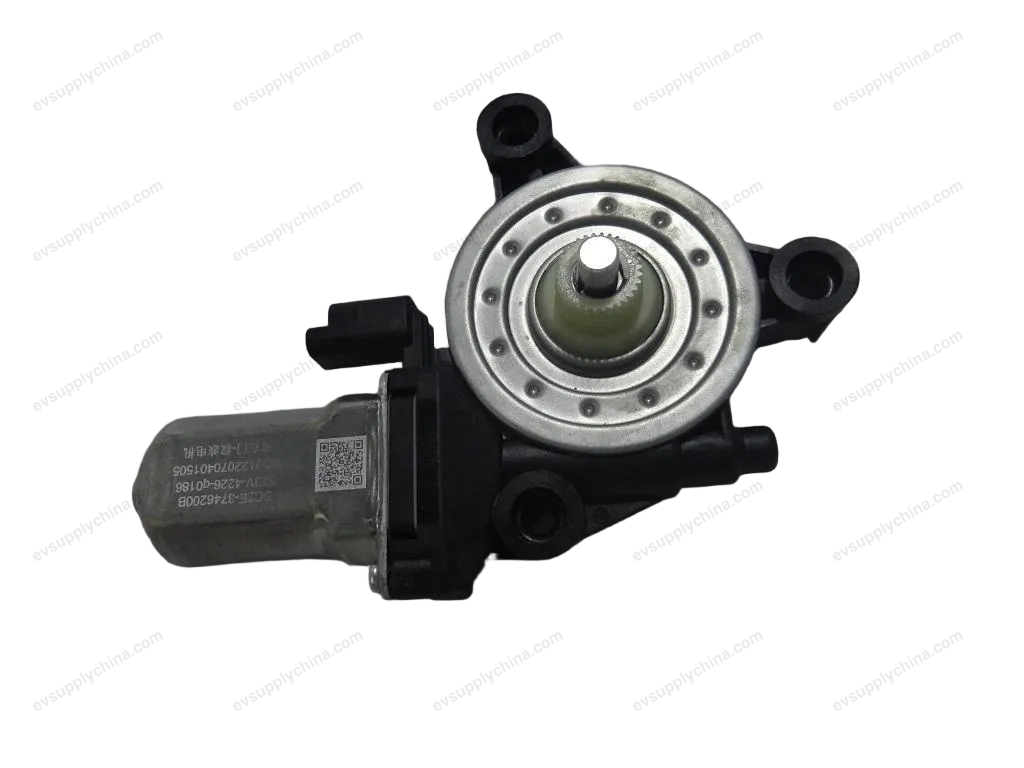
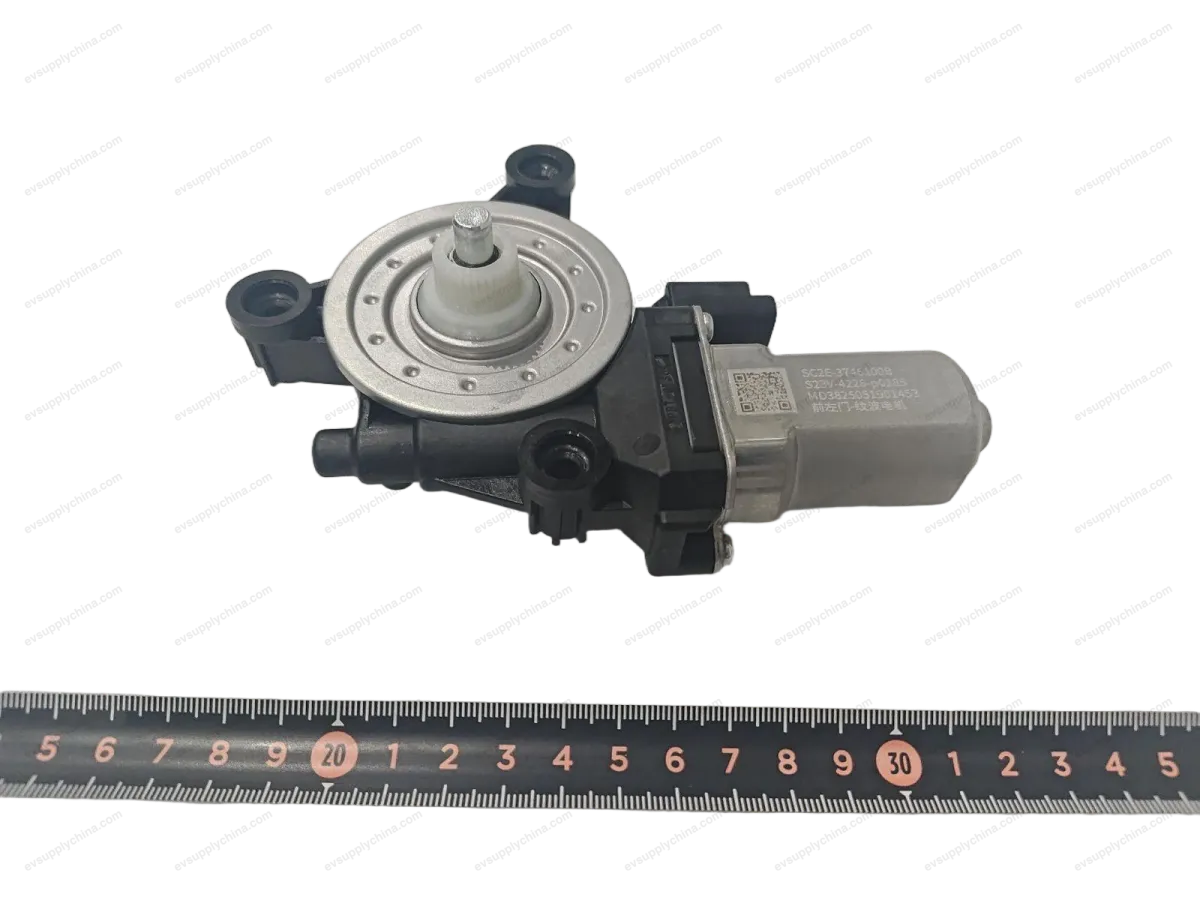
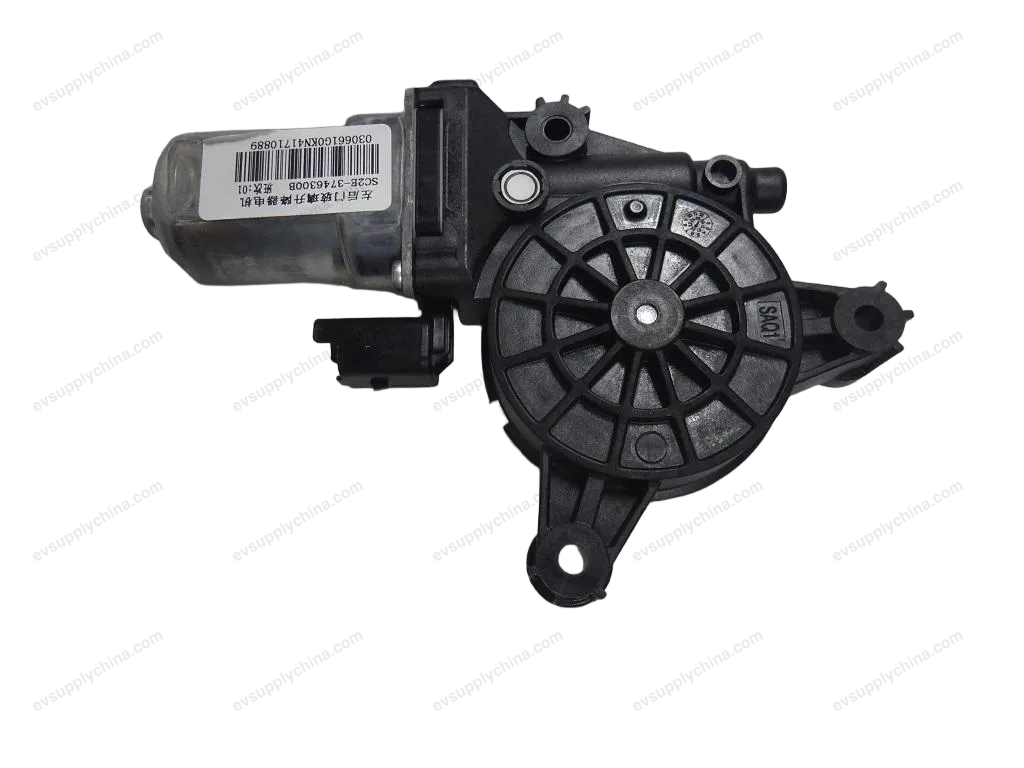
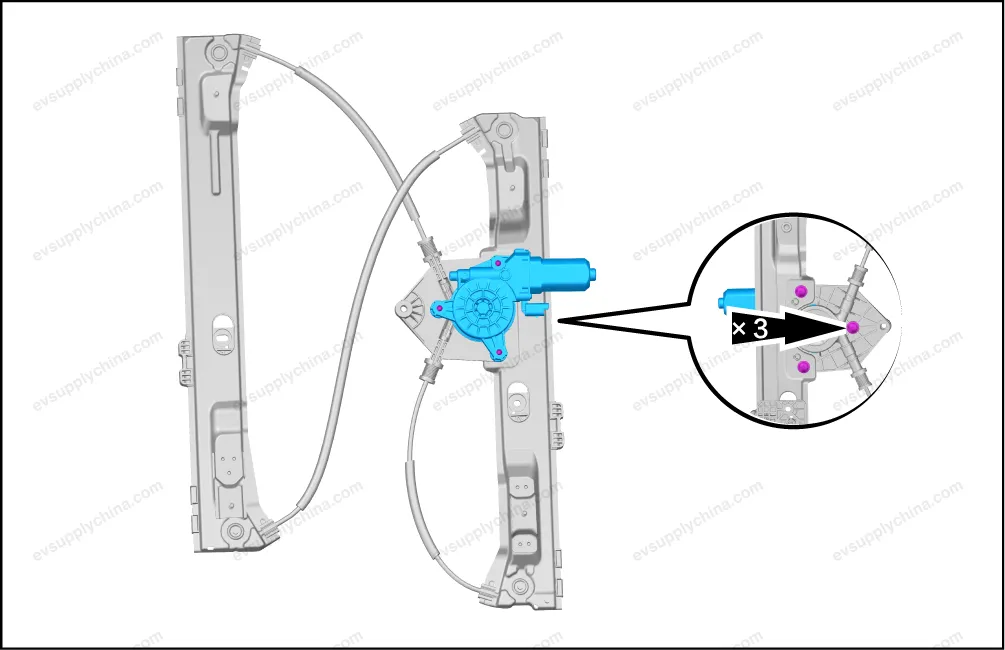
Left Front Window Regulator Motor - Removal and Installation
Removal
- Remove the left front window regulator bracket assembly. See Left Front Window Regulator Bracket Assembly - Removal and Installation
- Remove 3 fixing bolts, and take out the left front window regulator motor.
Installation
- Follow the removal steps in reverse order to install.
Caution After the installation, conduct a functional test on the front window regulator motor.
Right Front Window Regulator Bracket Assembly - Removal and Installation
Removal
- Remove the right front door glass assembly. See Right Front Door Glass Assembly - Removal and Installation
- Remove the right front door sealing plug II. SeeRight Front Door Sealing Plug II - Removal and Installation
- Disconnect one connector of the right front window regulator bracket assembly.
- Remove the right front window regulator bracket assembly.
- Remove one fixing bolt.
- Remove 4 fixing nuts, and take out the right front window regulator bracket assembly.
- Where replacing the right front window regulator bracket assembly is required, remove the following accessories of the right front window regulator bracket assembly:
Installation
- Follow the removal steps in reverse order to install.
Caution After the installation, test the front window regulator bracket assembly for normal function.