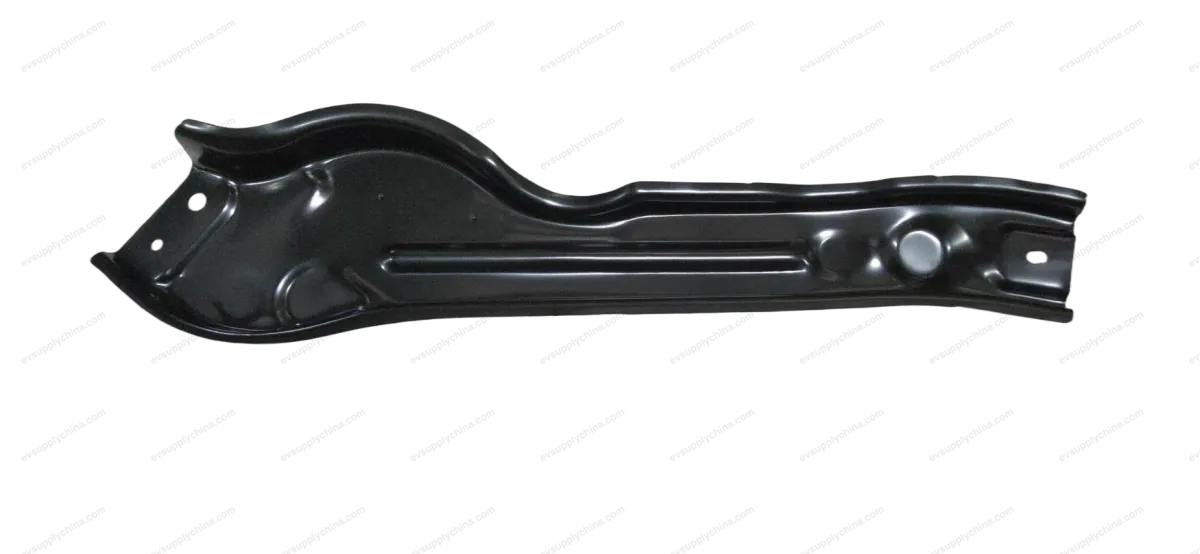
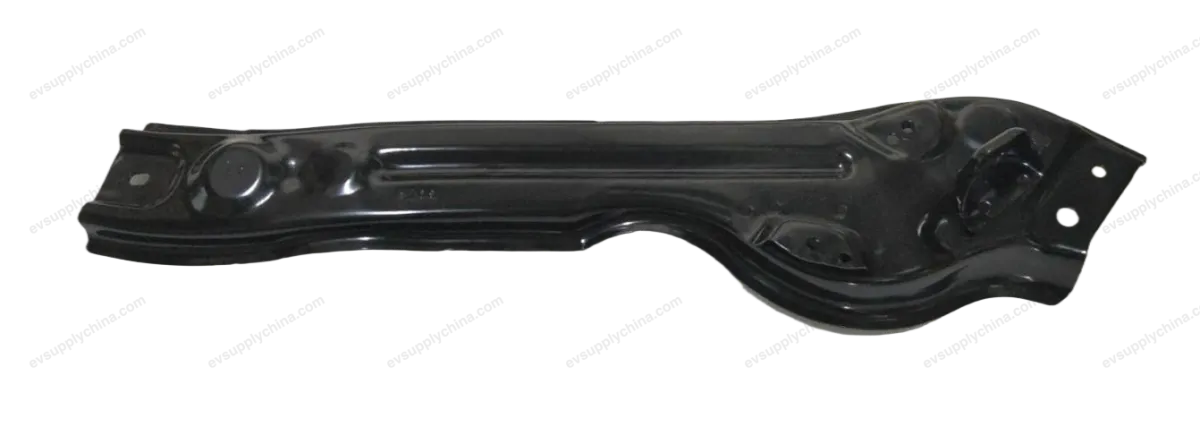
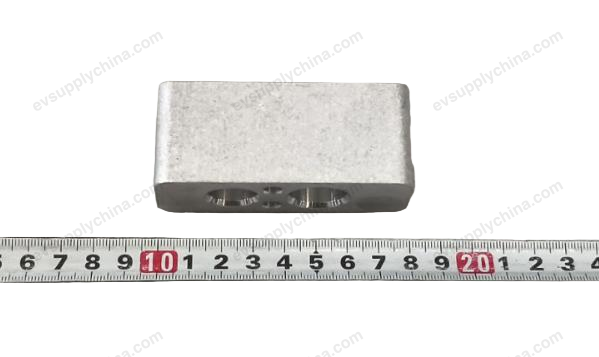
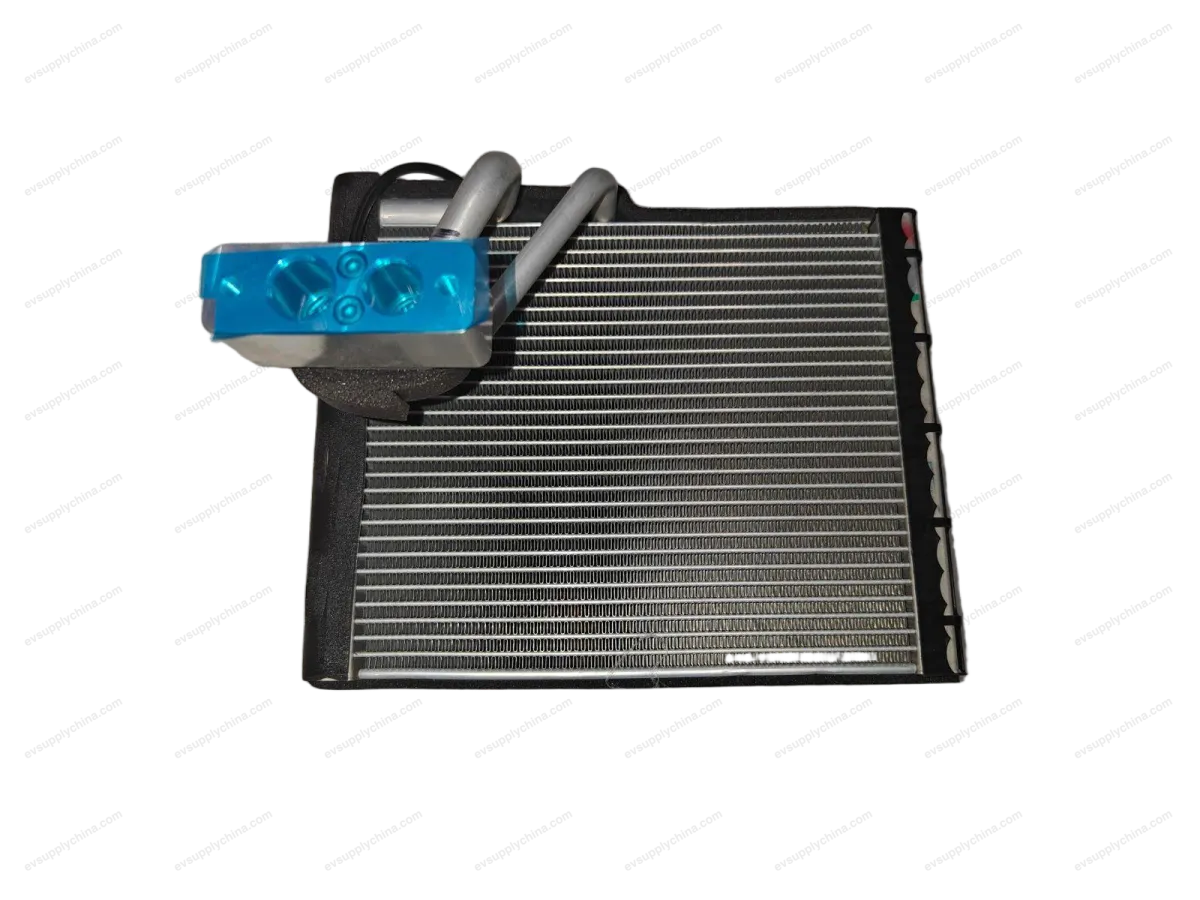
Rakitan pompa air listrik I
Kode OE / Material
13451444-00TA-1309010CSpesifikasi Teknis
- Model Kendaraan
- BYD Atto 3
- Konfigurasi Kemudi
- Universal (Setir Kiri & Kanan)
- Kategori
- Radiator & Pendingin
Pengiriman & Pengembalian
Dikirim ke seluruh dunia dari Tiongkok melalui pengiriman udara atau laut. Pengiriman standar 5–30 hari kerja, ekspres 2–10 hari kerja. Biaya pengiriman dihitung saat checkout.
Jendela pengembalian 7 hari untuk barang yang belum digunakan dalam kemasan asli. Hubungi kami sebelum mengembalikan barang apa pun.
Kendaraan yang Kompatibel — Rakitan pompa air listrik I
Rakitan pompa air listrik I Panduan Bengkel — BYD Atto 3
Electric Water Pump Assembly I - Removal and Installation
Removal
- Discharge coolant. See Replacement of Coolant
- Remove the front motor lower mudguard assembly. See Front Motor Lower Mudguard Assembly - Removal and Installation
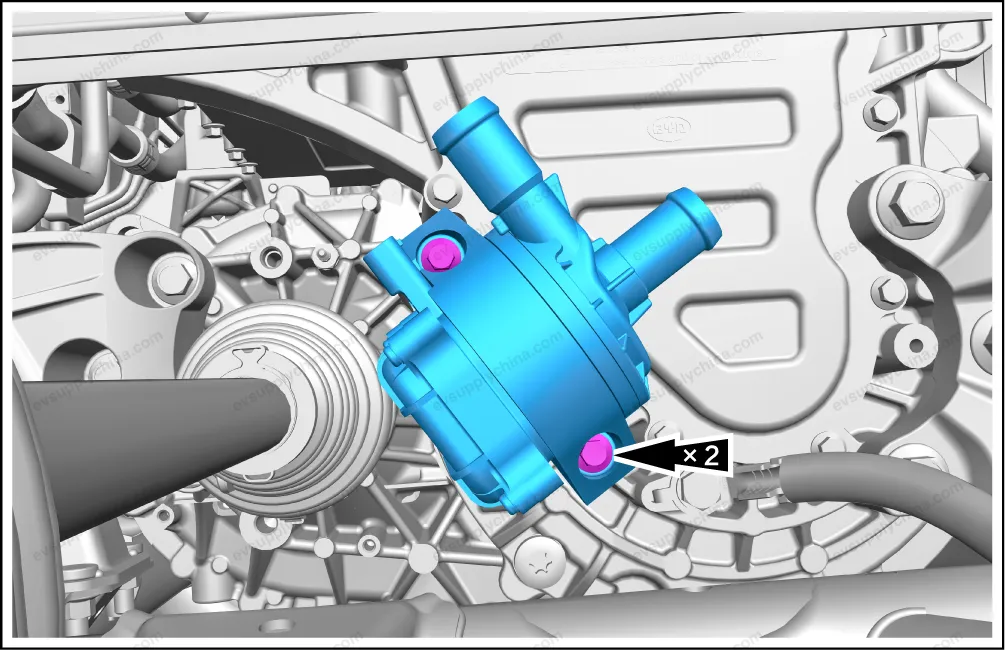
- Detach the pipeline connection of electric water pump assembly I.

- Disconnect 1 connector.
- Loosen 2 fixing clamps, and detach the connection between the plate heat exchanger inlet pipe assembly, the cooling pipe assembly 2 and the electric water pump assembly I.
- Remove 2 fixing bolts, and take out the electric water pump assembly I.
Installation
- The installation steps are opposite to the removal steps.
Caution After installation, check the pipeline joints to make sure there is no leakage. If any, the inspection and repair shall be carried out again.
Water Pipe Assembly in Motor Cooling Water Pump - Removal and Installation
Removal
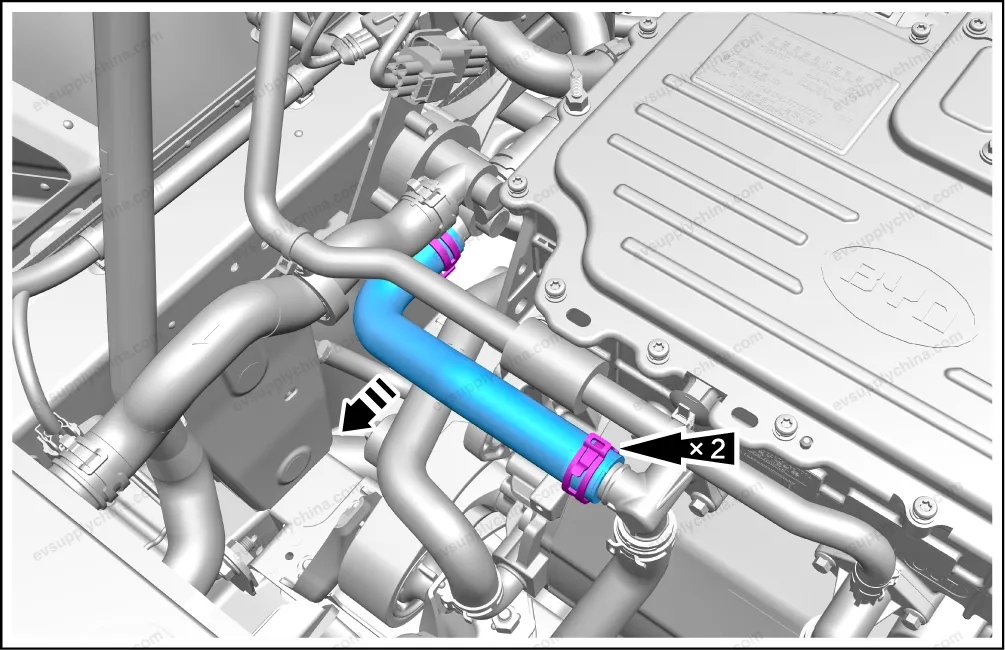
- Discharge coolant. See Replacement of Coolant
- Loosen 2 fixing clamps, detach the motor cooling water pump inlet pipe assembly from the three-way water valve body assembly
and the integrated intelligent front drive assembly, and take it out.
Installation
- The installation steps are opposite to the removal steps.
Caution After installation, check the pipeline joints to make sure there is no leakage. If any, the inspection and repair shall be carried out again.
Rakitan pompa air listrik I Diagram Pemasangan — BYD Atto 3