Оригинал
BYD Atto 3
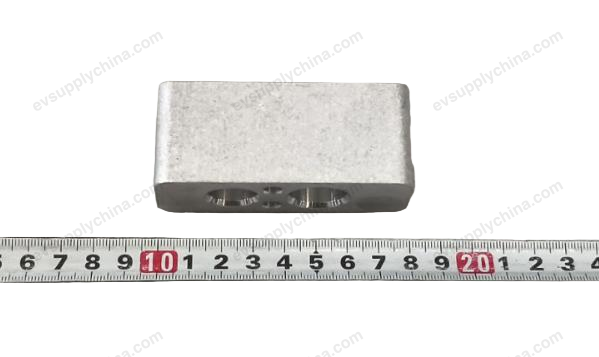
Электрический трехходовой водяной клапан в сборе
OE / Каталожные коды
13679361-00SC2EM-8101950Цена по запросуВ наличии
Технические характеристики
- Модель
- BYD Atto 3
- Конфигурация рулевого
- LHD и RHD
- Категория
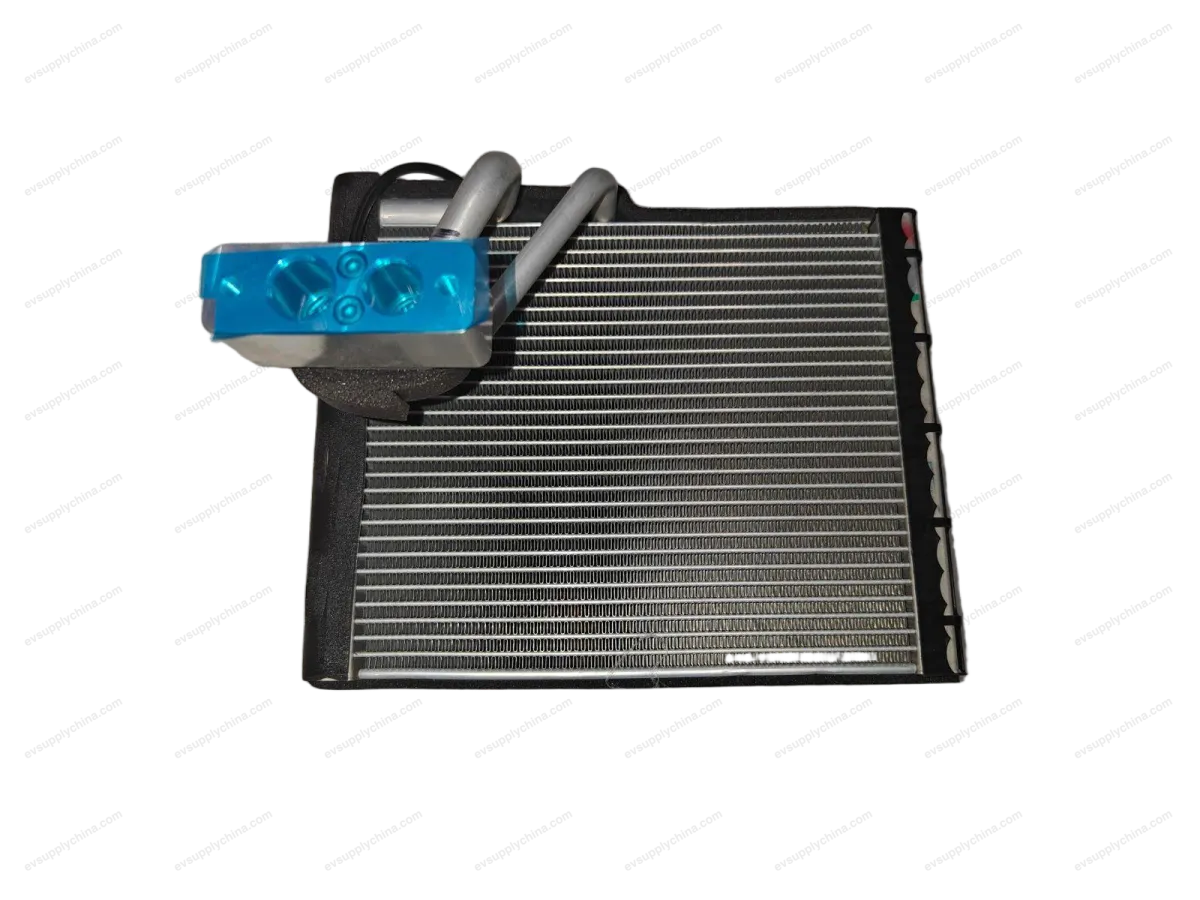
- Радиатор и охлаждение
Доставка и возврат
Доставка по всему миру из Китая авиа или морем. Стандартная доставка 5–30 рабочих дней, экспресс 2–10 рабочих дней. Стоимость рассчитывается на оформлении заказа.
7-дневный возврат для неиспользованных товаров в оригинальной упаковке. Свяжитесь с нами до отправки возврата.
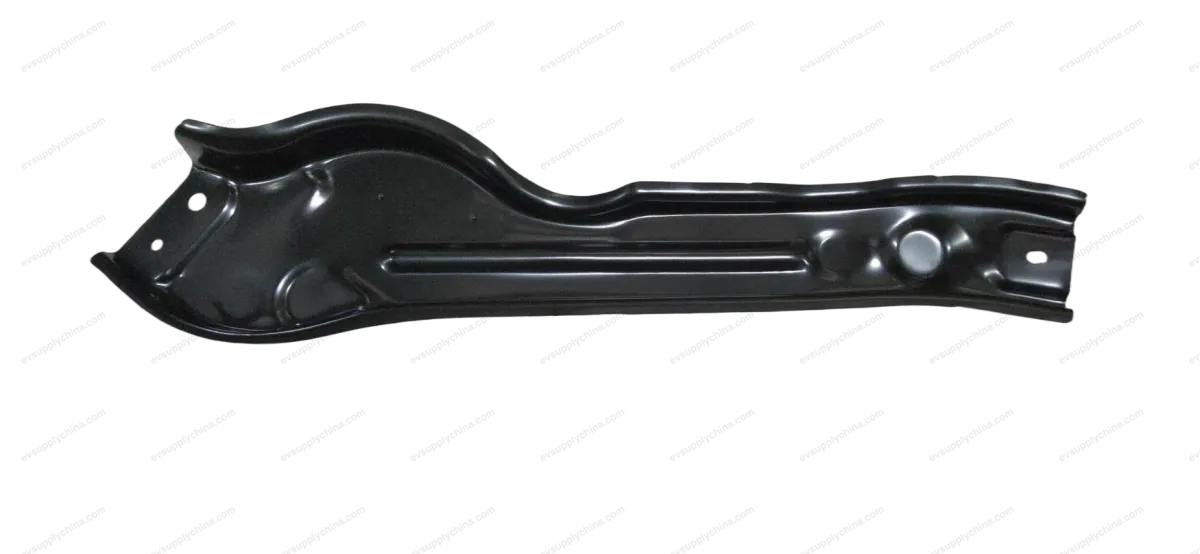
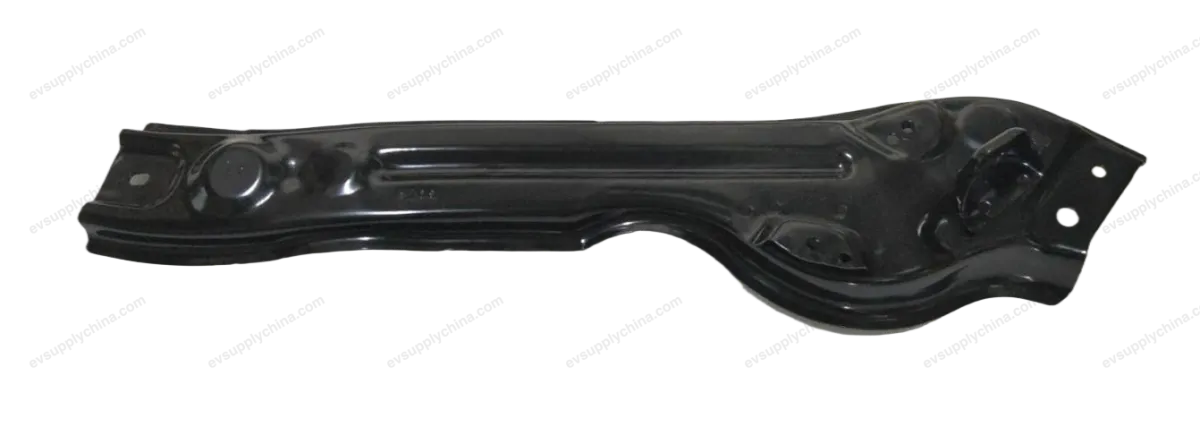
Совместимые автомобили — Электрический трехходовой водяной клапан в сборе
BYDYuan PLUS/Atto 3
2024Электрический трехходовой водяной клапан в сборе Руководство по ремонту — BYD Atto 3
Three-Way Valve Body Assembly - Removal and Installation
Removal
- Discharge coolant. See Replacement of Coolant
- Remove the front motor lower mudguard assembly. See Front Motor Lower Mudguard Assembly - Removal and Installation
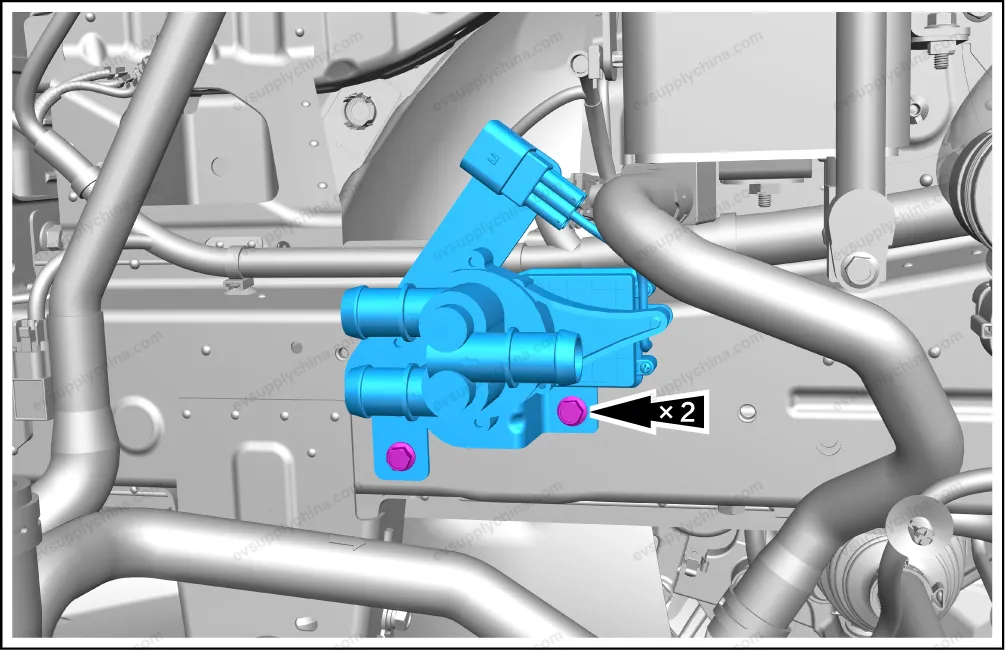
- Detach the pipeline connection of the three-way water valve body assembly.
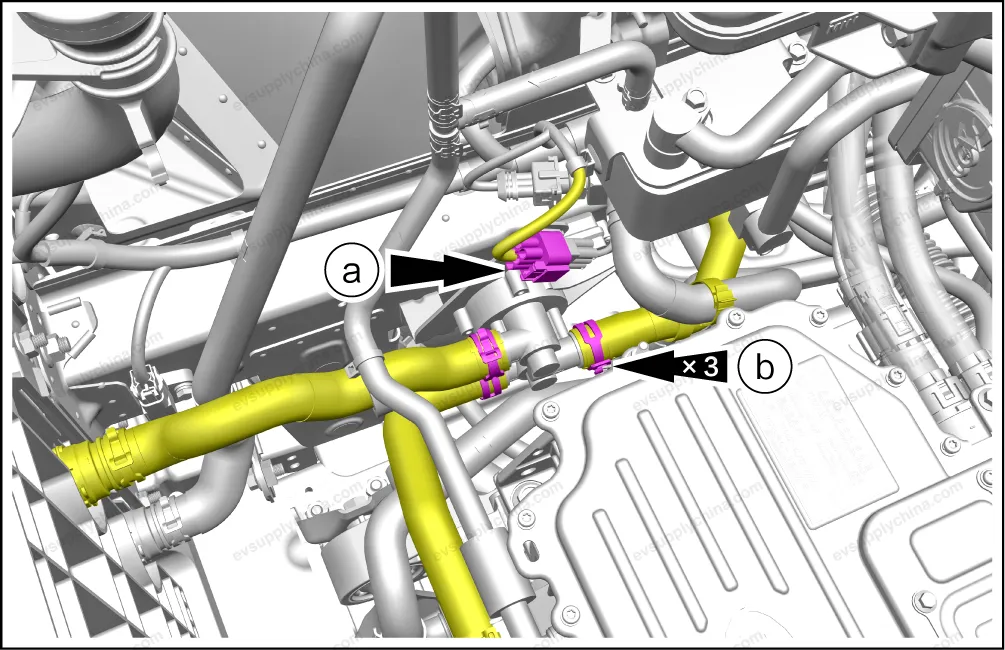
- Disconnect 1 connector.
- Loosen 3 fixing clamps, and detach the cooling pipe assembly 3, the motor cooling water pump inlet pipe assembly and the plate heat exchanger outlet pipe assembly from the three-way water valve body assembly.
- Remove 2 fixing bolts, and take out the three-way water valve body assembly.
Installation
- The installation steps are opposite to the removal steps.
Caution After installation, check the pipeline joints to make sure there is no leakage. If any, the inspection and repair shall be carried out again.
Electric Water Pump Assembly I - Removal and Installation
Removal
- Discharge coolant. See Replacement of Coolant
- Remove the front motor lower mudguard assembly. See Front Motor Lower Mudguard Assembly - Removal and Installation
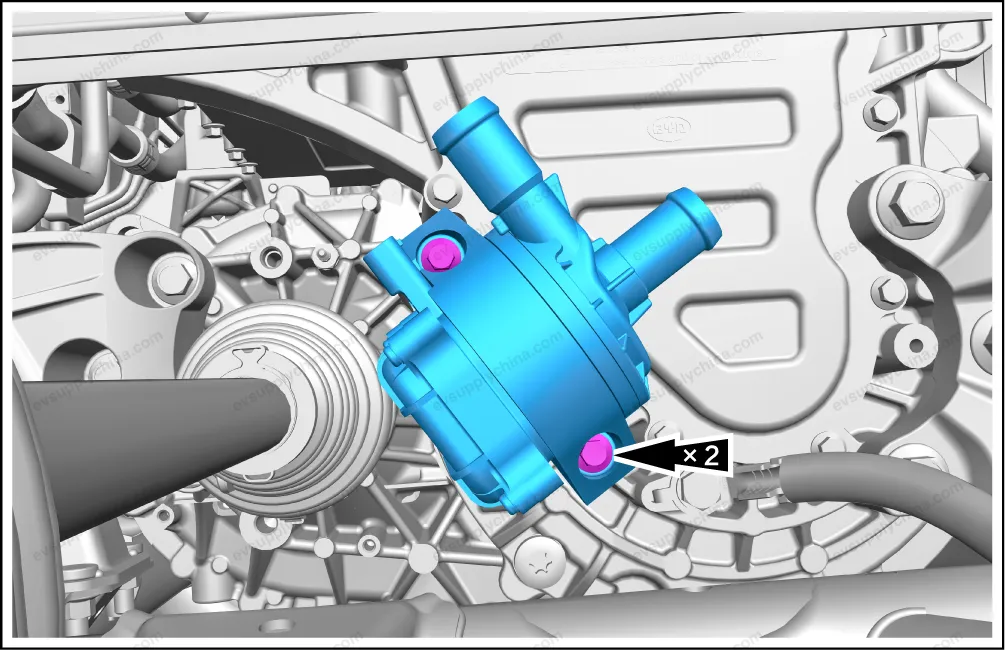
- Detach the pipeline connection of electric water pump assembly I.

- Disconnect 1 connector.
- Loosen 2 fixing clamps, and detach the connection between the plate heat exchanger inlet pipe assembly, the cooling pipe assembly 2 and the electric water pump assembly I.
- Remove 2 fixing bolts, and take out the electric water pump assembly I.
Installation
- The installation steps are opposite to the removal steps.
Caution After installation, check the pipeline joints to make sure there is no leakage. If any, the inspection and repair shall be carried out again.