Orisinil
BYD Atto 3
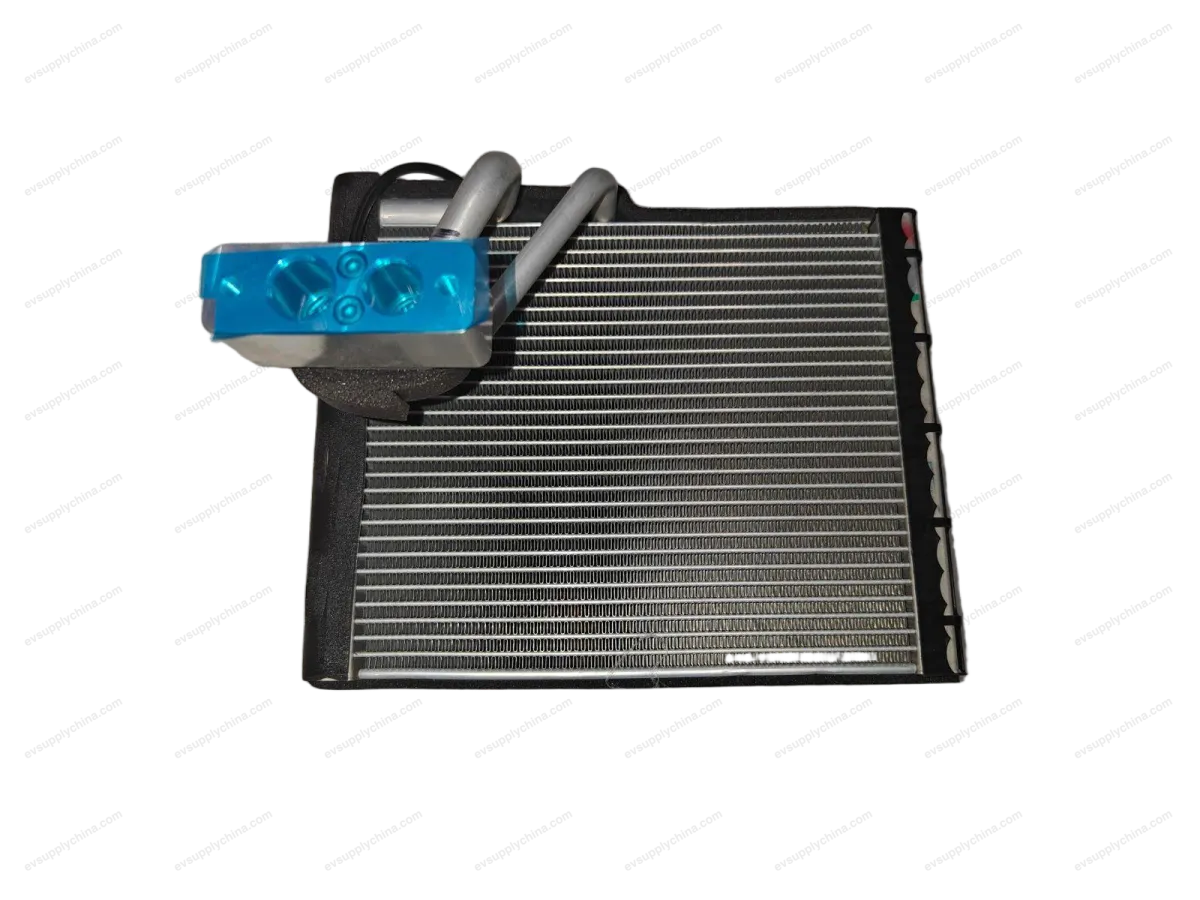
Sensor suhu evaporator
Kode OE / Material
10895109-006B-8114310Harga atas permintaanTersedia
Spesifikasi Teknis
- Model Kendaraan
- BYD Atto 3
- Konfigurasi Kemudi
- Universal (Setir Kiri & Kanan)
- Kategori
- Radiator & Pendingin
Pengiriman & Pengembalian
Dikirim ke seluruh dunia dari Tiongkok melalui pengiriman udara atau laut. Pengiriman standar 5–30 hari kerja, ekspres 2–10 hari kerja. Biaya pengiriman dihitung saat checkout.
Jendela pengembalian 7 hari untuk barang yang belum digunakan dalam kemasan asli. Hubungi kami sebelum mengembalikan barang apa pun.
Kendaraan yang Kompatibel — Sensor suhu evaporator
BYDS7
2015–2017BYDe6 400
2016–2017BYDTang
2018–2019BYDTang New Energy
2017BYDTang 100
2017Sensor suhu evaporator Panduan Bengkel — BYD Atto 3
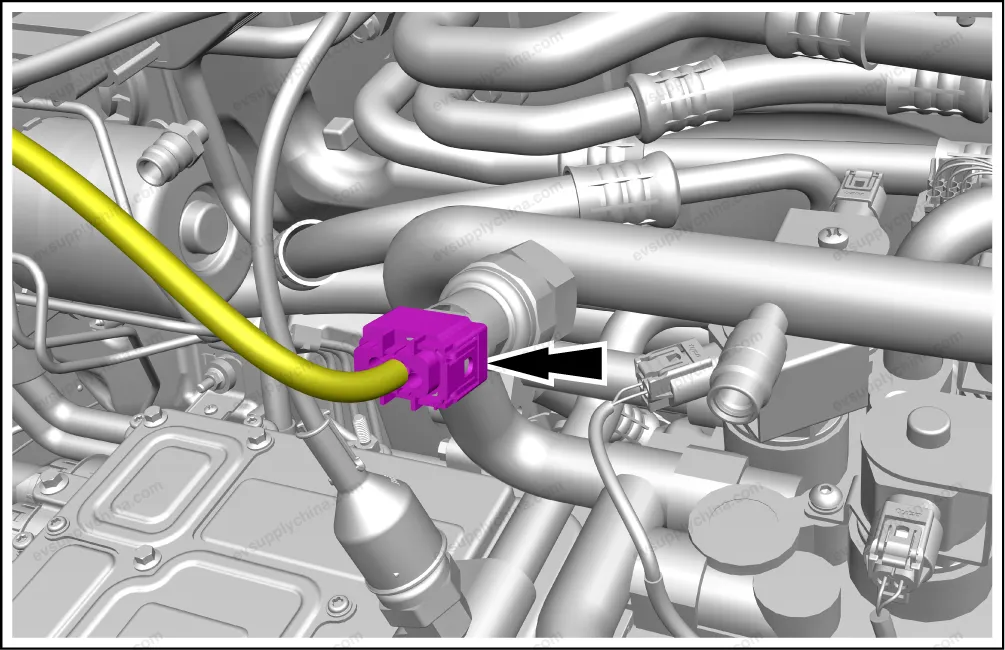
Pressure & Temperature Sensor - Removal and Installation
Removal
- Power off the low voltage electrical system. See Power-off and Power-on of Low Voltage Electrical System
- Recover the refrigerant See Recovery and Filling of Refrigerant
- Disconnect one connector of pressure & temperature sensor.
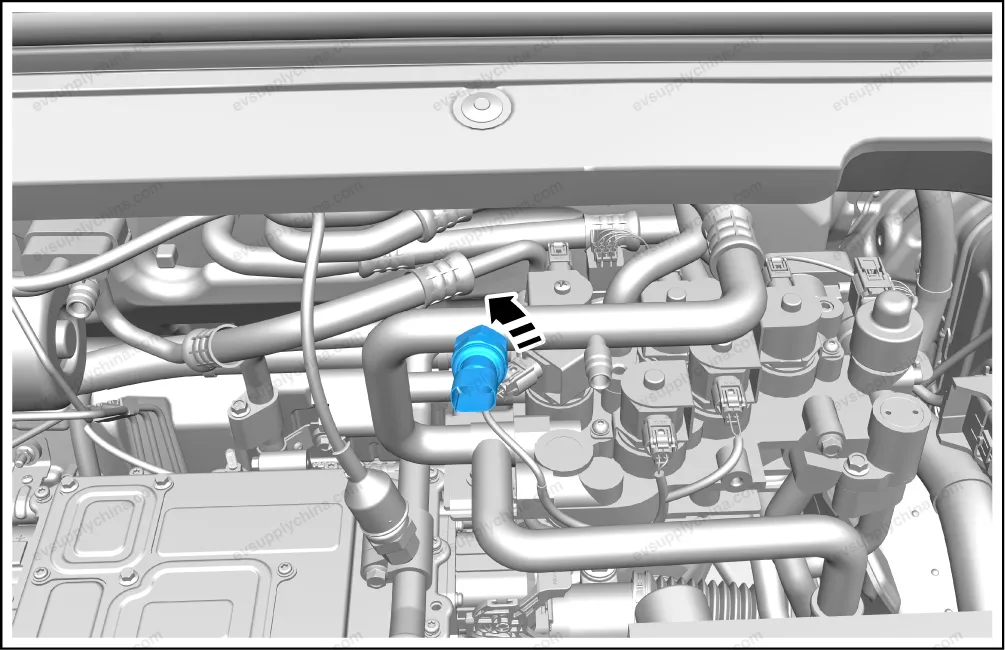
- Remove the pressure & temperature sensor.
Installation
- Follow the removal steps in reverse order to install.
Caution For the installation, all “O-rings” of the pipeline must be replaced, and refrigerant oil shall be applied on the surface of the seal rings and the seal rings shall be connected according to the stipulated torque.
Plate Temperature Sensor - Removal and Installation
Removal
- Power off the low voltage electrical system. See Power-off and Power-on of Low Voltage Electrical System
- Remove the plate end temperature sensor.
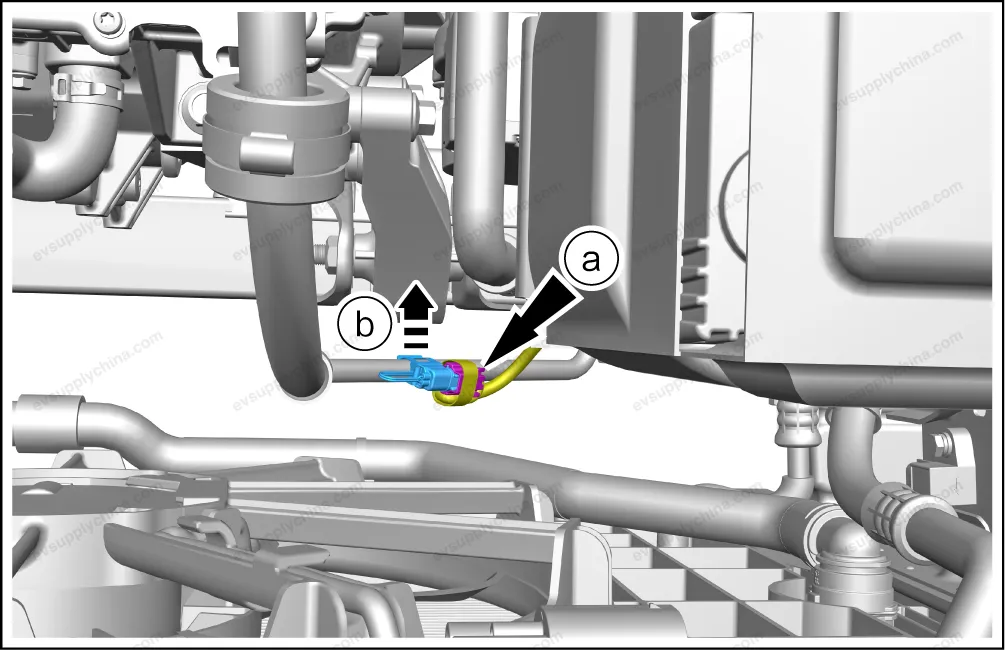
- Disconnect 1 connectors.
- Detach the plate end temperature sensor from the compressor discharge pipe assembly 1, and take it out.
Install
- The installation is performed in reverse order of removal.
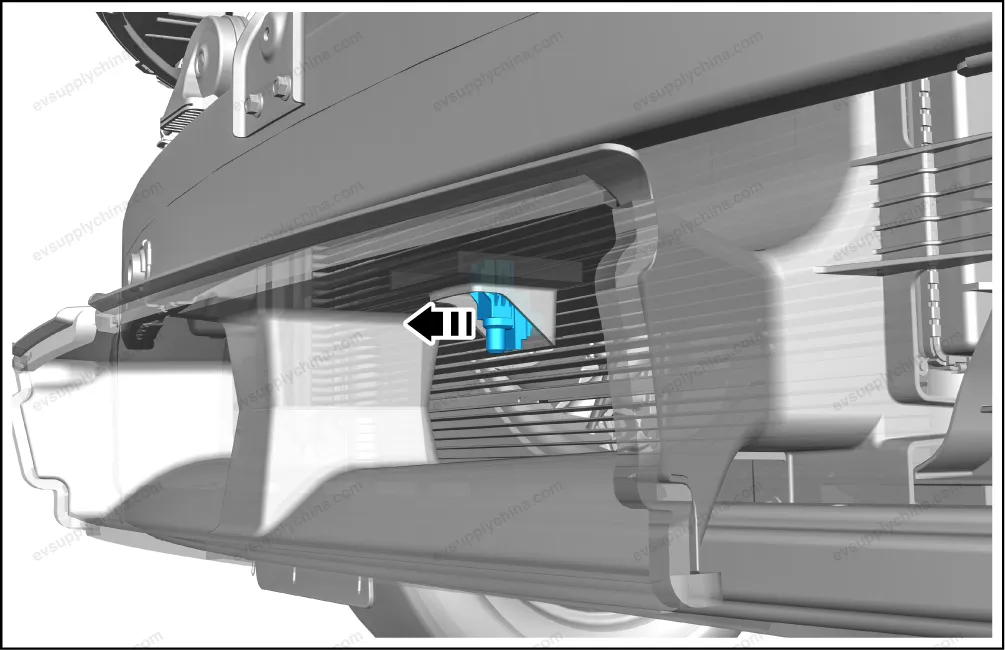
Outside Temperature Sensor - Removal and Installation
Removal
- Remove the grille upper cover assembly. See Grille Upper Cover Assembly - Removal and Installation
- Disconnect 1 connector.

- Pry up the outside temperature sensor.
Installation
- The installation steps are opposite to the removal steps.
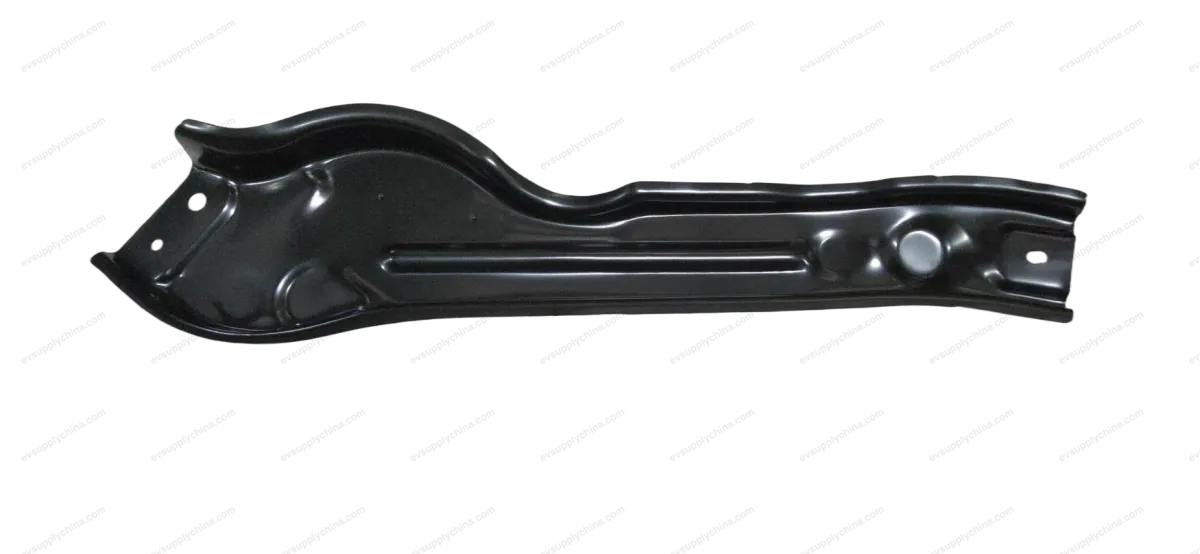
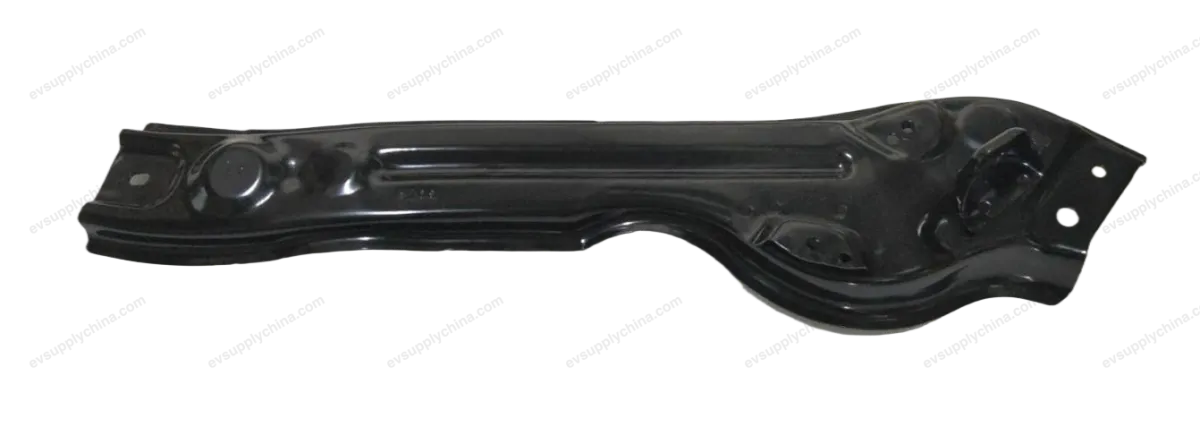
Sensor suhu evaporator Diagram Pemasangan — BYD Atto 3