وكالة
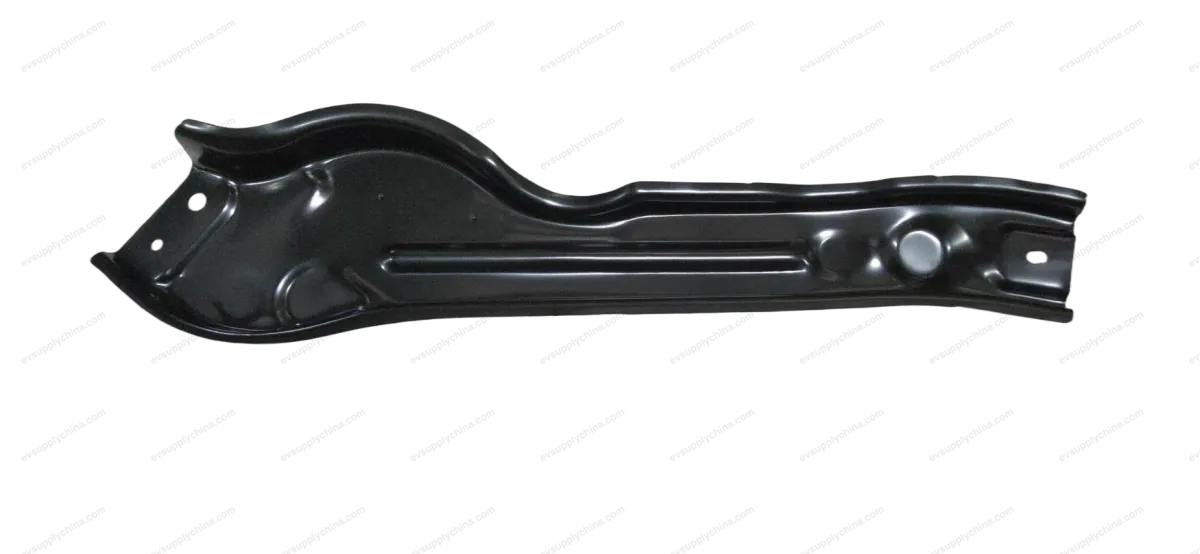
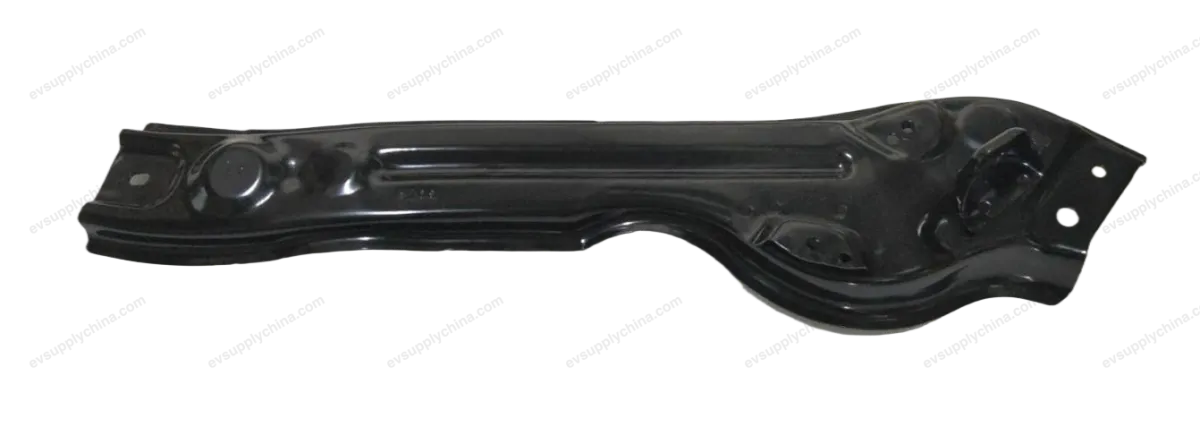
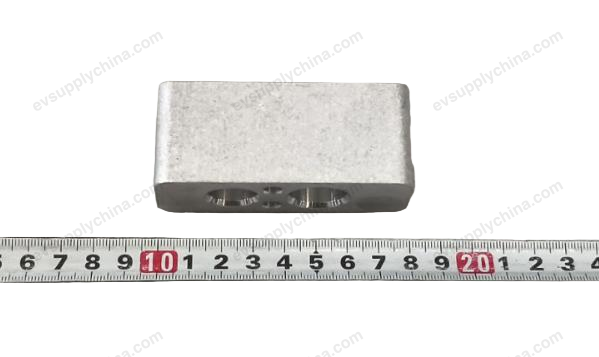
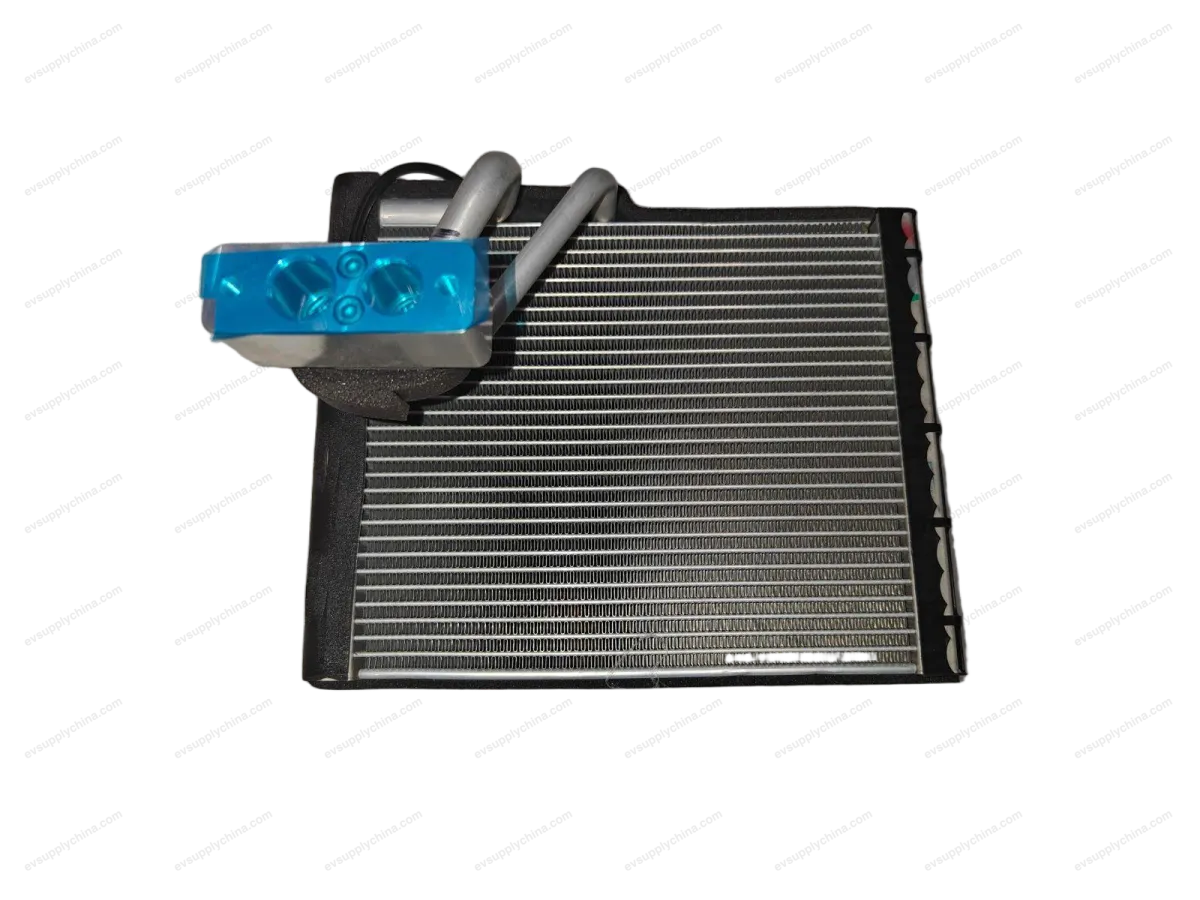
BYD Atto 3
حساس درجة حرارة المبخّر
أكواد OE / المواد
10895109-006B-8114310السعر عند الطلبمتوفر
المواصفات الفنية
- موديل السيارة
- BYD Atto 3
- تكوين التوجيه
- عام (مقود يسار ومقود يمين)
- الفئة
- ردياتير وتبريد
الشحن والإرجاع
شحن عالمي من الصين جواً أو بحراً. التسليم القياسي 5–30 يوم عمل، السريع 2–10 أيام عمل. تحسب تكلفة الشحن عند الدفع.
نافذة إرجاع 7 أيام للقطع غير المستخدمة في عبوتها الأصلية. تواصل معنا قبل إرجاع أي قطعة.
السيارات المتوافقة — حساس درجة حرارة المبخّر
BYDS7
2015–2017BYDe6 400
2016–2017BYDTang
2018–2019BYDTang New Energy
2017BYDTang 100
2017حساس درجة حرارة المبخّر دليل الورشة — BYD Atto 3
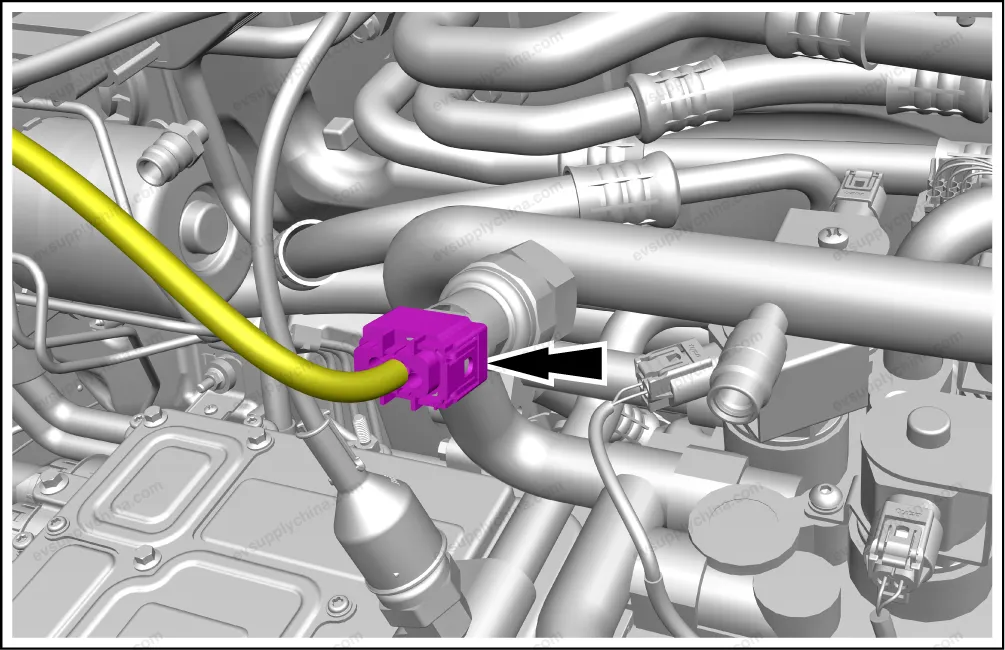
Pressure & Temperature Sensor - Removal and Installation
Removal
- Power off the low voltage electrical system. See Power-off and Power-on of Low Voltage Electrical System
- Recover the refrigerant See Recovery and Filling of Refrigerant
- Disconnect one connector of pressure & temperature sensor.
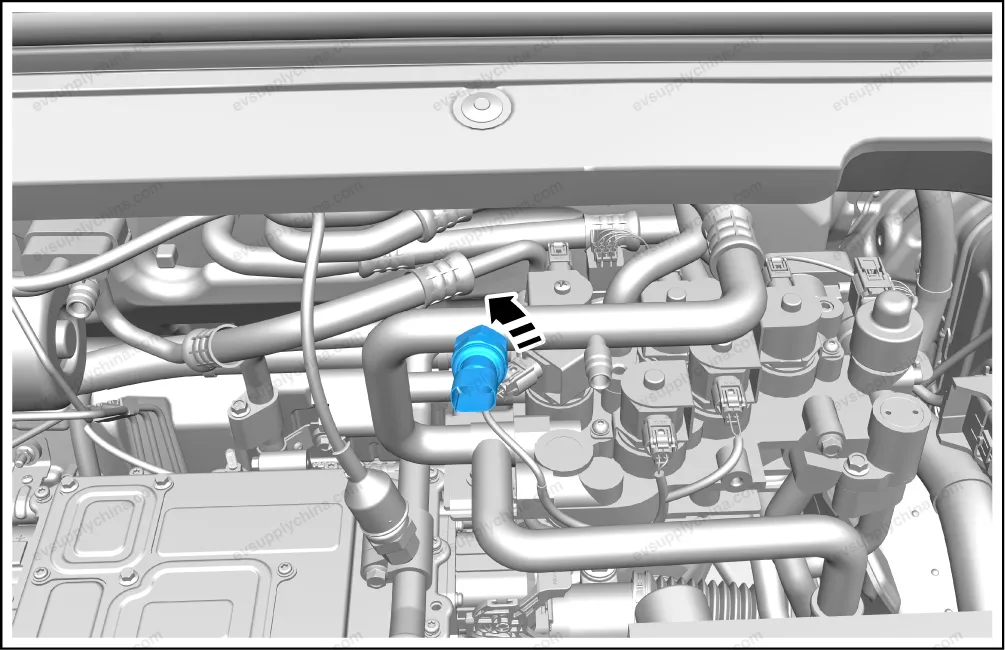
- Remove the pressure & temperature sensor.
Installation
- Follow the removal steps in reverse order to install.
Caution For the installation, all “O-rings” of the pipeline must be replaced, and refrigerant oil shall be applied on the surface of the seal rings and the seal rings shall be connected according to the stipulated torque.
Plate Temperature Sensor - Removal and Installation
Removal
- Power off the low voltage electrical system. See Power-off and Power-on of Low Voltage Electrical System
- Remove the plate end temperature sensor.
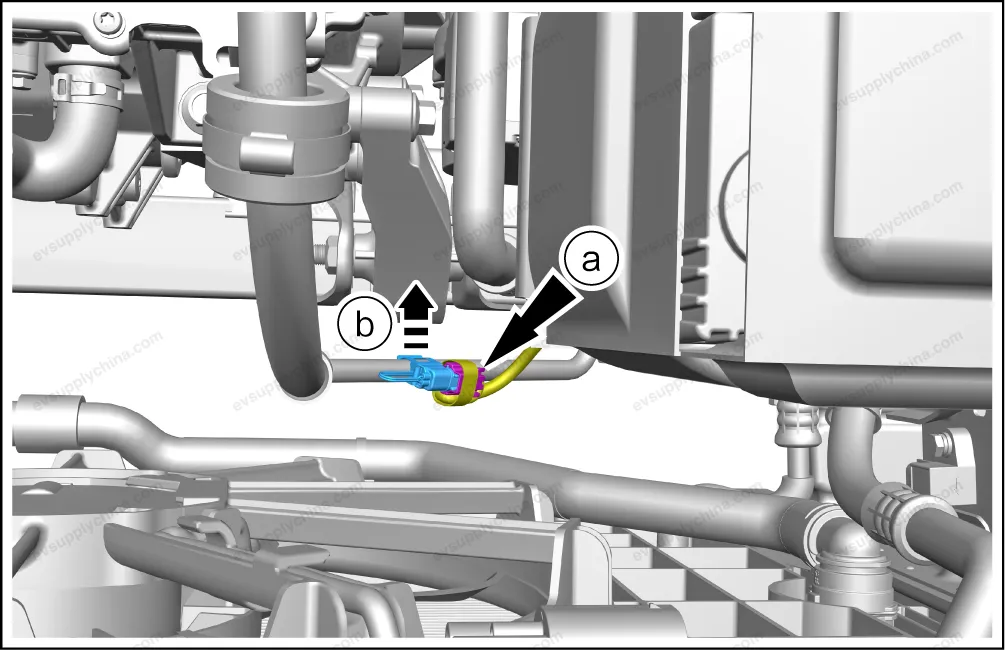
- Disconnect 1 connectors.
- Detach the plate end temperature sensor from the compressor discharge pipe assembly 1, and take it out.
Install
- The installation is performed in reverse order of removal.
Outside Temperature Sensor - Removal and Installation
Removal
- Remove the grille upper cover assembly. See Grille Upper Cover Assembly - Removal and Installation
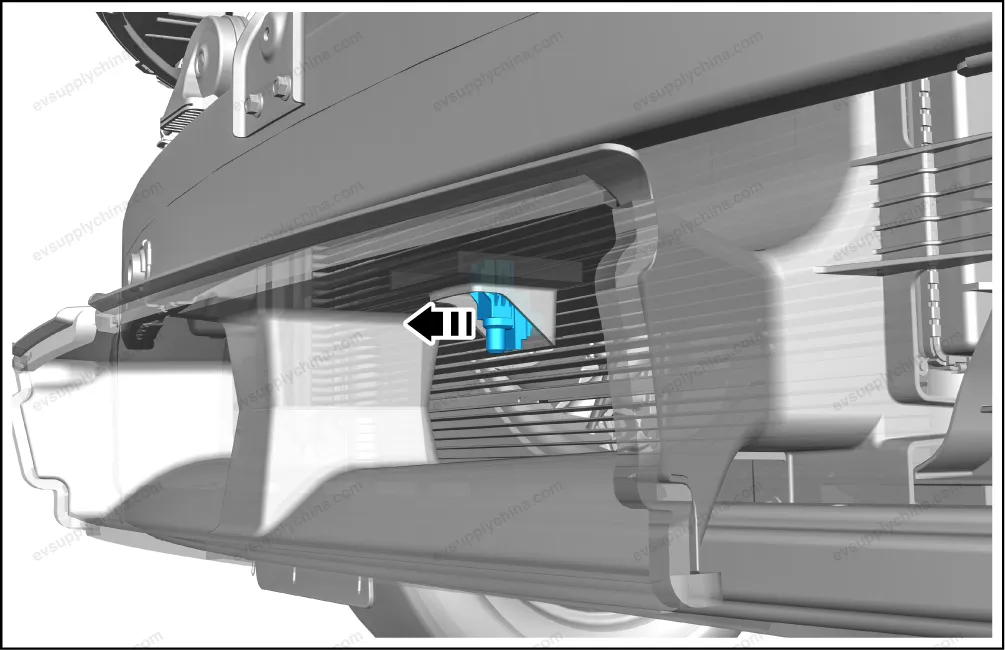
- Disconnect 1 connector.

- Pry up the outside temperature sensor.
Installation
- The installation steps are opposite to the removal steps.
حساس درجة حرارة المبخّر مخطط التركيب — BYD Atto 3