وكالة
BYD Atto 3
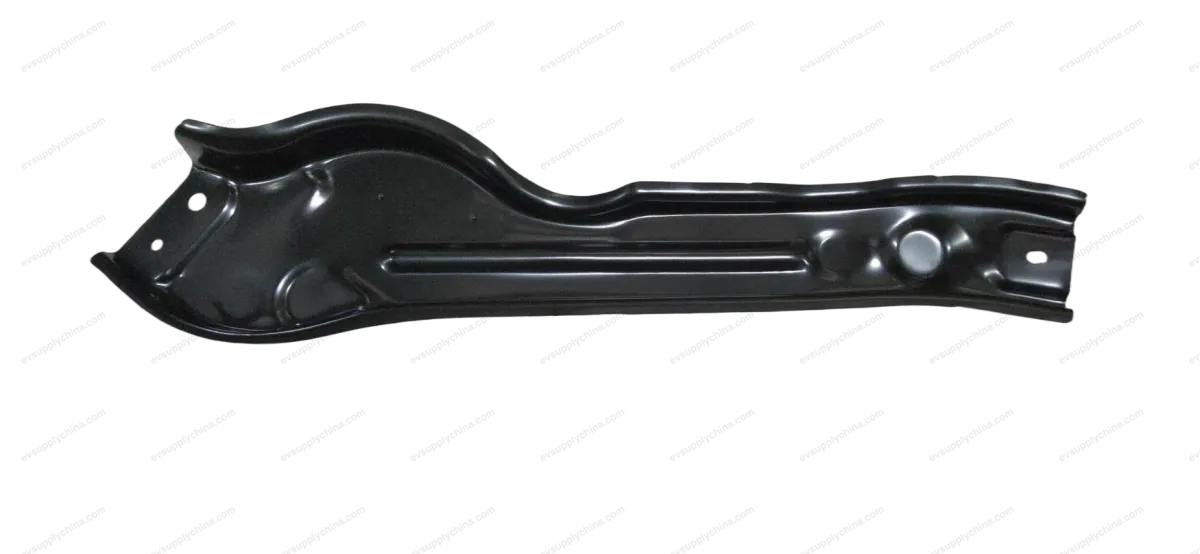
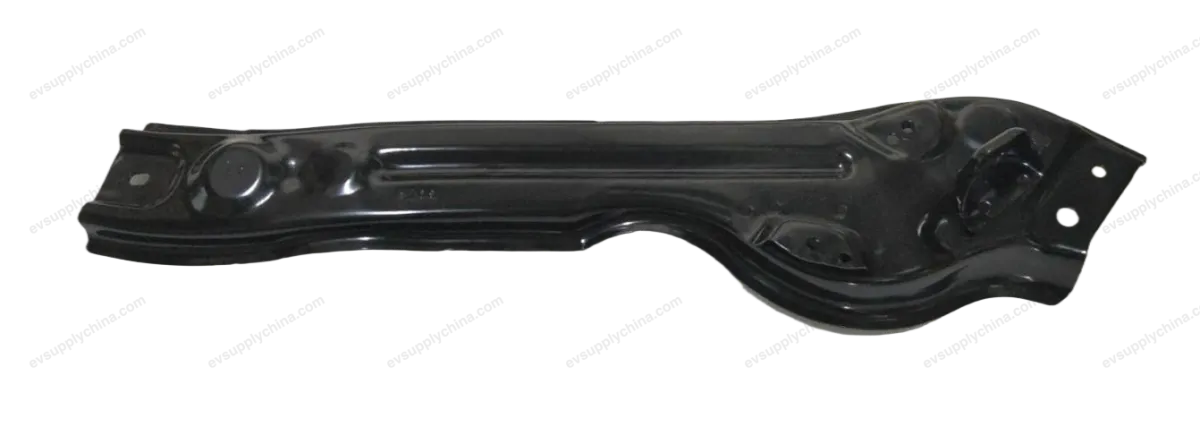
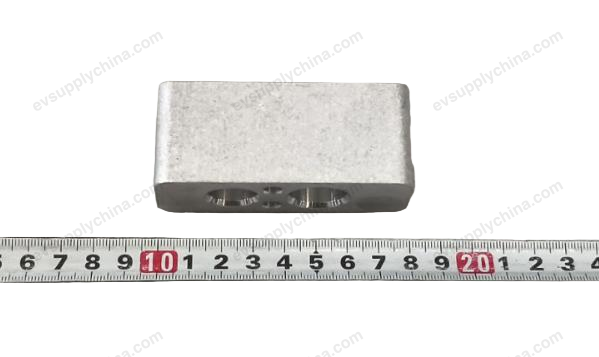
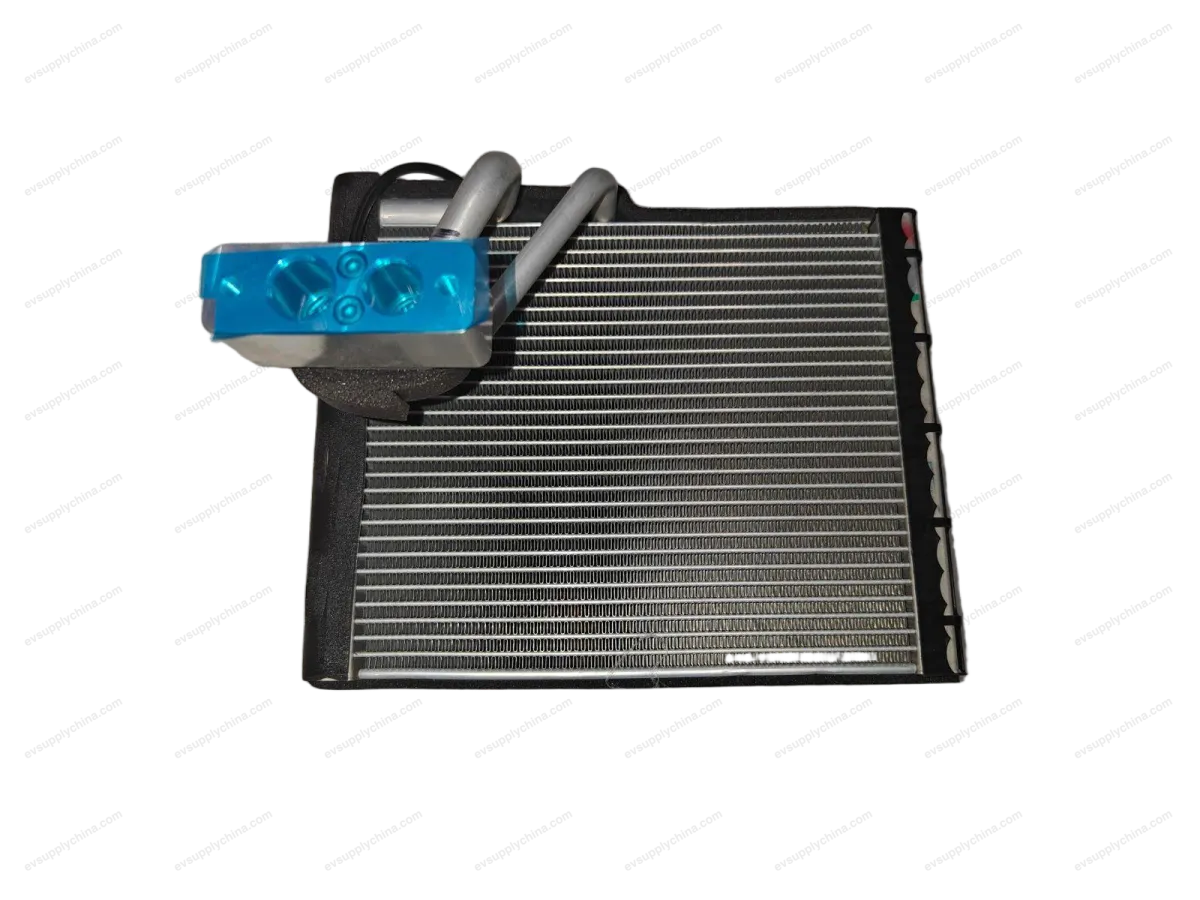
مجموعة مضخة الماء الكهربائية I
أكواد OE / المواد
13451444-00TA-1309010Cالسعر عند الطلبمتوفر
المواصفات الفنية
- موديل السيارة
- BYD Atto 3
- تكوين التوجيه
- عام (مقود يسار ومقود يمين)
- الفئة
- ردياتير وتبريد
الشحن والإرجاع
شحن عالمي من الصين جواً أو بحراً. التسليم القياسي 5–30 يوم عمل، السريع 2–10 أيام عمل. تحسب تكلفة الشحن عند الدفع.
نافذة إرجاع 7 أيام للقطع غير المستخدمة في عبوتها الأصلية. تواصل معنا قبل إرجاع أي قطعة.
السيارات المتوافقة — مجموعة مضخة الماء الكهربائية I
BYDDolphin
2023–2025BYDQin PLUS EV
2023–2024BYDSeal
2023–2024BYDYuan PLUS/Atto 3
2023–2025BYDYuan UP/Atto 2
2024–2025BYDSealion 05 EV
2025مجموعة مضخة الماء الكهربائية I دليل الورشة — BYD Atto 3
Electric Water Pump Assembly I - Removal and Installation
Removal
- Discharge coolant. See Replacement of Coolant
- Remove the front motor lower mudguard assembly. See Front Motor Lower Mudguard Assembly - Removal and Installation
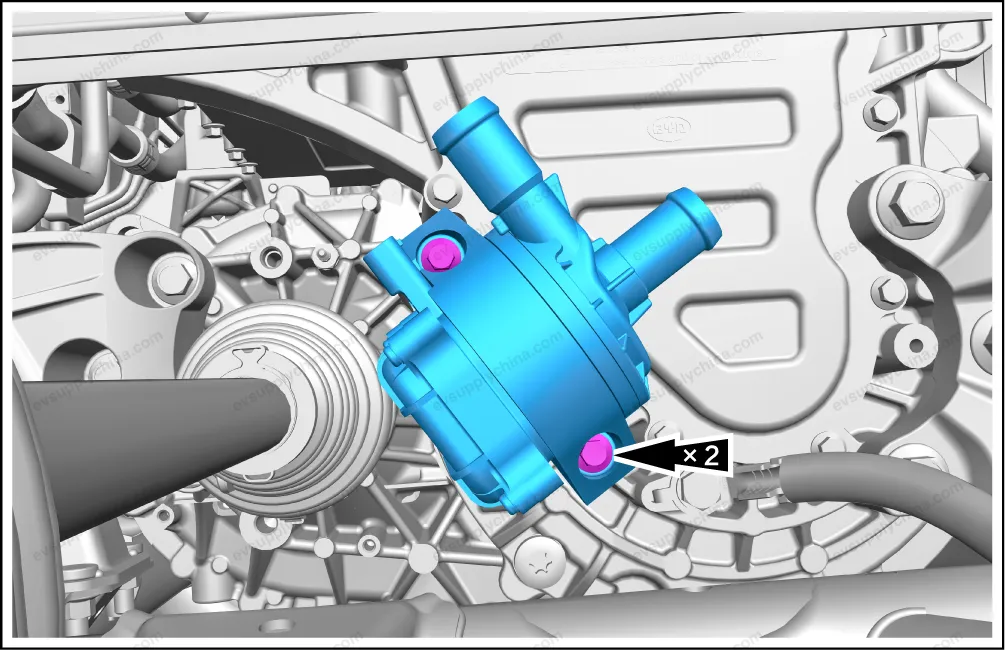
- Detach the pipeline connection of electric water pump assembly I.

- Disconnect 1 connector.
- Loosen 2 fixing clamps, and detach the connection between the plate heat exchanger inlet pipe assembly, the cooling pipe assembly 2 and the electric water pump assembly I.
- Remove 2 fixing bolts, and take out the electric water pump assembly I.
Installation
- The installation steps are opposite to the removal steps.
Caution After installation, check the pipeline joints to make sure there is no leakage. If any, the inspection and repair shall be carried out again.
Water Pipe Assembly in Motor Cooling Water Pump - Removal and Installation
Removal
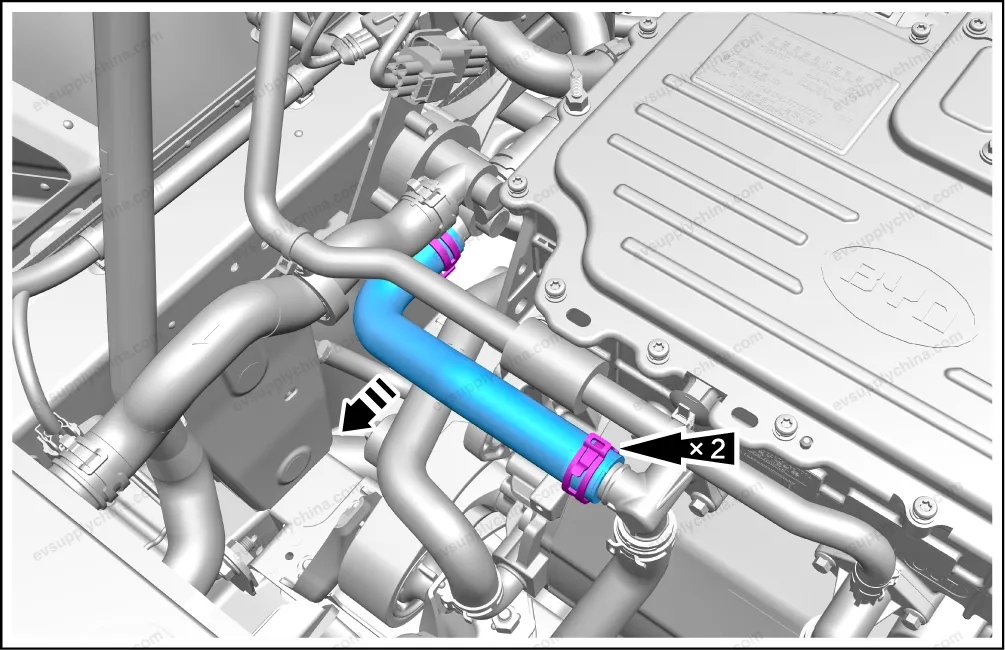
- Discharge coolant. See Replacement of Coolant
- Loosen 2 fixing clamps, detach the motor cooling water pump inlet pipe assembly from the three-way water valve body assembly
and the integrated intelligent front drive assembly, and take it out.
Installation
- The installation steps are opposite to the removal steps.
Caution After installation, check the pipeline joints to make sure there is no leakage. If any, the inspection and repair shall be carried out again.
مجموعة مضخة الماء الكهربائية I مخطط التركيب — BYD Atto 3