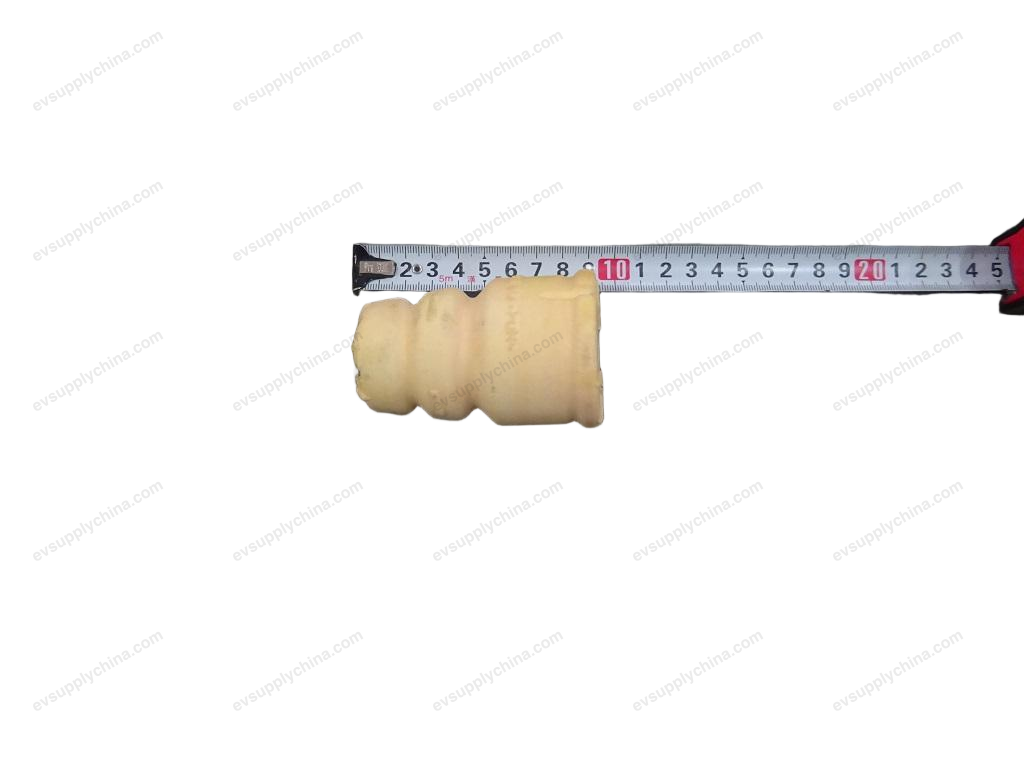
Амортизатор под втулкой
OE / Каталожные коды
19420020-00SC2E-2404102SТехнические характеристики
- Модель
- BYD Atto 3
- Конфигурация рулевого
- Универсальный (LHD и RHD)
- Категория
- Амортизаторы
Доставка и возврат
Доставка по всему миру из Китая авиа или морем. Стандартная доставка 5–30 рабочих дней, экспресс 2–10 рабочих дней. Стоимость рассчитывается на оформлении заказа.
7-дневный возврат для неиспользованных товаров в оригинальной упаковке. Свяжитесь с нами до отправки возврата.
Амортизатор под втулкой Руководство по ремонту — BYD Atto 3
Shock Absorber Lower Mounting Bushing - Removal and Installation
Removal
- Remove the left rear steering knuckle. See Left Rear Steering Knuckle - Removal and Installation
- Use hydraulic equipment to carefully press out the shock absorber lower mounting bushing.
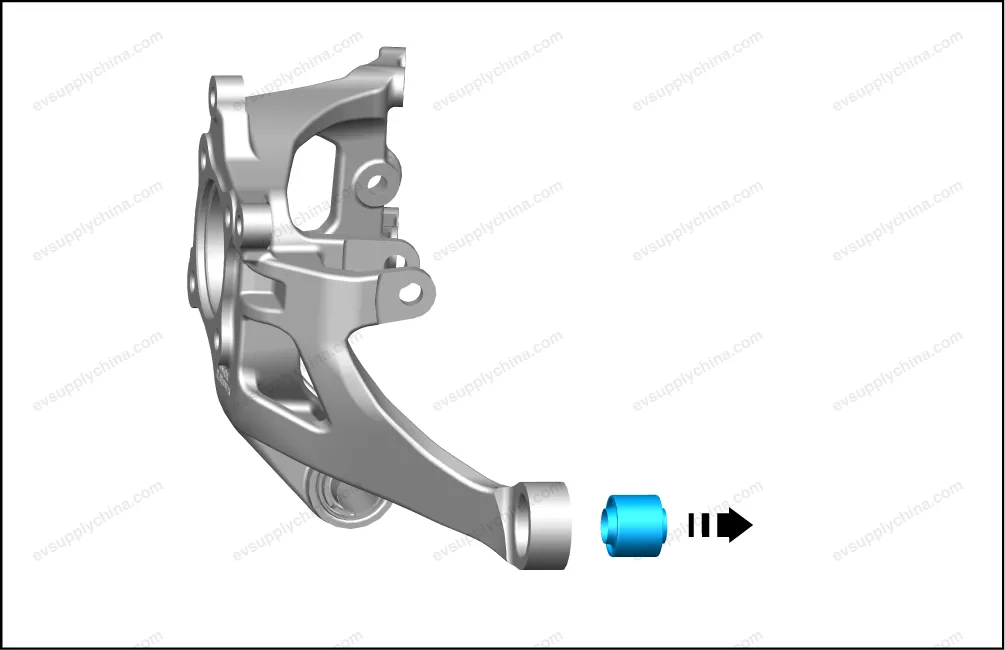
Caution Before removing the outer bushing of the lower swing arm, mark the original position. When installing new parts, refer to the mark position of the old parts. Operate the hydraulic equipment slowly and carefully and prevent damage to the rear steering knuckle.
Installation
- The installation steps are opposite to the removal steps.
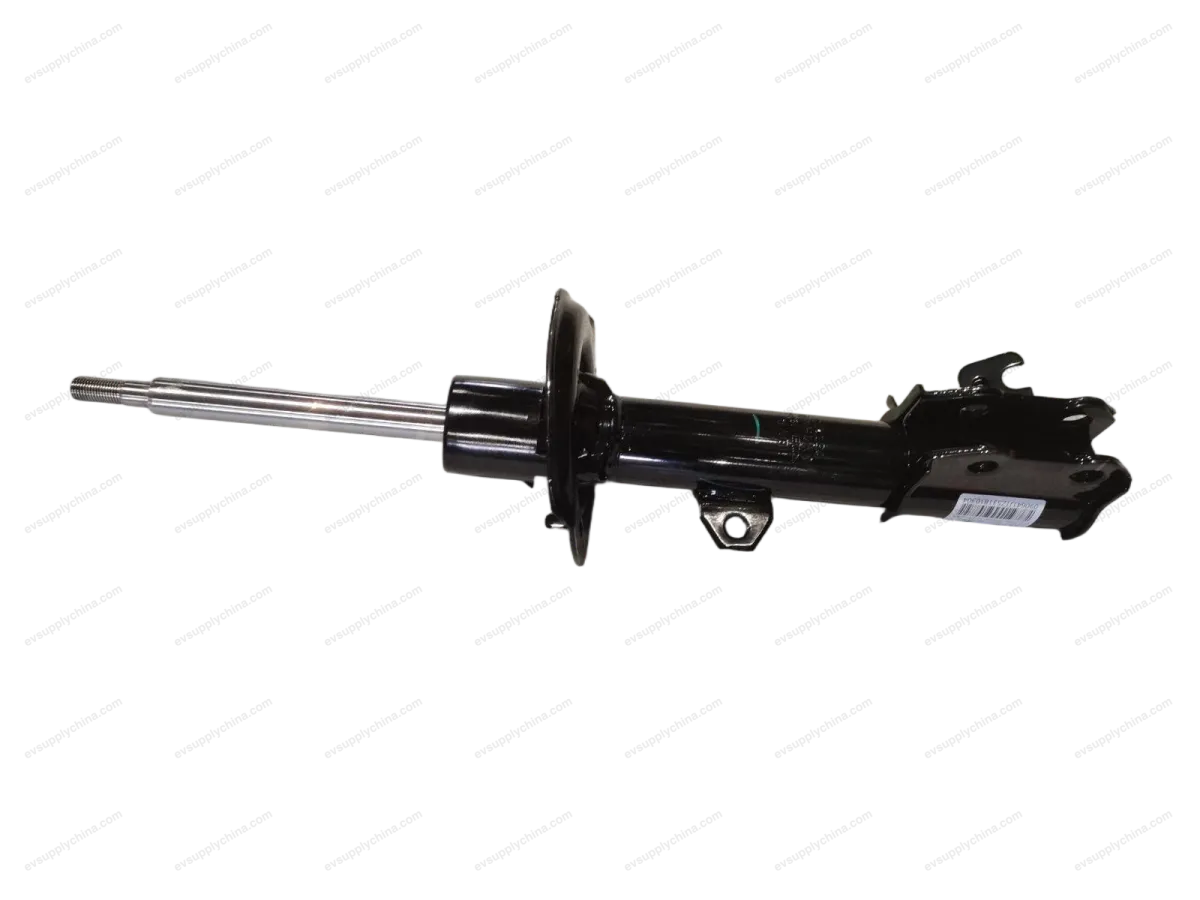
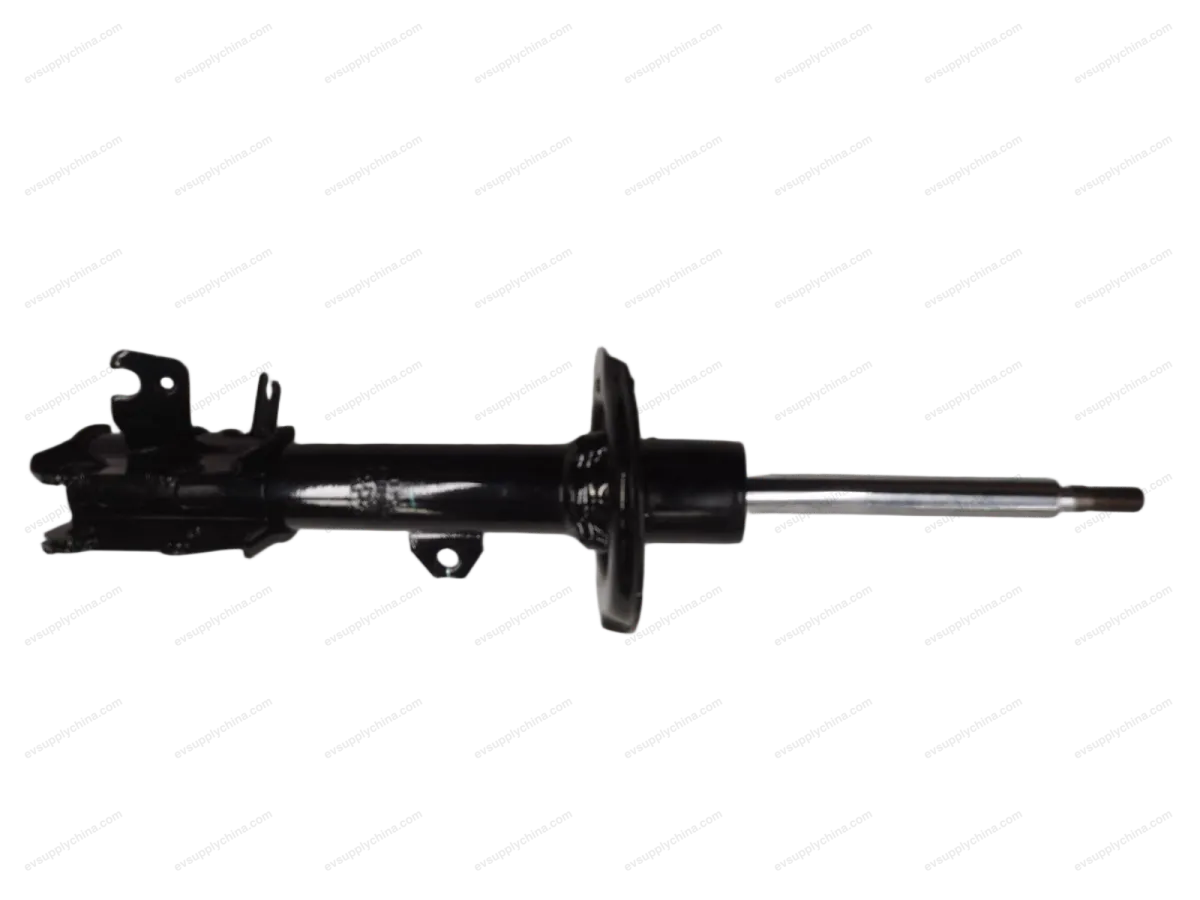
Rear Shock Absorber Assembly - Removal and Installation
Removal
- Remove the left rear wheel assembly. See Wheel Assembly - Removal and Installation
- Remove the rear shock absorber assembly.
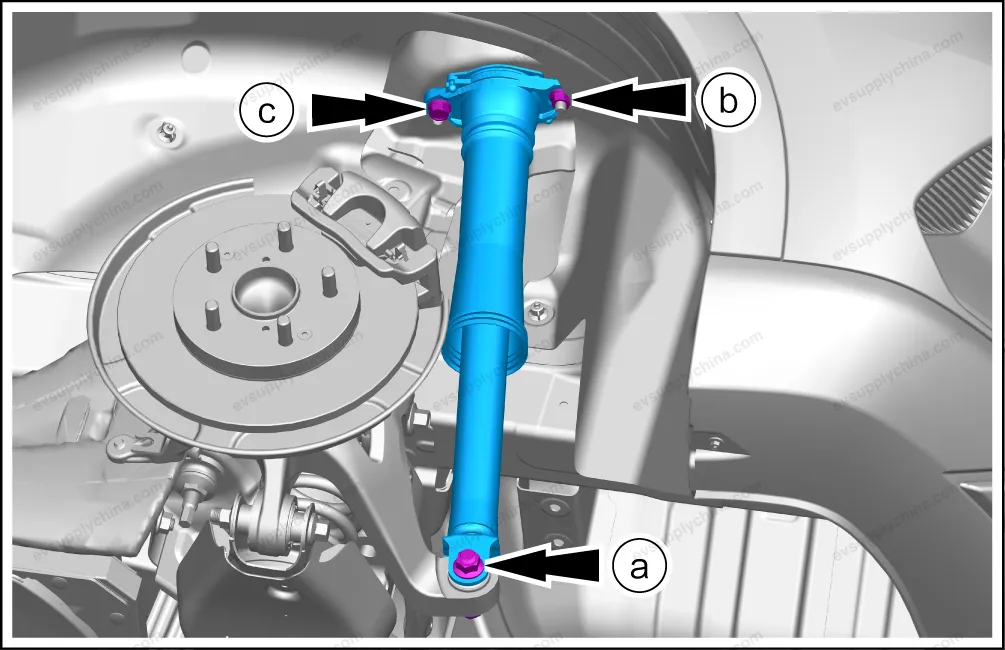
- Remove one nut/bolt from the lower part of the rear shock absorber assembly.
- Remove one nut from the upper part of the rear shock absorber assembly.
- Remove the upper bolt, and take out the rear shock absorber assembly.
Caution When removing the fixing nut/bolt, use appropriate equipment to support the rear steering knuckle assembly.
Installation
- Follow the removal steps in reverse order to install.
Removal of Rear Shock Absorber Assembly
Disassemble
- Remove the rear shock absorber assembly. See Rear Shock Absorber Assembly - Removal and Installation
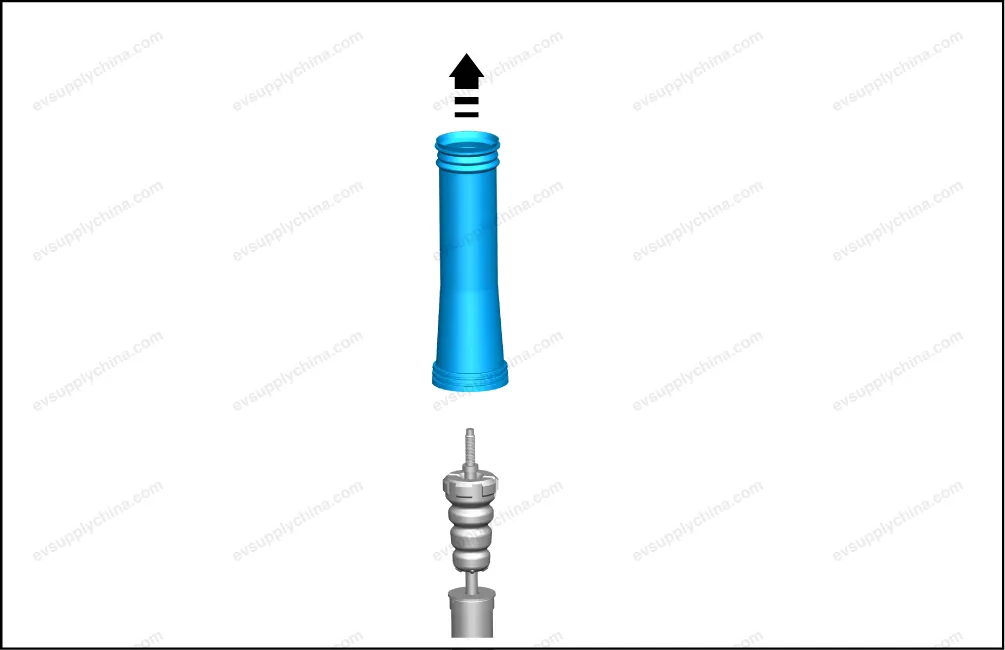
- Take out the rear shock absorber dust cover.

- Remove 1 fixing nut from the upper support combination.
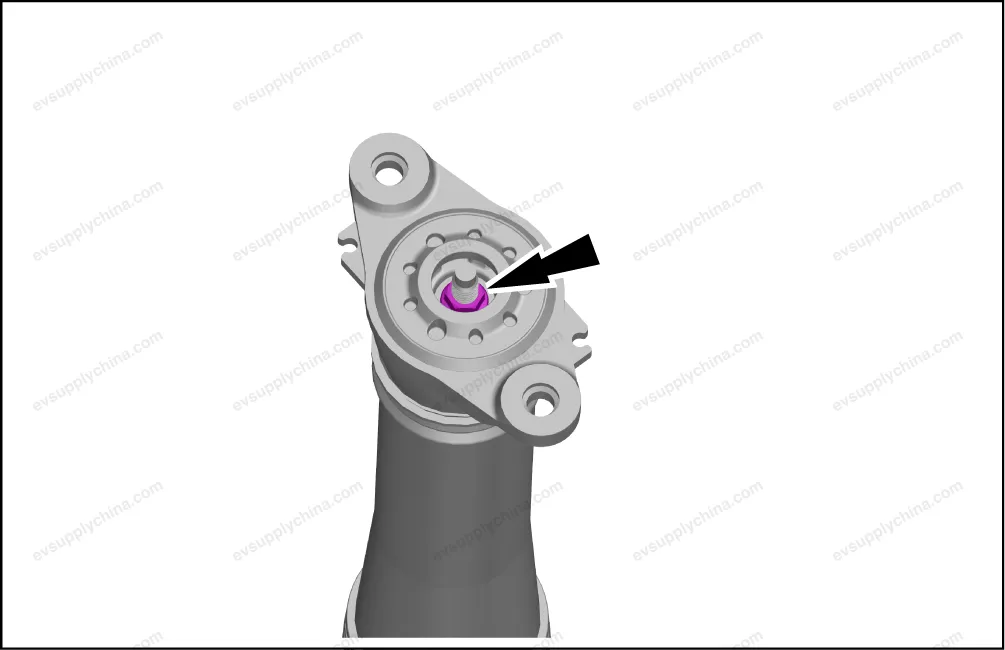
- Take out the upper support combination.
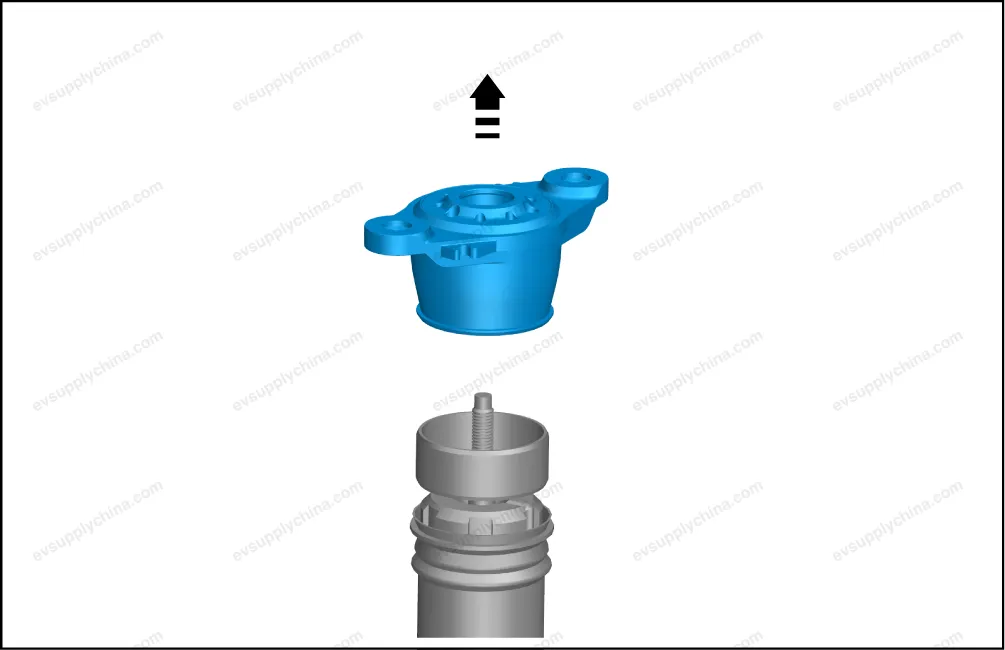
- Take out the connecting rod liner.

- Take out the rear shock absorber dust cover.
- Take out the rear shock absorber and rear shock absorber damper assembly.
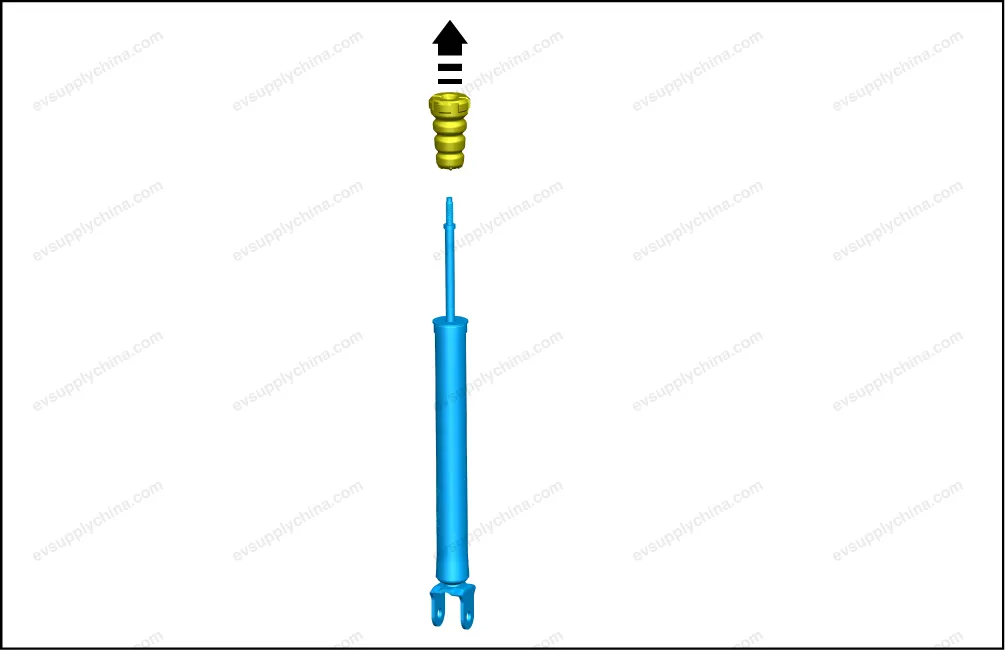
Assemble
- The assembly is performed in reverse order of disassembly.