Оригинал
BYD Atto 3
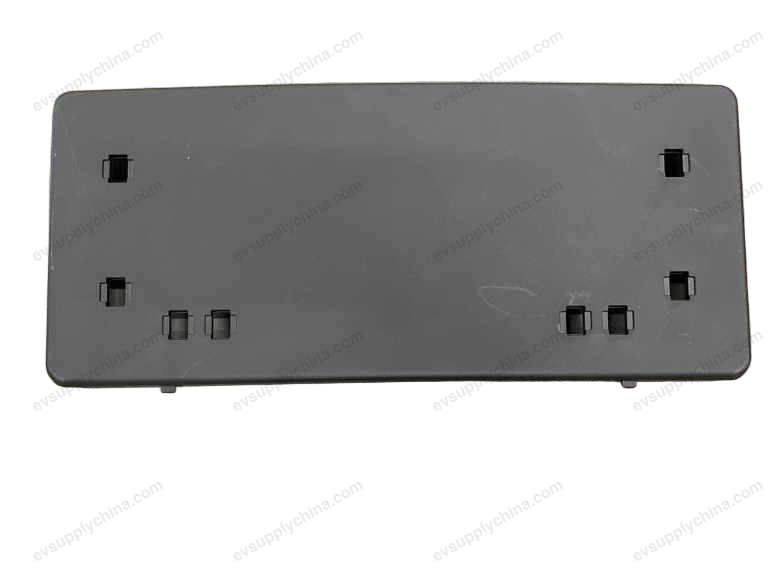
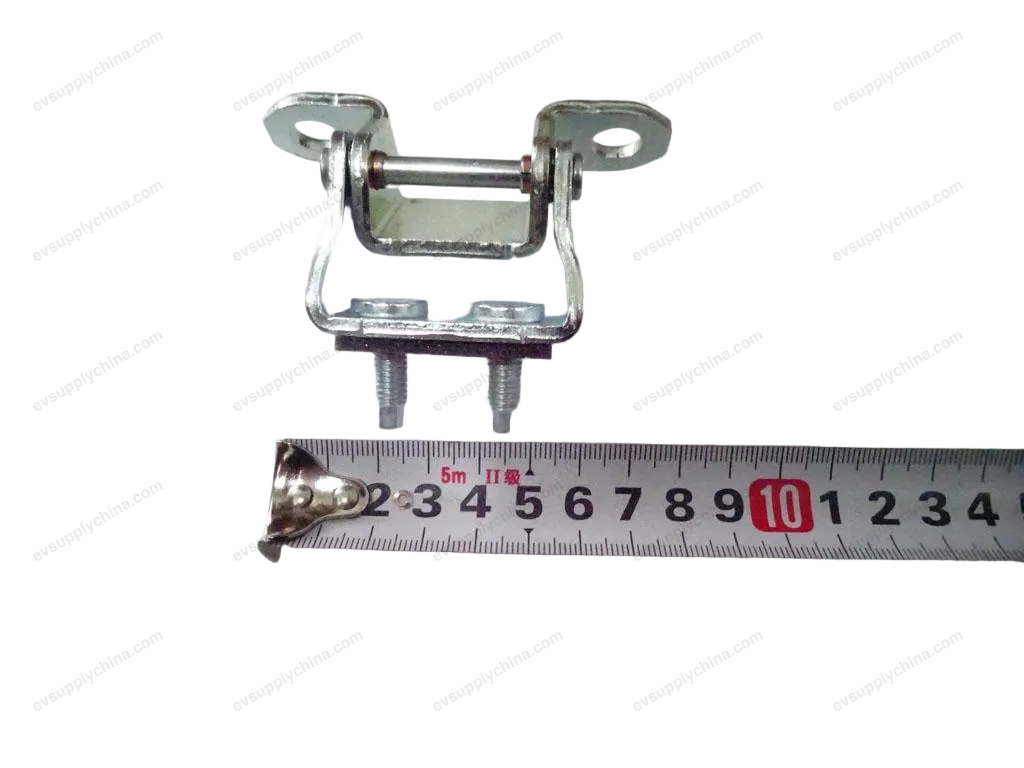
Кронштейн крепления стекла правой задней двери в сборе
OE / Каталожные коды
13177382-00SC2E-6204120$22USD
В наличииТехнические характеристики
- Модель
- BYD Atto 3
- Конфигурация рулевого
- Универсальный (LHD и RHD)
- Категория
- Внешние кузовные детали
Доставка и возврат
Доставка по всему миру из Китая авиа или морем. Стандартная доставка 5–30 рабочих дней, экспресс 2–10 рабочих дней. Стоимость рассчитывается на оформлении заказа.
7-дневный возврат для неиспользованных товаров в оригинальной упаковке. Свяжитесь с нами до отправки возврата.
Совместимые автомобили — Кронштейн крепления стекла правой задней двери в сборе
BYDYuan PLUS/Atto 3
2022–2025Кронштейн крепления стекла правой задней двери в сборе Руководство по ремонту — BYD Atto 3
Right Rear Window Regulator Bracket Assembly - Removal and Installation
Removal
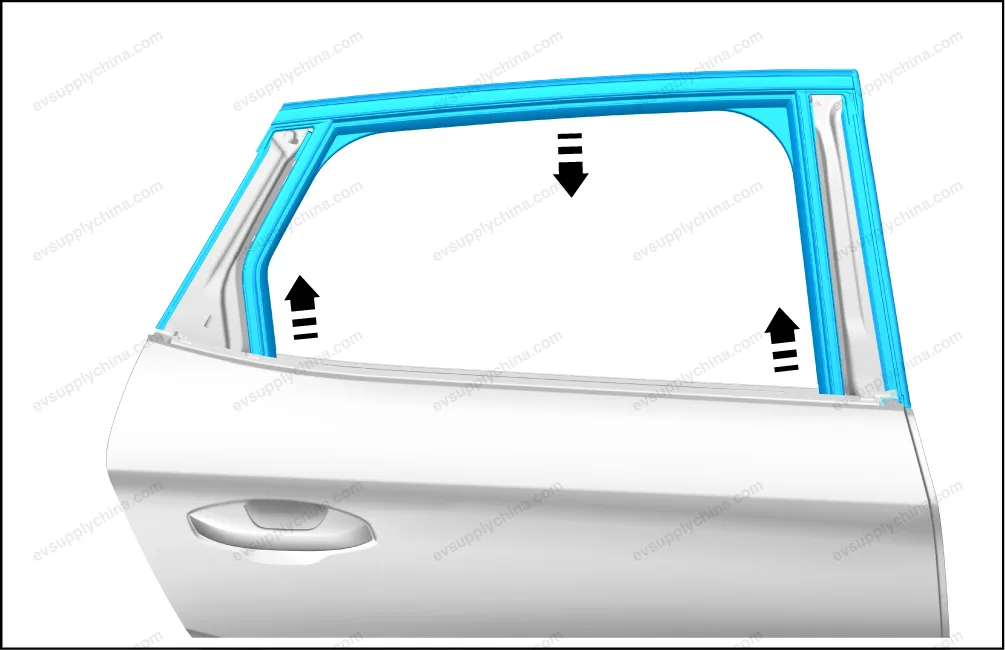
- Remove the right rear door glass assembly. See Right Rear Door Glass Assembly - Removal and Installation
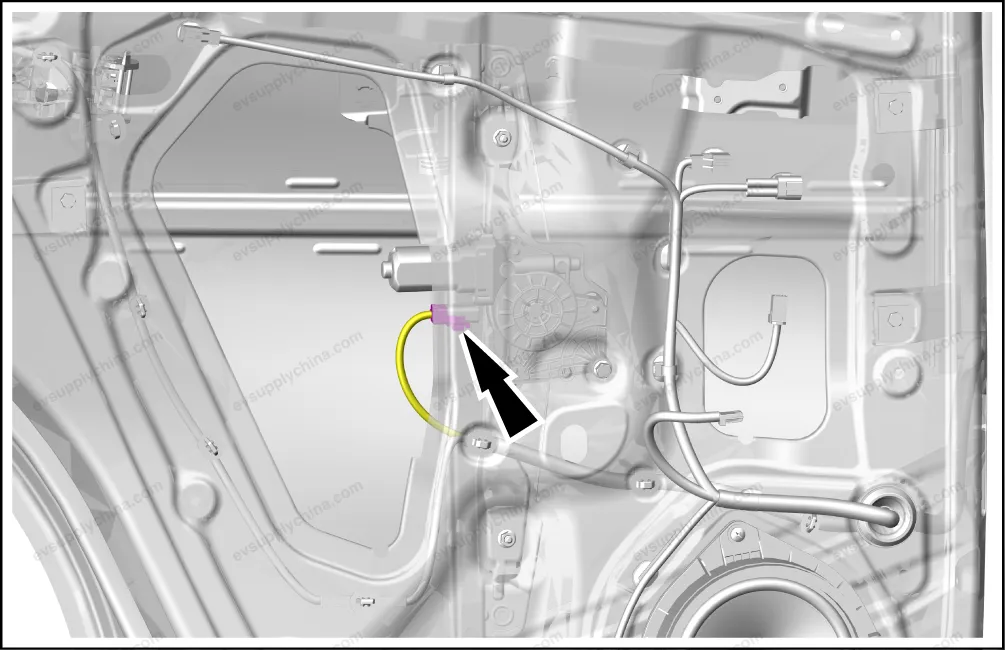
- Disconnect 1 connector of the right rear window regulator bracket assembly.
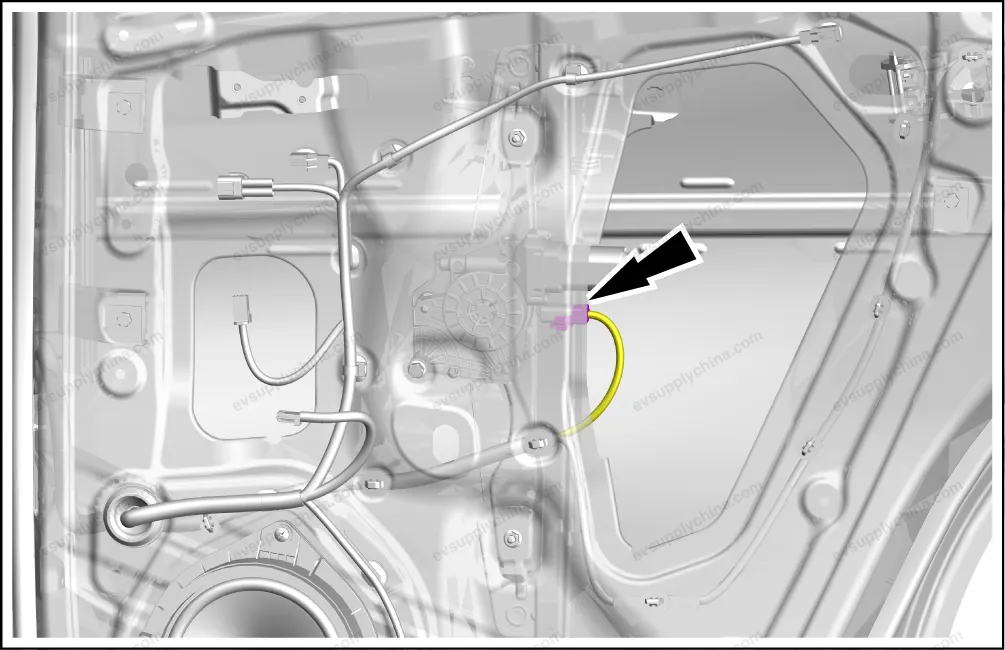
- Remove the right rear window regulator bracket assembly.
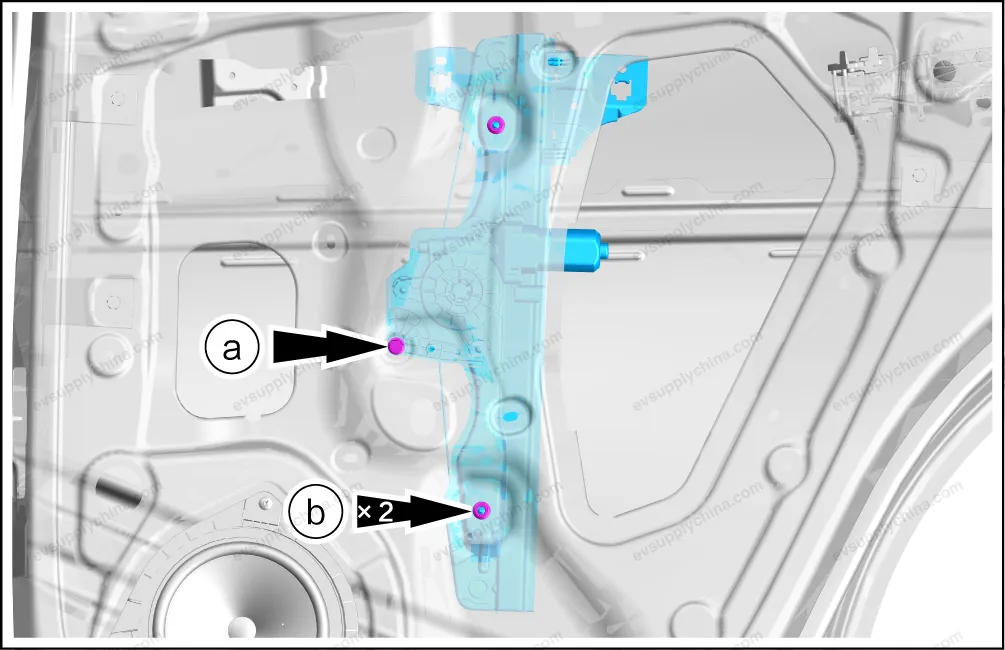
- Remove 1 fixing bolt.
- Remove 2 fixing nuts, and take out the right rear window regulator bracket assembly.
Installation
- The installation steps are opposite to the removal steps.
Caution On completion of installation, test the rear window regulator bracket assembly for normal function.
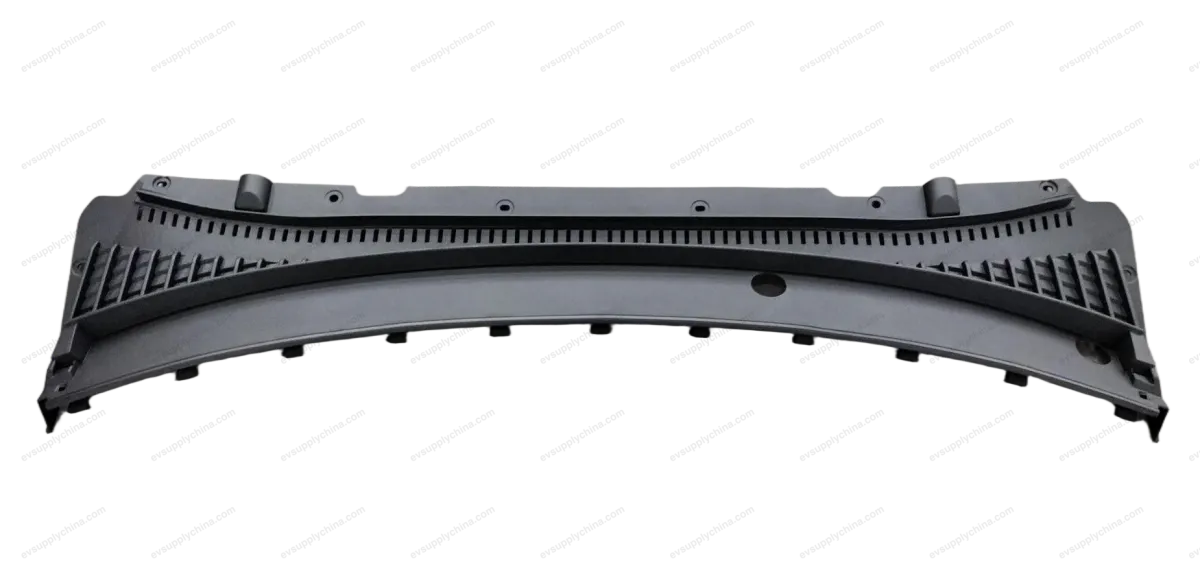
Right Rear Door Window Mud Tank Assembly - Removal and Installation
Removal
- Remove the right rear B-pillar exterior trim panel assembly. See Right Rear B-Pillar Exterior Trim Panel Assembly - Removal and Installation
- Remove the right C-pillar exterior trim panel assembly. See Right C-Pillar Exterior Trim Panel Assembly - Removal and Installation
- Take out the right rear door mud tank assembly.
Installation
- The installation steps are opposite to the removal steps.
Left Rear Window Regulator Bracket Assembly - Removal and Installation
Removal
- Remove the left rear door glass assembly. See Left Rear Door Glass Assembly - Removal and Installation
- Disconnect 1 connector of the left rear window regulator bracket assembly.
- Remove the left rear window regulator bracket assembly.
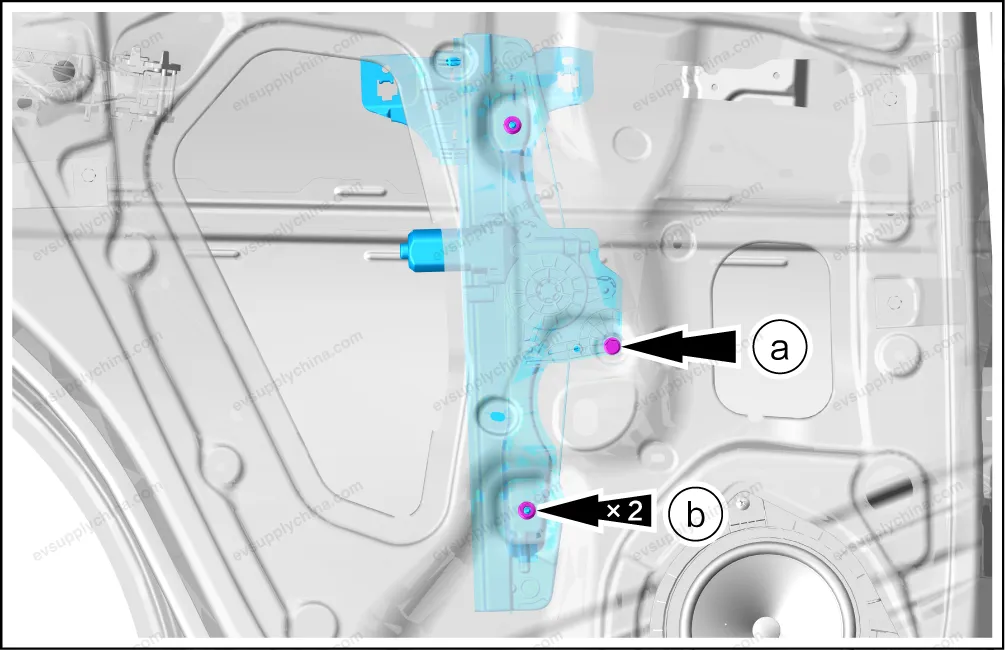
- Remove 1 fixing bolt.
- Remove 2 fixing nuts, and take out the left rear window regulator bracket assembly.
Installation
- The installation steps are opposite to the removal steps.
Caution On completion of installation, test the rear window regulator bracket assembly for normal function.