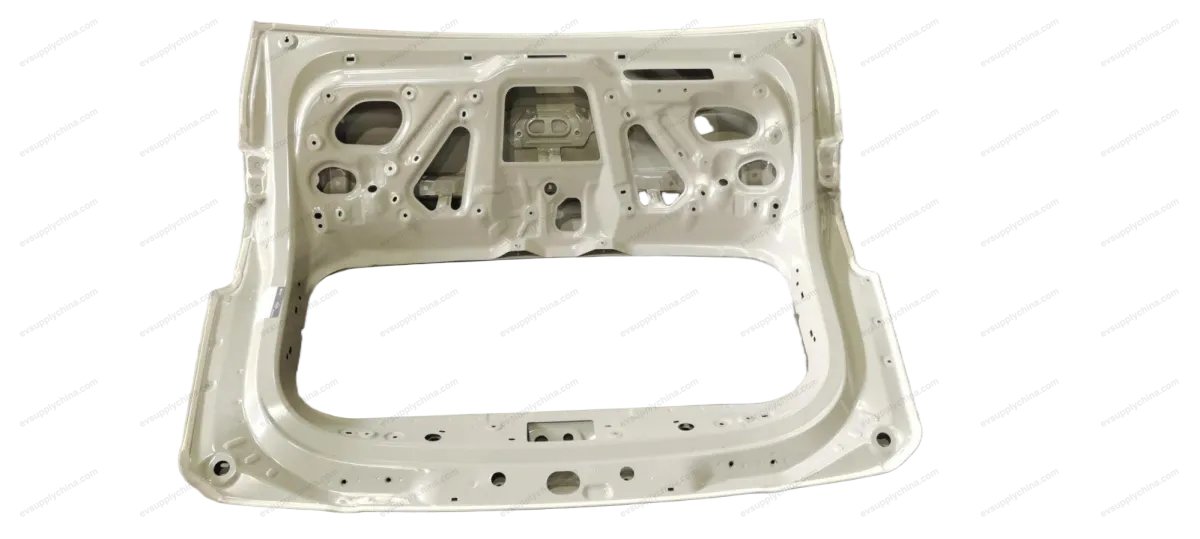
Декоративная накладка на правую заднюю дверь
OE / Каталожные коды
13736066-00SC2E-5402862Технические характеристики
- Модель
- BYD Atto 3
- Конфигурация рулевого
- Универсальный (LHD и RHD)
- Категория
- Двери и багажники
Доставка и возврат
Доставка по всему миру из Китая авиа или морем. Стандартная доставка 5–30 рабочих дней, экспресс 2–10 рабочих дней. Стоимость рассчитывается на оформлении заказа.
7-дневный возврат для неиспользованных товаров в оригинальной упаковке. Свяжитесь с нами до отправки возврата.
Совместимые автомобили — Декоративная накладка на правую заднюю дверь
Декоративная накладка на правую заднюю дверь Руководство по ремонту — BYD Atto 3
Replacement of Right Door Sill Inner Panel Assembly
Removal
- Remove the right side wall assembly. See
- Clear 37 welding spots, take out the reinforcement plate of right door sill inner panel.
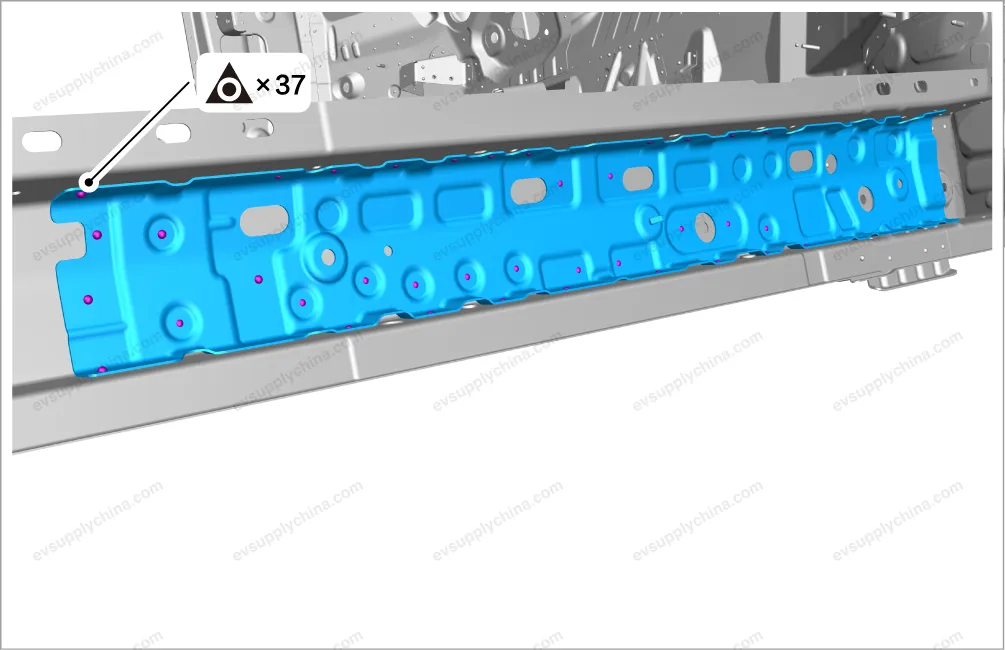
- Clear 7 welding spots, and take out the right door sill inner panel assembly.
Installation
- Secure the right door sill inner panel assembly to the mounting position.
- Check and adjust the relative position and dimensions of the right door sill inner panel assembly and the surrounding parts.
- Weld 7 welding spots on the right door sill inner panel assembly.
- Fix the reinforcement plate of right door sill inner panel to the mounting position.
- Check and adjust the relative position and dimensions of the reinforcement plate of right door sill inner panel and the surrounding parts.
- Weld 37 welding spots on the reinforcement plate of right door sill inner panel.
- Apply body sealant and internal coating at corresponding positions.
- After the external coating is applied, the anti rust agent shall be applied on the inner panel of the welding spots of the closed section structure.
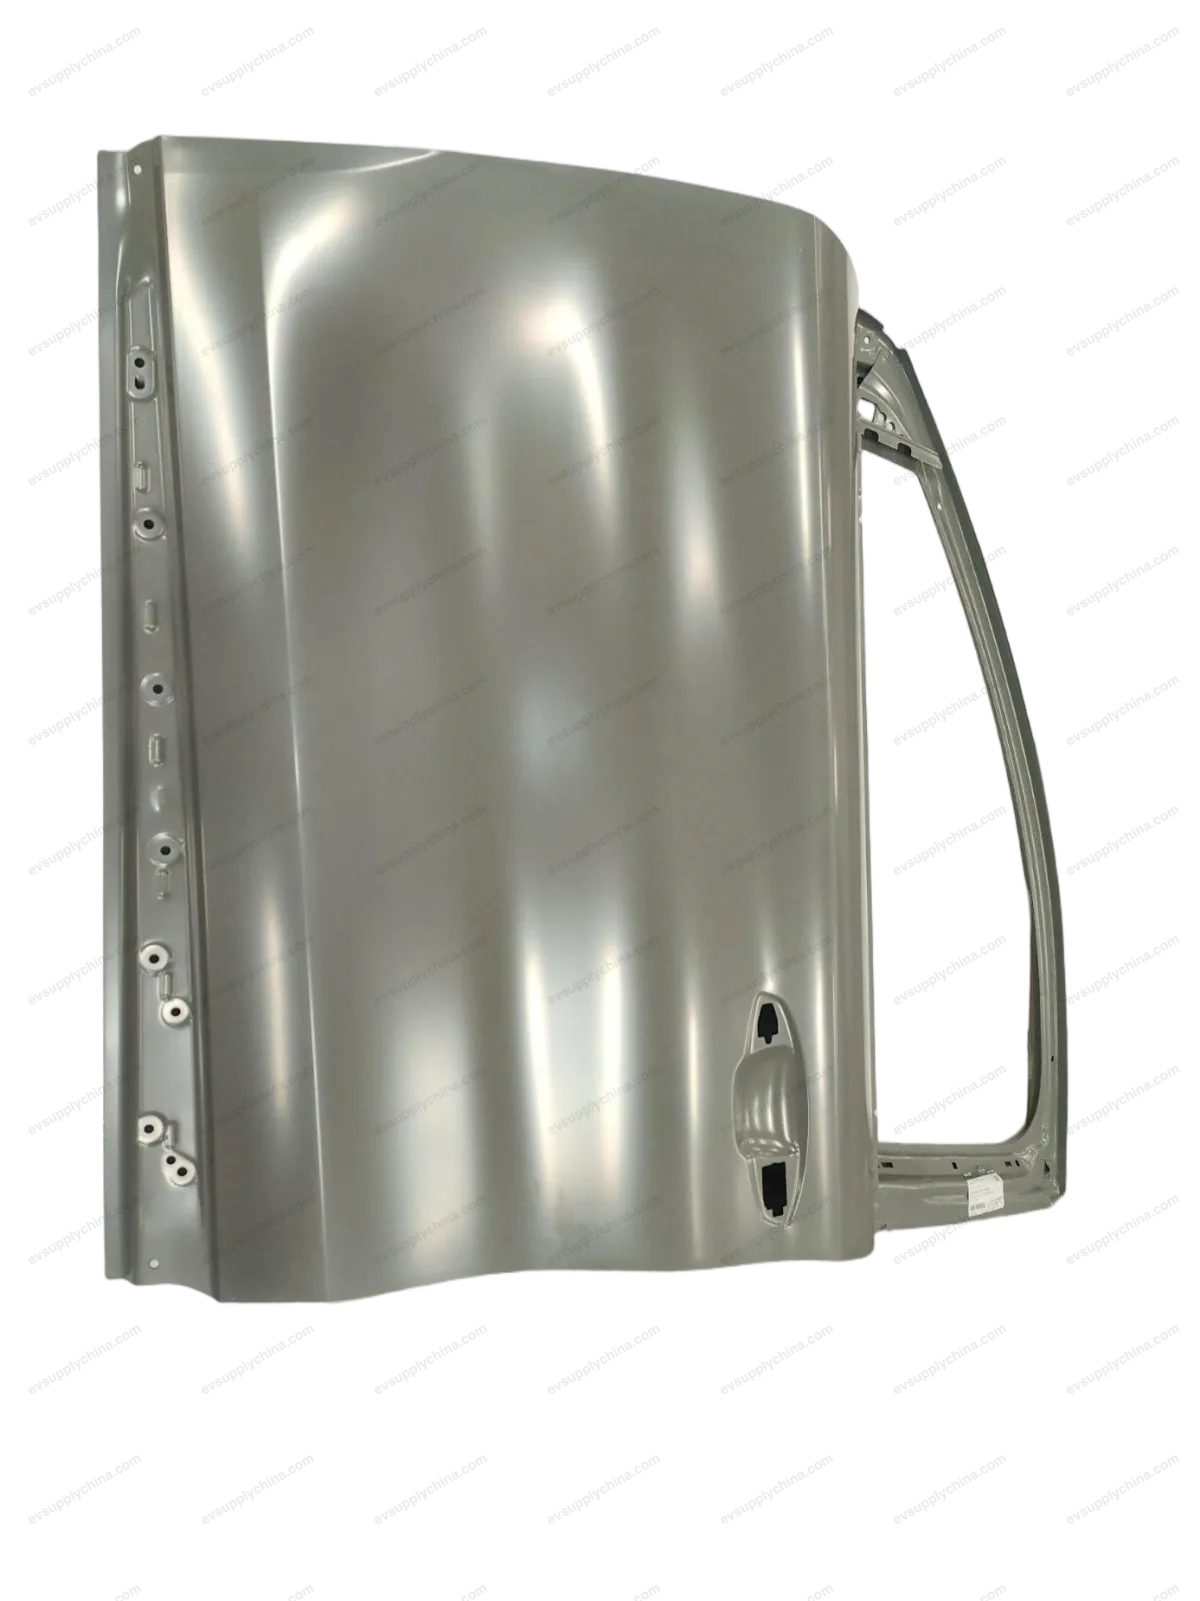
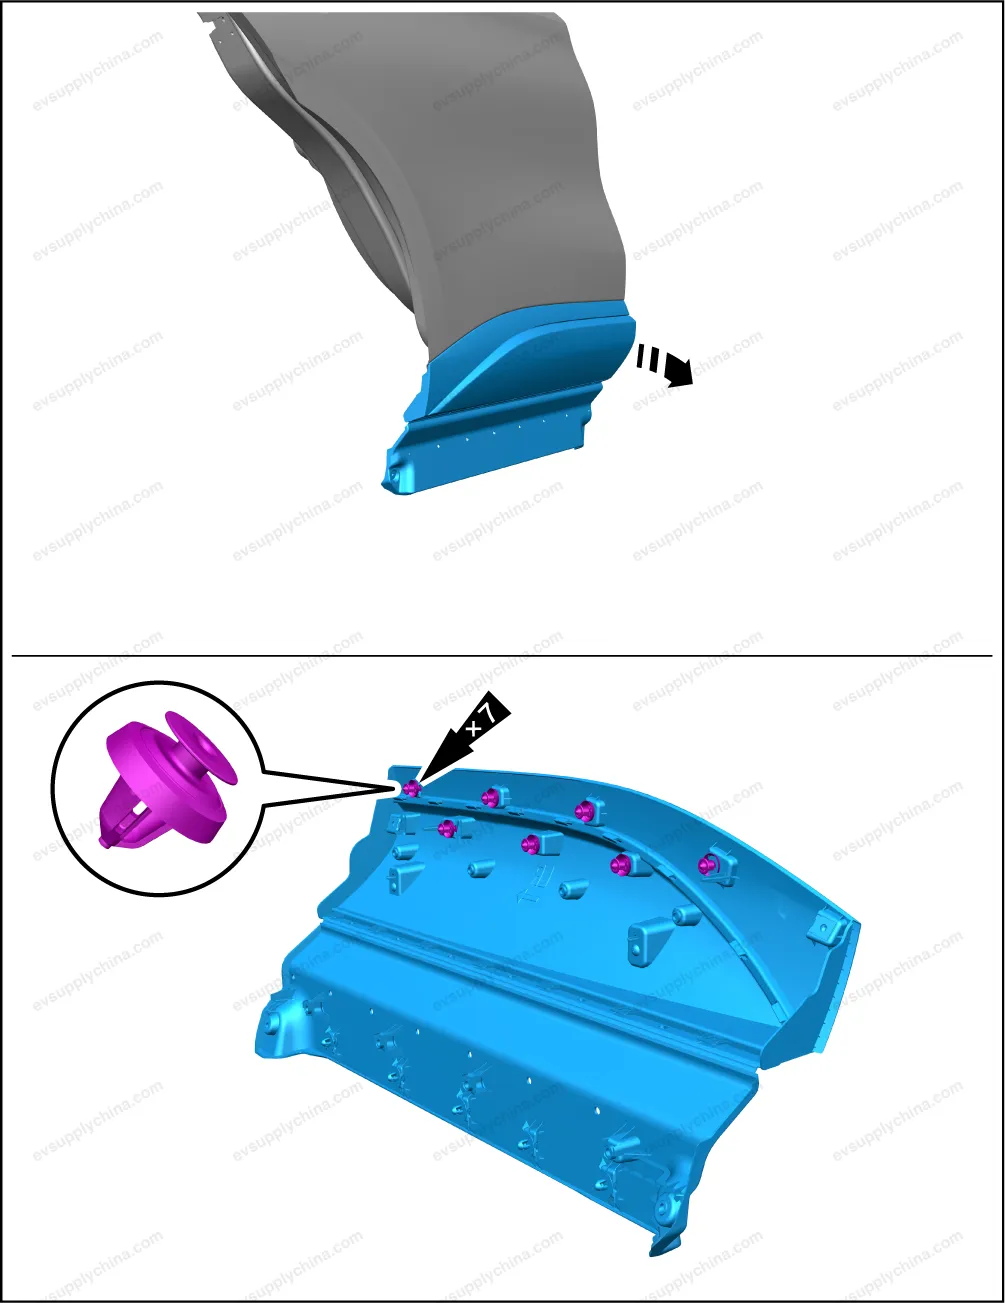
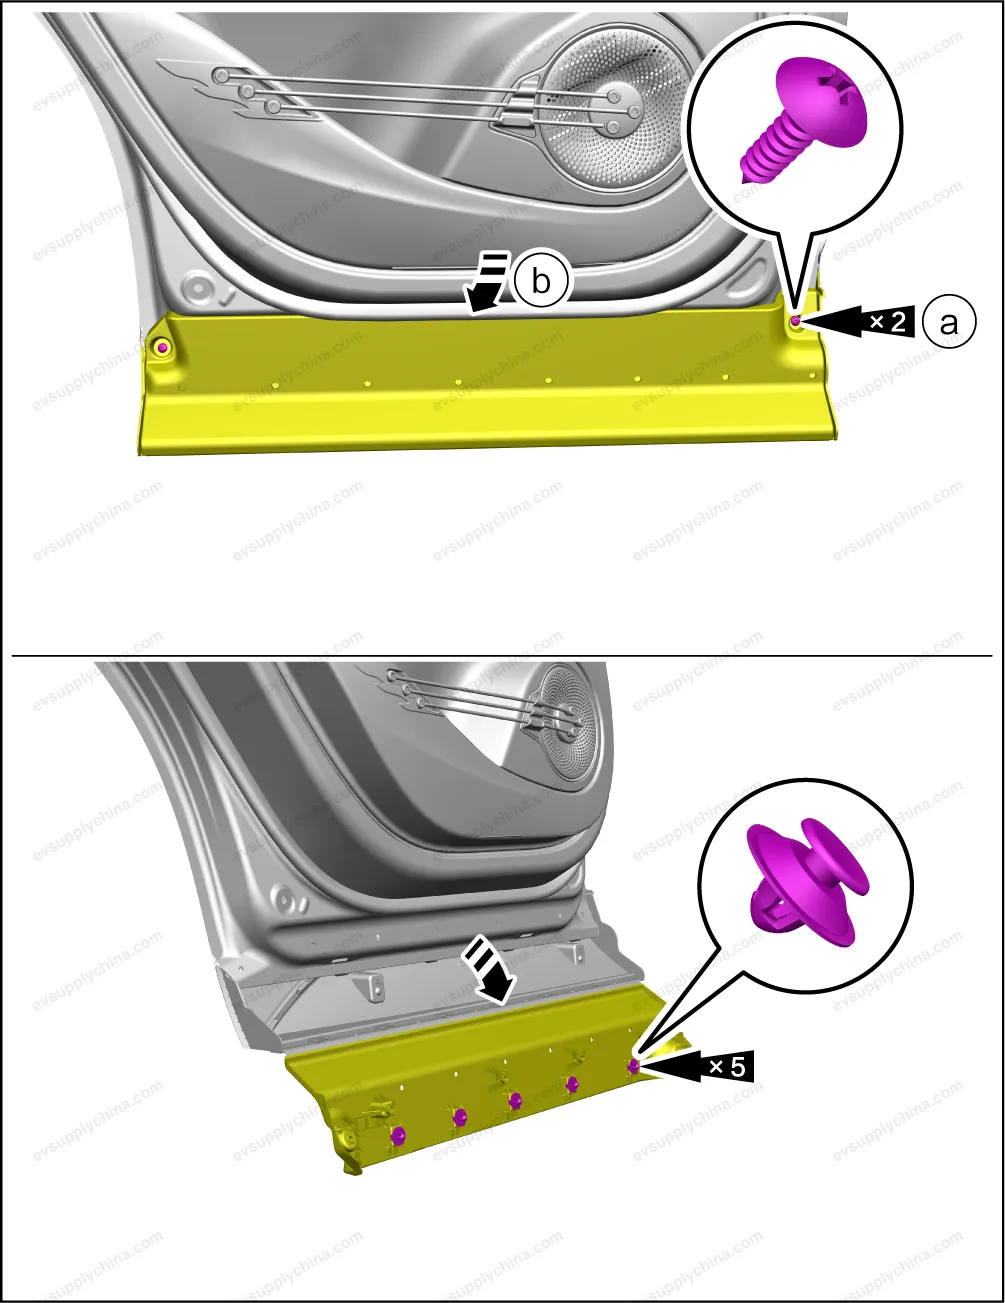
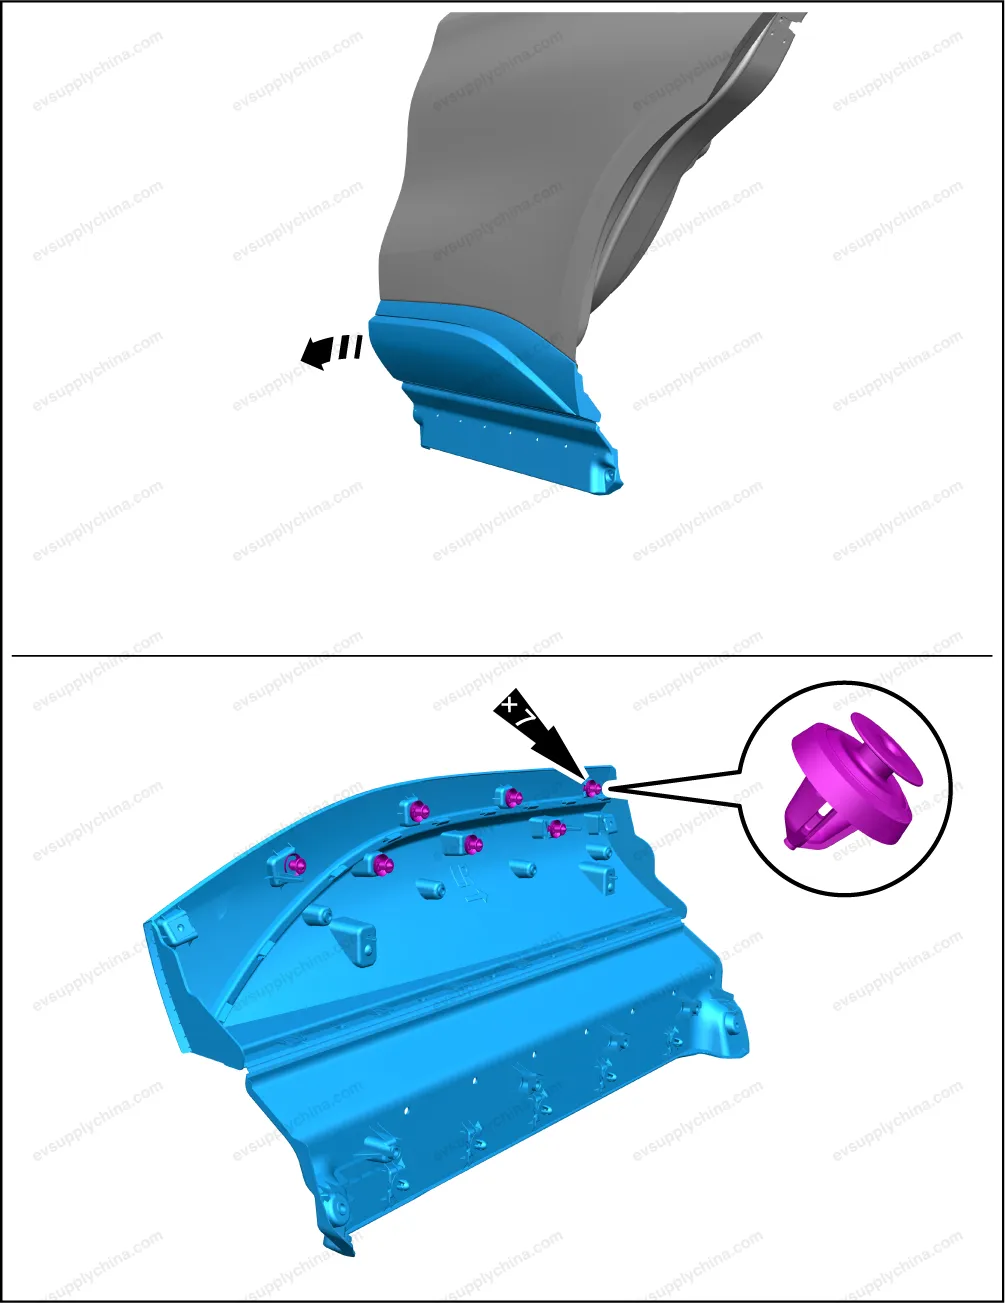
Right Rear Door Skirt Panel Assembly - Removal and Installation
Removal
- Pry up the connection between the right rear door skirt panel assembly and the inside of the right rear door.
- Remove 2 fixing screws.
- Pry up the connection between the right rear door skirt panel assembly and the inside of the right rear door.
- Pry up the connection between the right rear door skirt panel assembly and the outside of the right rear door, and take it
out.
Install
- The installation is performed in reverse order of removal.
Caution Before installation, it is necessary to check whether all the clips are missing or damaged, and if so, install new clips, and then install the trim panel; After installation, check whether all clips are installed in place. The installation position of the trim panel may deviate, resulting in warping or abnormal gaps.
Left Rear Door Skirt Panel Assembly - Removal and Installation
Removal
- Pry up the connection between the left rear door skirt panel assembly and the inside of the left rear door.
- Remove 2 fixing screws.
- Pry up the connection between the left rear door skirt panel assembly and the inside of the left rear door.
- Pry up the connection between the left rear door skirt panel assembly and the outside of the left rear door, and take it out.
Installation
- The installation steps are opposite to the removal steps.
Caution Before installation, it is necessary to check whether all the clips are missing or damaged, and if so, install new clips, and then install the trim panel; After installation, check whether all clips are installed in place. The installation position of the trim panel may deviate, resulting in warping or abnormal gaps.