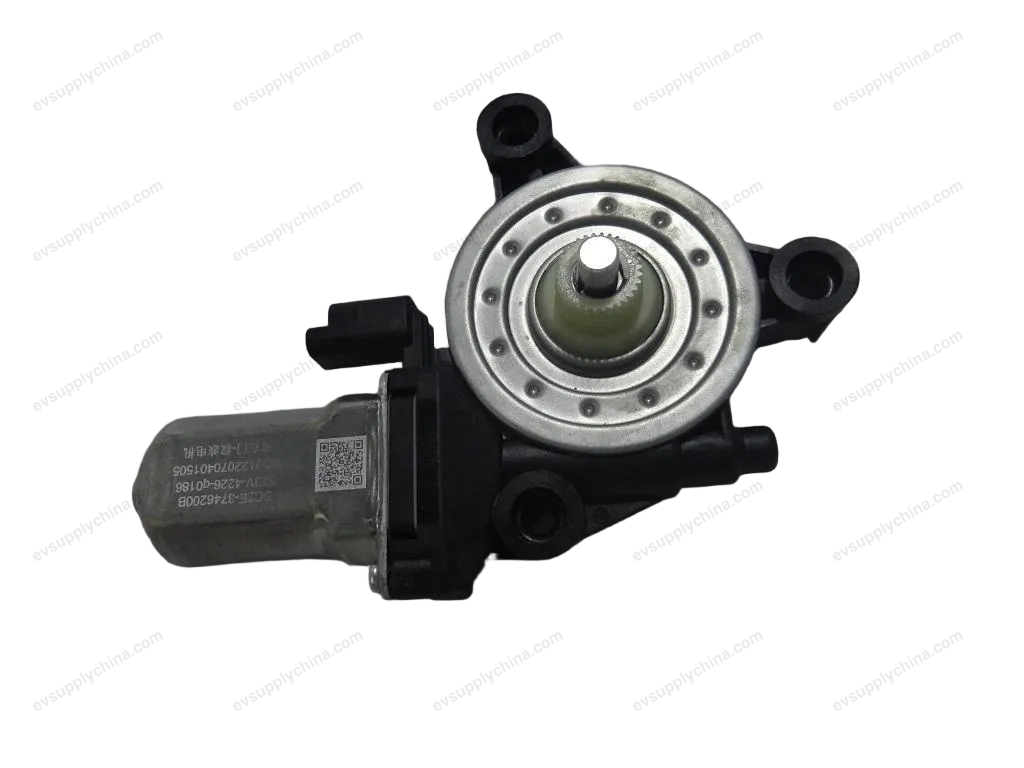
Кронштейн стеклоподъемника правой передней двери в сборе
OE / Каталожные коды
13182904-00SC2E-6104120Технические характеристики
- Модель
- BYD Atto 3
- Конфигурация рулевого
- Универсальный (LHD и RHD)
- Категория
- Стеклоподъёмники
Доставка и возврат
Доставка по всему миру из Китая авиа или морем. Стандартная доставка 5–30 рабочих дней, экспресс 2–10 рабочих дней. Стоимость рассчитывается на оформлении заказа.
7-дневный возврат для неиспользованных товаров в оригинальной упаковке. Свяжитесь с нами до отправки возврата.
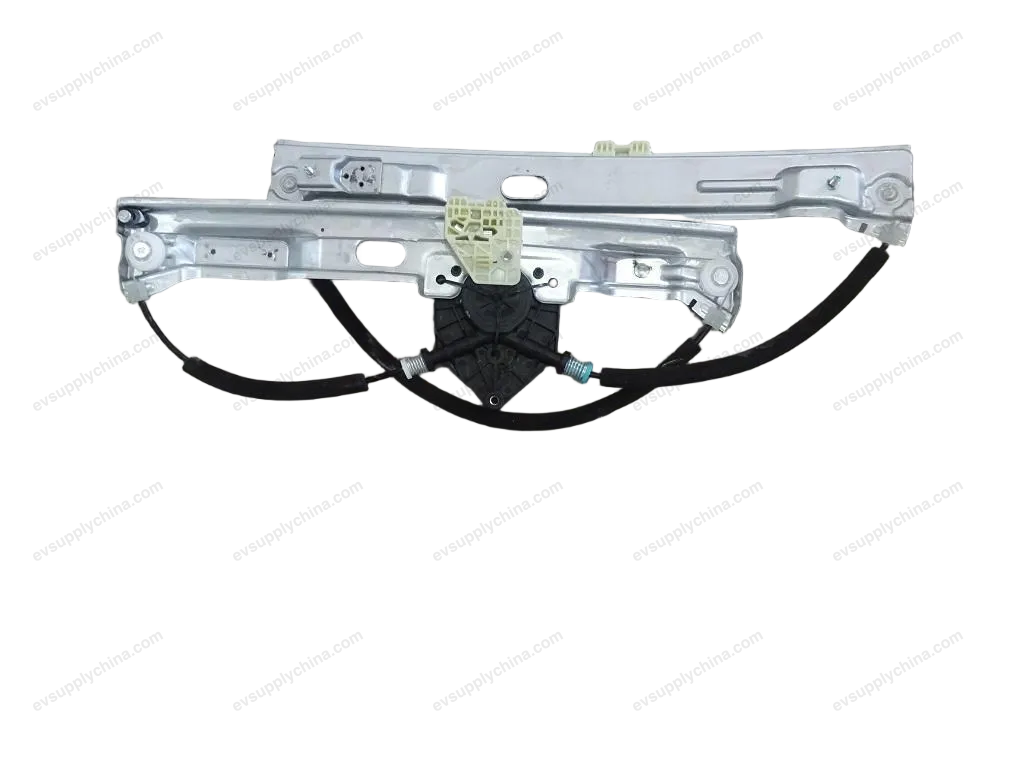
Совместимые автомобили — Кронштейн стеклоподъемника правой передней двери в сборе
Кронштейн стеклоподъемника правой передней двери в сборе Руководство по ремонту — BYD Atto 3
Right Front Window Regulator Bracket Assembly - Removal and Installation
Removal
- Remove the right front door glass assembly. See Right Front Door Glass Assembly - Removal and Installation
- Remove the right front door sealing plug II. SeeRight Front Door Sealing Plug II - Removal and Installation
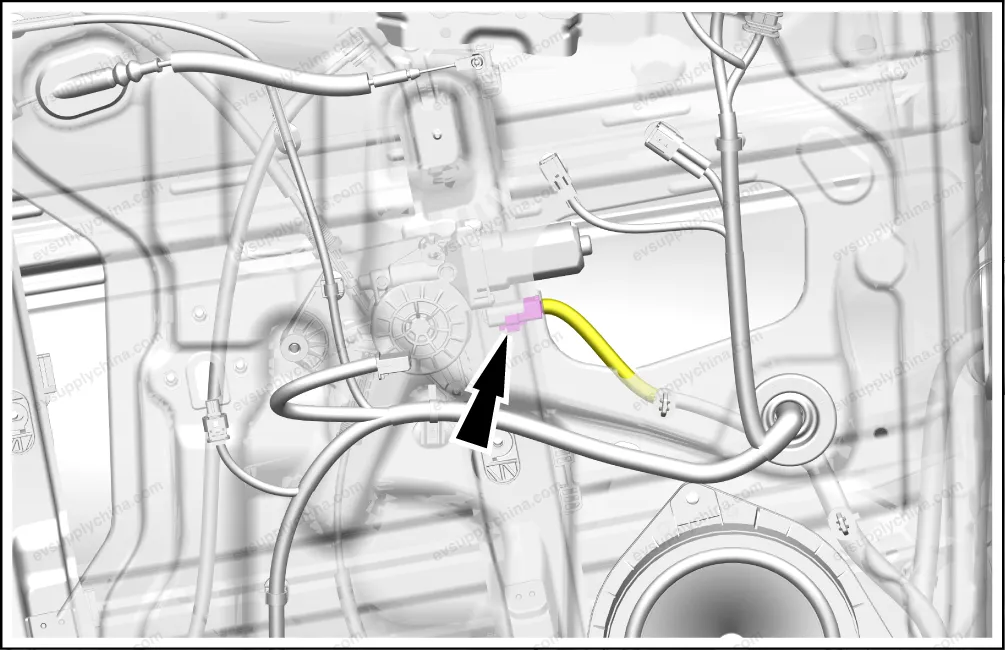
- Disconnect one connector of the right front window regulator bracket assembly.
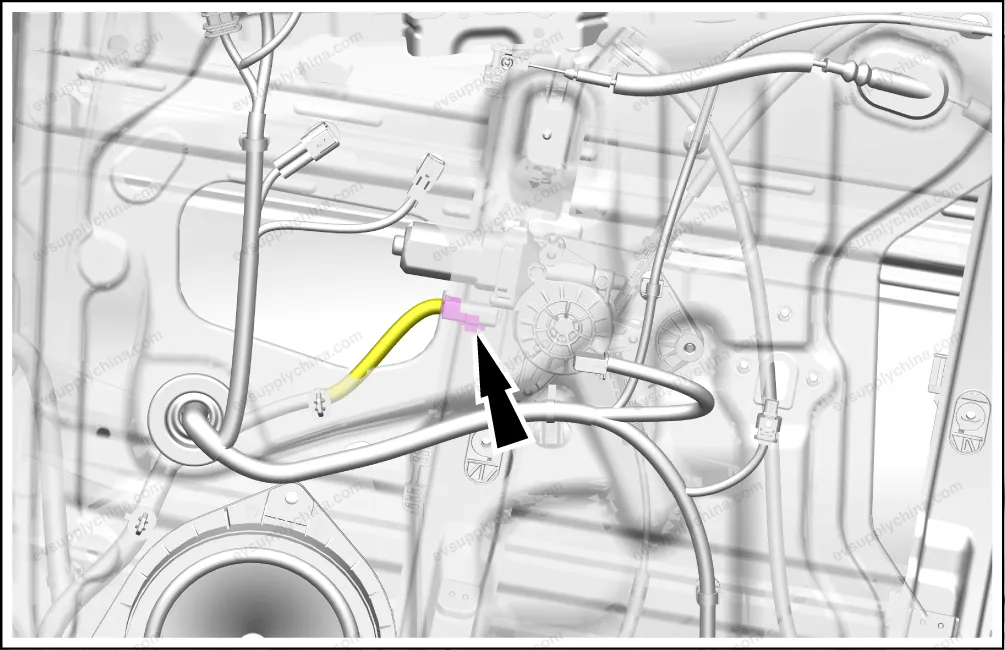
- Remove the right front window regulator bracket assembly.
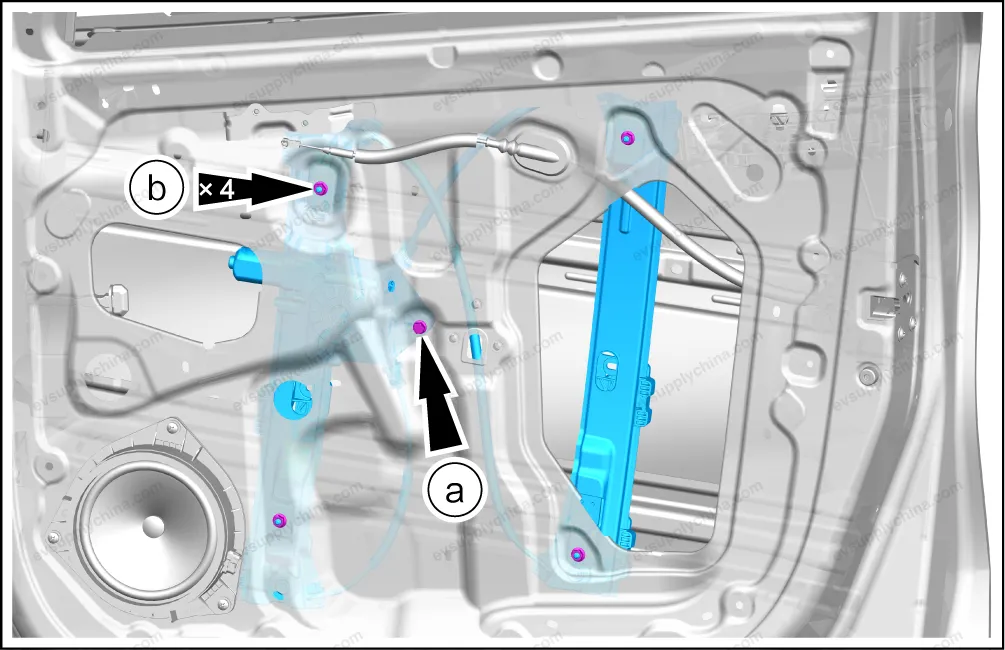
- Remove one fixing bolt.
- Remove 4 fixing nuts, and take out the right front window regulator bracket assembly.
- Where replacing the right front window regulator bracket assembly is required, remove the following accessories of the right front window regulator bracket assembly:
Installation
- Follow the removal steps in reverse order to install.
Caution After the installation, test the front window regulator bracket assembly for normal function.
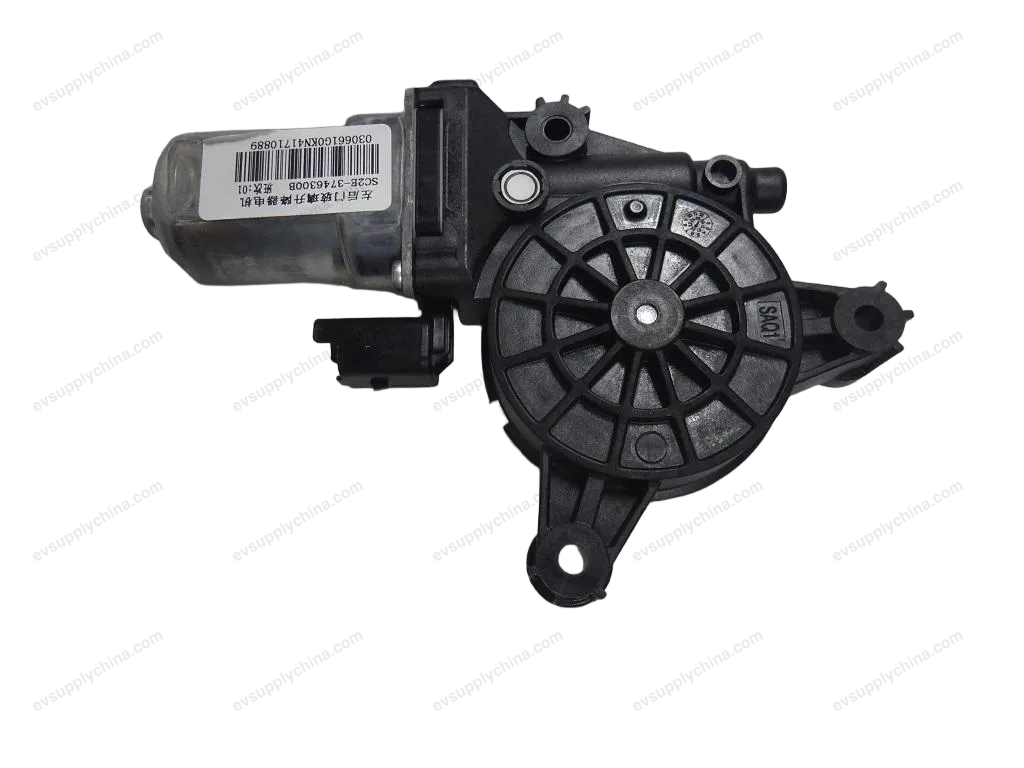
Left Front Window Regulator Bracket Assembly - Removal and Installation
Removal
- Remove the left front door glass assembly. See Left Front Door Glass Assembly - Removal and Installation
- Remove the left front door sealing plug II. SeeLeft Front Door Sealing Plug II - Removal and Installation
- Disconnect one connector of the left front window regulator bracket assembly.
- Remove the left front window regulator bracket assembly.

- Remove one fixing bolt.
- Remove 4 fixing nuts, and take out the left front window regulator bracket assembly.
- Where replacing the left front window regulator bracket assembly is required, remove the following accessories of the left front window regulator bracket assembly:
Installation
- Follow the removal steps in reverse order to install.
Caution After the installation, test the front window regulator bracket assembly for normal function.
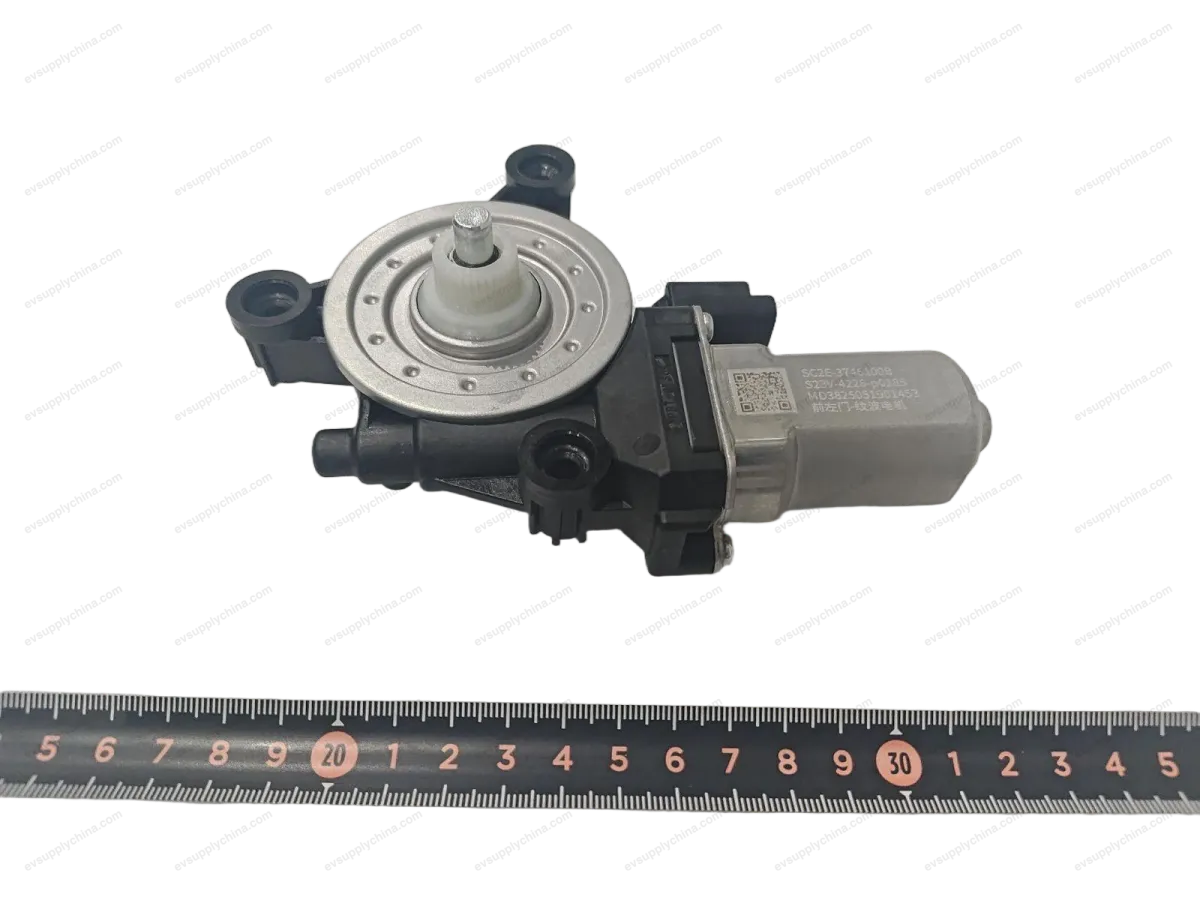
Right Front Window Regulator Motor - Removal and Installation
Removal
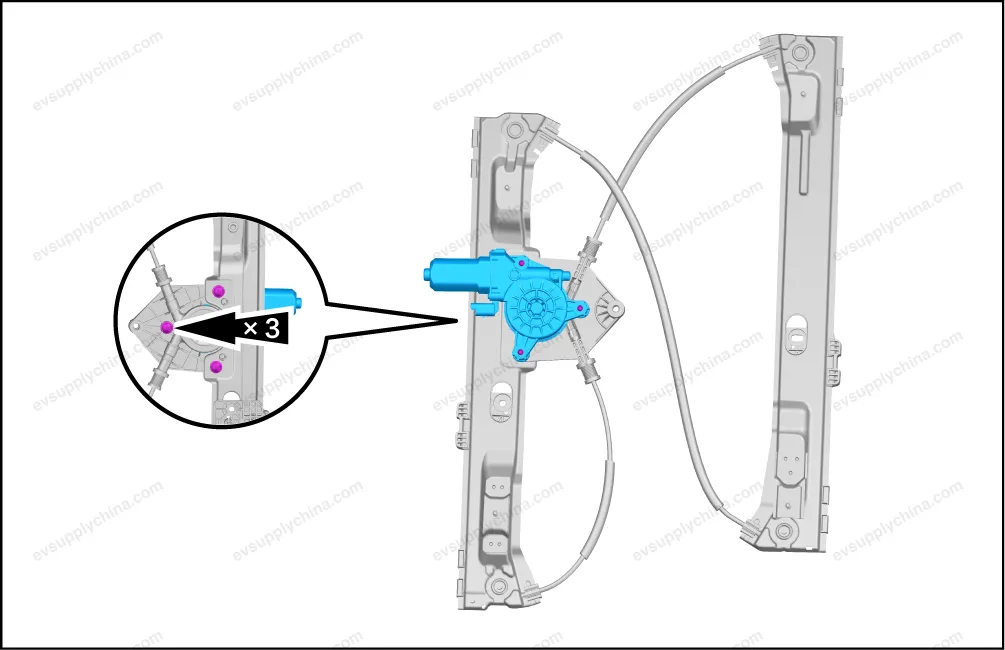
- Remove the right front window regulator bracket assembly. See Right Front Window Regulator Bracket Assembly - Removal and Installation
- Remove 3 fixing bolts, and take out the right front window regulator motor.
Installation
- Follow the removal steps in reverse order to install.
Caution After the installation, conduct a functional test on the front window regulator motor.