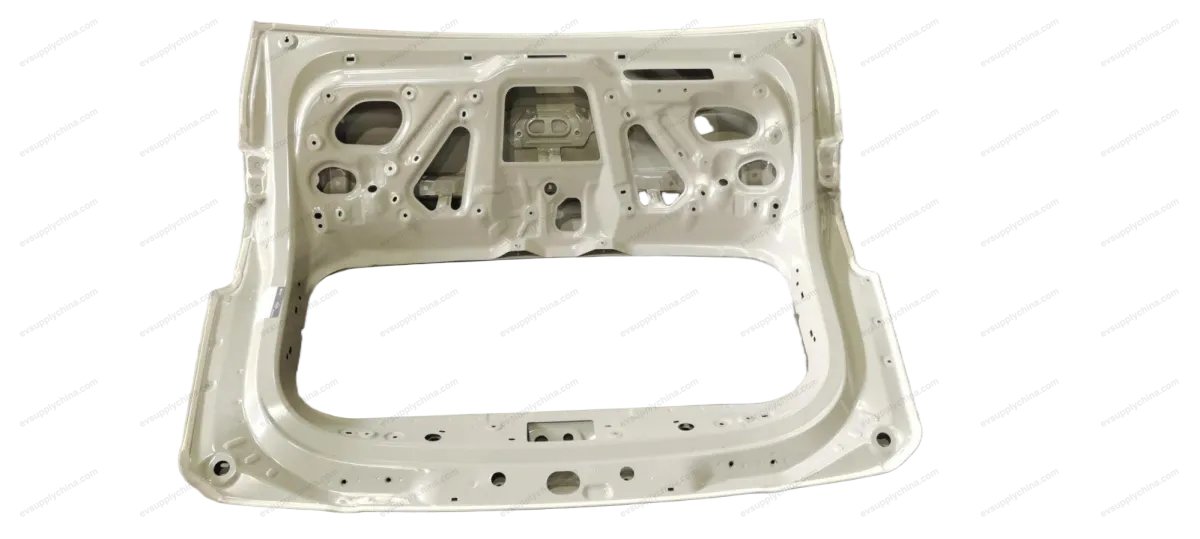
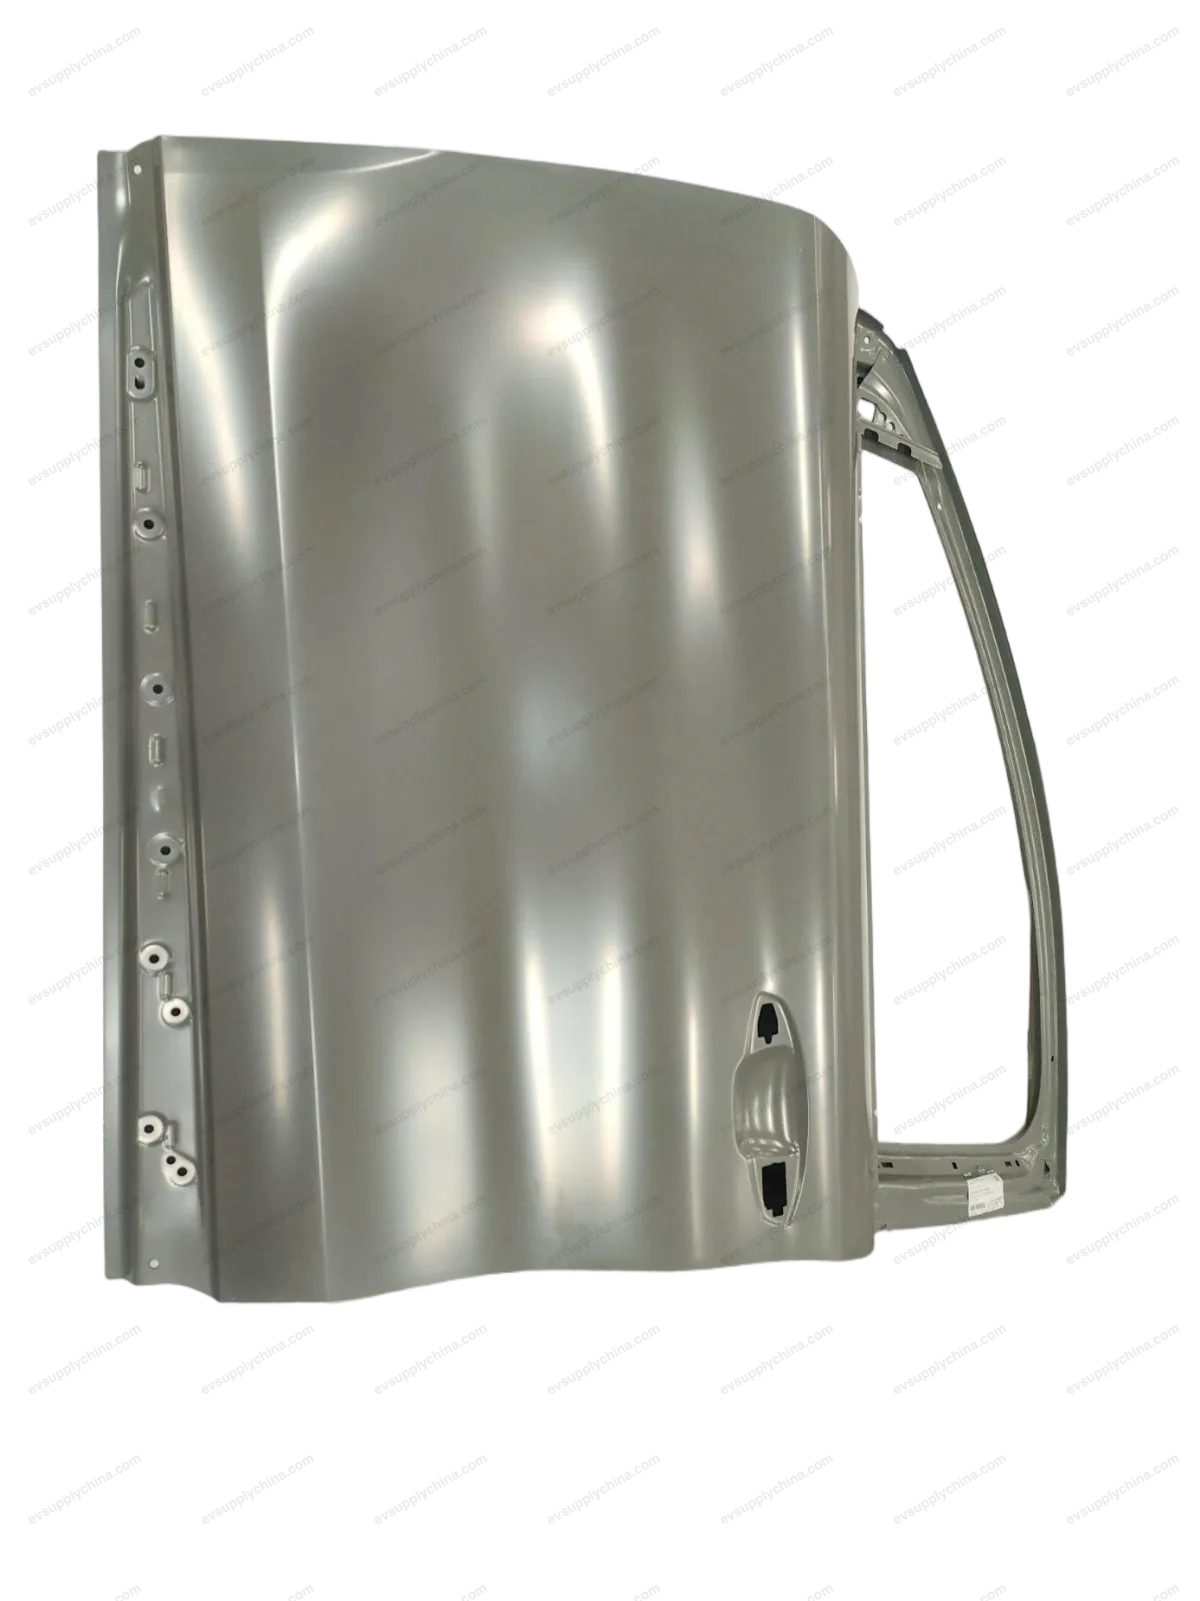
Правая передняя дверная юбка кузова
OE / Каталожные коды
13732646-00SC2E-5402841Технические характеристики
- Модель
- BYD Atto 3
- Конфигурация рулевого
- Универсальный (LHD и RHD)
- Категория
- Двери и багажники
Доставка и возврат
Доставка по всему миру из Китая авиа или морем. Стандартная доставка 5–30 рабочих дней, экспресс 2–10 рабочих дней. Стоимость рассчитывается на оформлении заказа.
7-дневный возврат для неиспользованных товаров в оригинальной упаковке. Свяжитесь с нами до отправки возврата.
Совместимые автомобили — Правая передняя дверная юбка кузова
Правая передняя дверная юбка кузова Руководство по ремонту — BYD Atto 3
Right Front Door Skirt Panel Assembly - Removal and Installation
Removal
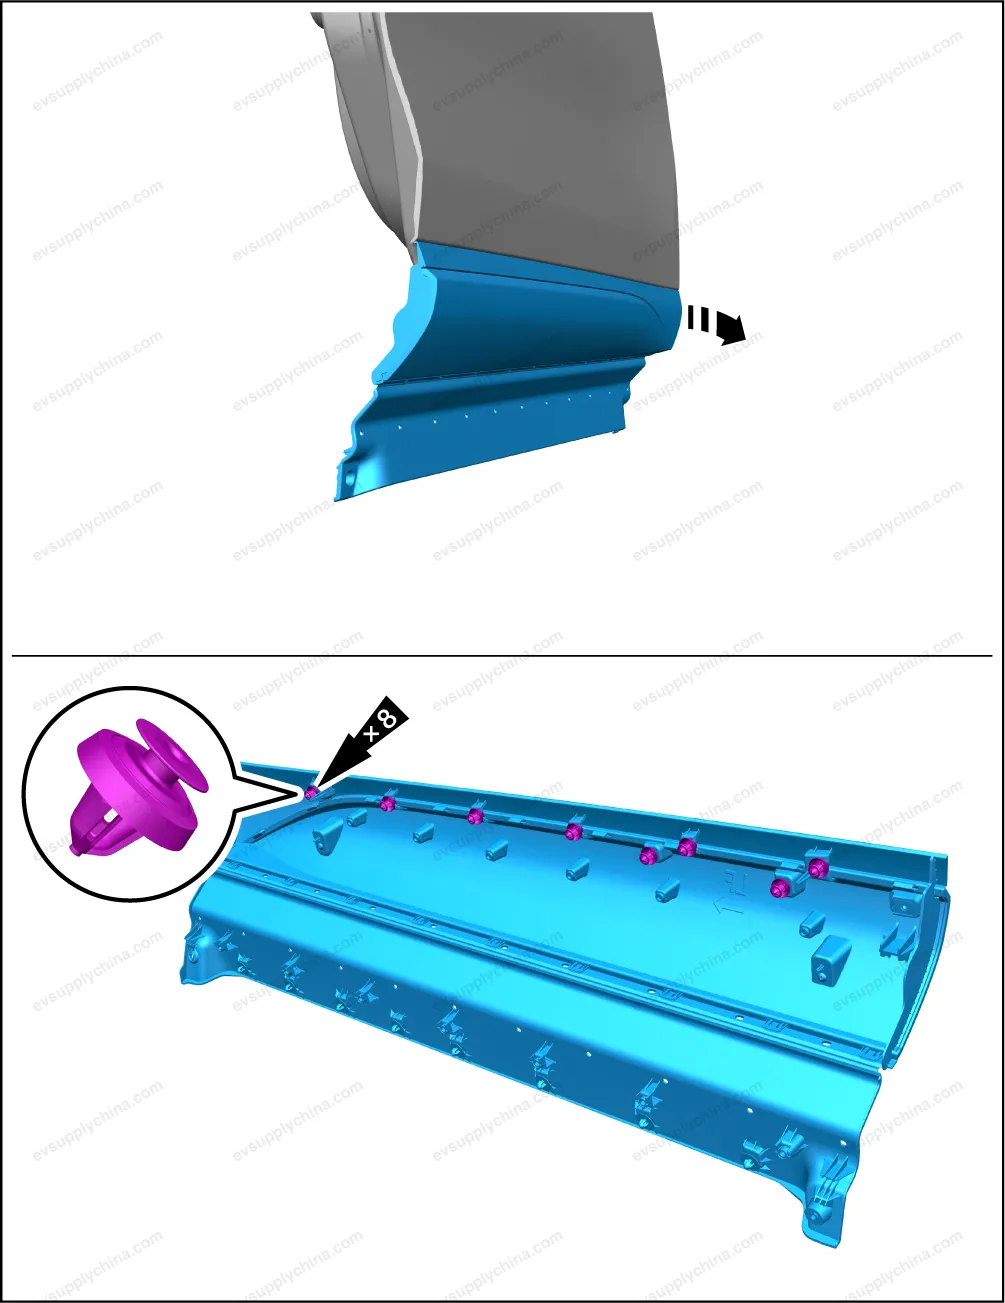
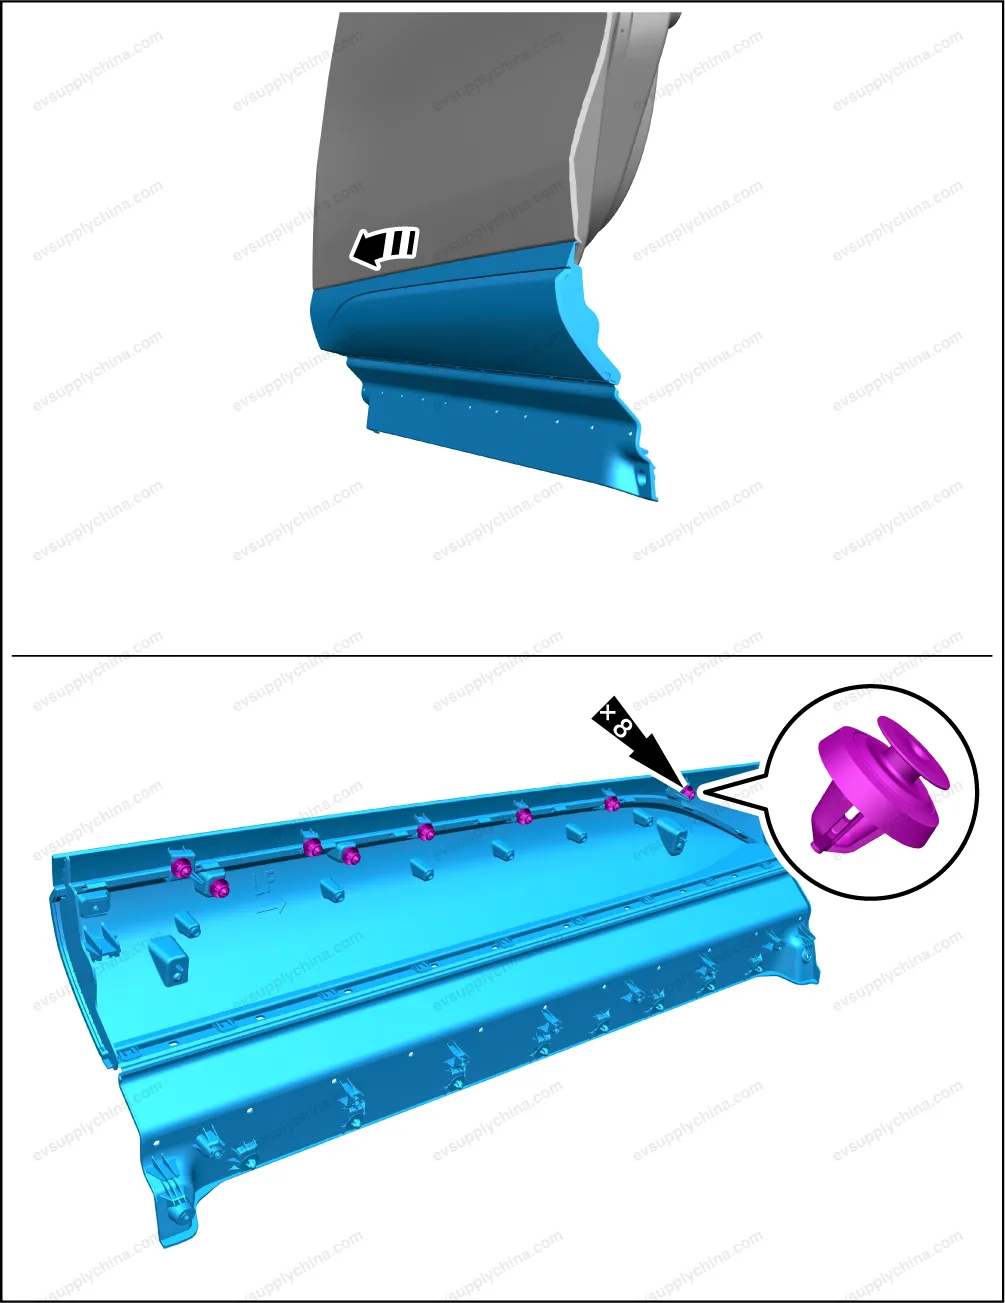
- Pry up the connection between the right front door skirt panel assembly and the inside of the right front door.
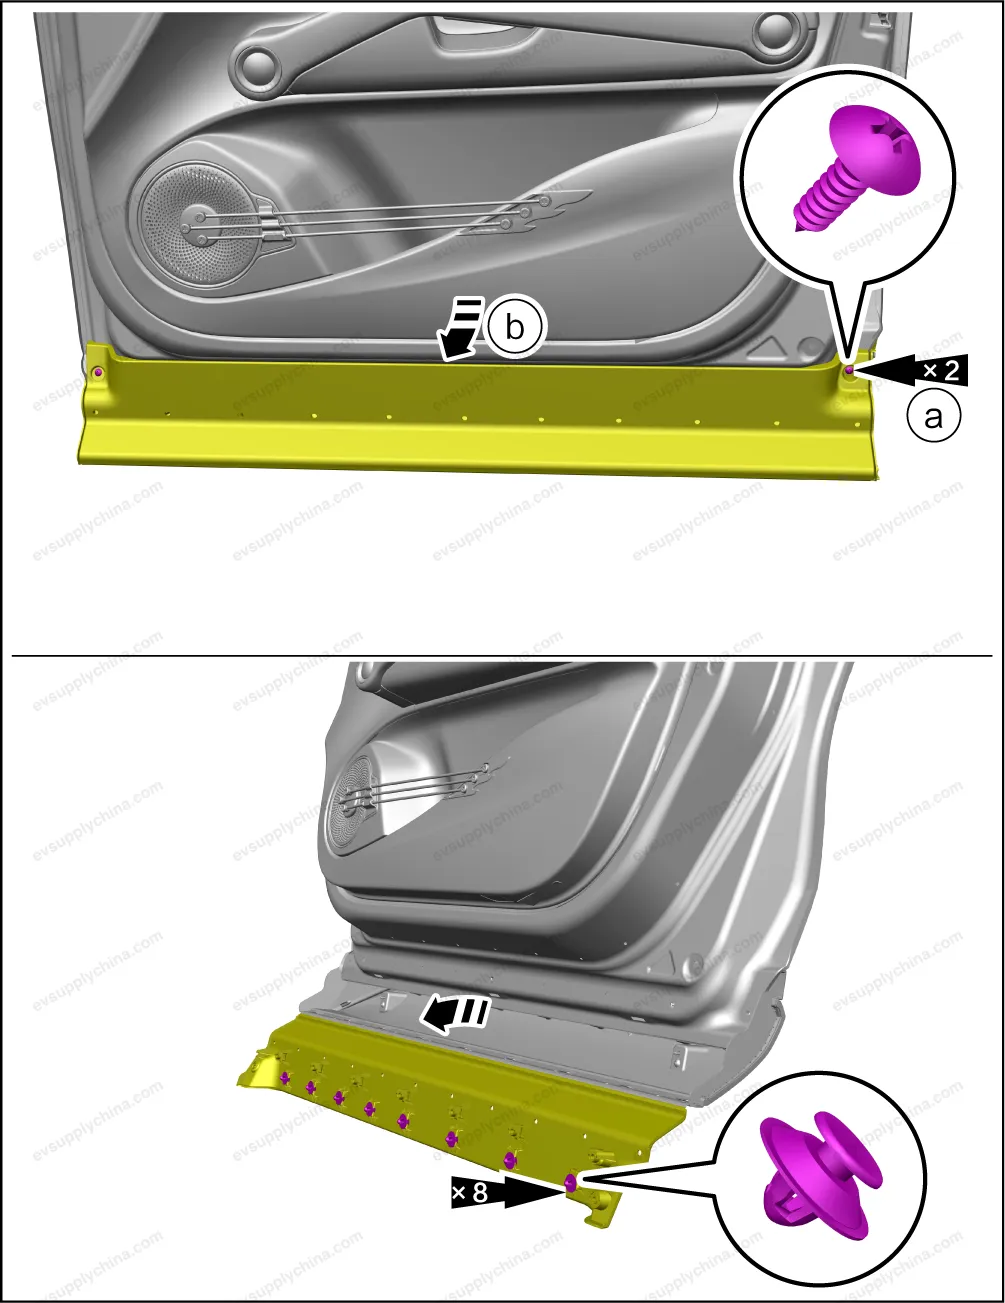
- Remove 2 fixing screws.
- Pry up the connection between the right front door skirt panel assembly and the inside of the right front door.
- Pry up the connection between the right front door skirt panel assembly and the outside of the right front door, and take
it out.
Install
- The installation is performed in reverse order of removal.
Caution Before installation, it is necessary to check whether all the clips are missing or damaged, and if so, install new clips, and then install the trim panel; After installation, check whether all clips are installed in place. The installation position of the trim panel may deviate, resulting in warping or abnormal gaps.
Right Front Door Lock Body Assembly - Removal and Installation
Removal
- Remove the right front door sealing plug I. See Right Front Door Sealing Plug I - Removal and Installation
- Remove the right front door movable guide rail and mud tank assembly. See Right Front Door Movable Guide Rail and Mud Tank Assembly - Removal and Installation
- Detach 2 fixing clips, and detach the right front door lock cylinder lever, the right front door lock outward-opening lever
and the right front door lock body assembly.
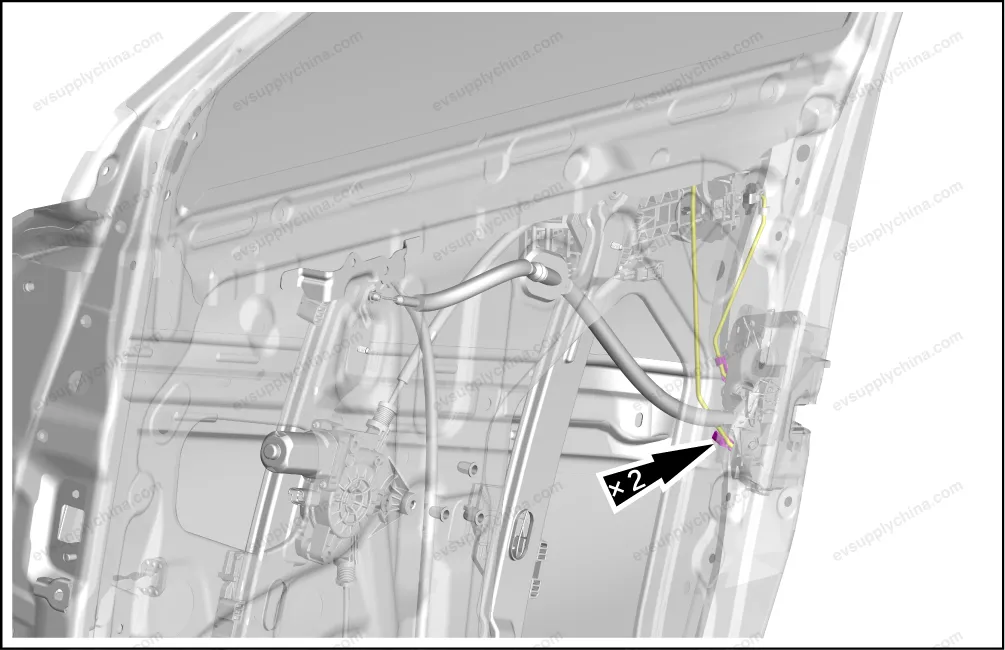
- Disconnect one connector of right front door lock assembly.
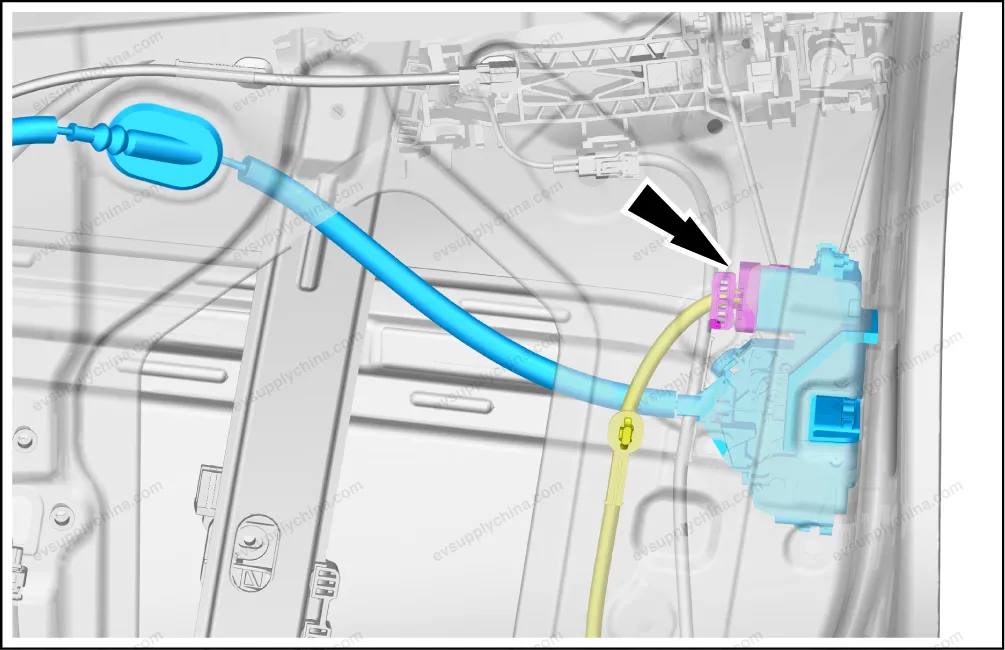
- Remove the right front door lock body assembly.
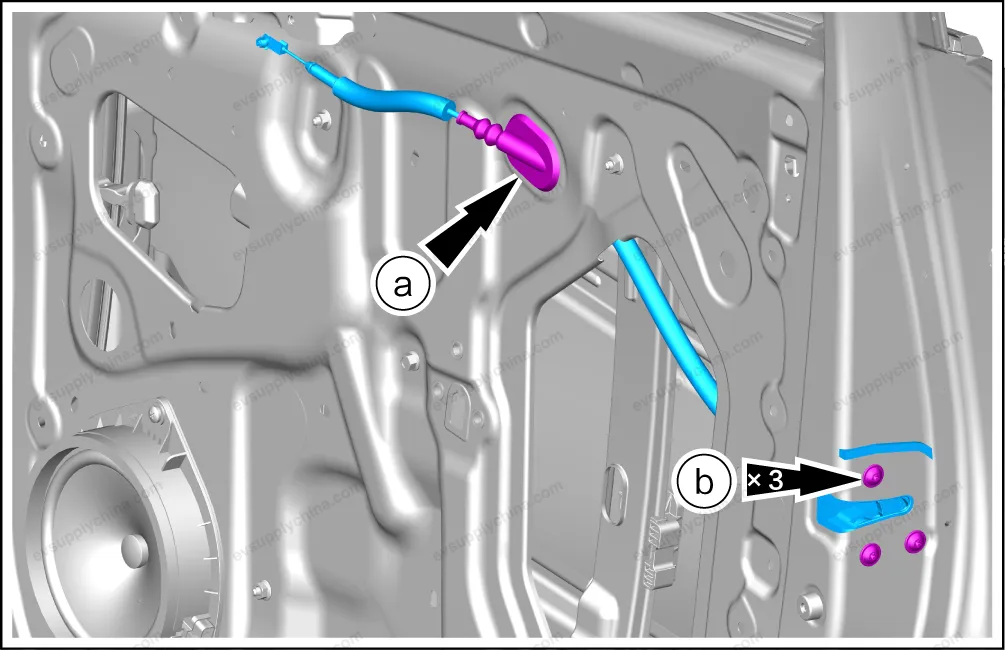
- Detach the fixing rubber plug from the right front door assembly.
- Remove 3 fixing bolts, and take out the right front door lock body assembly.
Installation
- Follow the removal steps in reverse order to install.
Caution After the installation, check the functionality of the front door lock body assembly.
Left Front Door Skirt Panel Assembly - Removal and Installation
Removal
- Pry up the connection between the left front door skirt panel assembly and the inside of the left front door.

- Remove 2 fixing screws.
- Pry up the connection between the left front door skirt panel assembly and the inside of the left front door.
- Pry up the connection between the left front door skirt panel assembly and the outside of the left front door, and take it
out.
Installation
- The installation steps are opposite to the removal steps.
Caution Before installation, it is necessary to check whether all the clips are missing or damaged, and if so, install new clips, and then install the trim panel; After installation, check whether all clips are installed in place. The installation position of the trim panel may deviate, resulting in warping or abnormal gaps.