Накладка на правый угол крыла в сборе
OE / Каталожные коды
15171396-00SC2E-5302340CТехнические характеристики
- Модель
- BYD Atto 3
- Конфигурация рулевого
- Универсальный (LHD и RHD)
- Категория
- Крылья и брызговики
Доставка и возврат
Доставка по всему миру из Китая авиа или морем. Стандартная доставка 5–30 рабочих дней, экспресс 2–10 рабочих дней. Стоимость рассчитывается на оформлении заказа.
7-дневный возврат для неиспользованных товаров в оригинальной упаковке. Свяжитесь с нами до отправки возврата.
Совместимые автомобили — Накладка на правый угол крыла в сборе
Накладка на правый угол крыла в сборе Руководство по ремонту — BYD Atto 3
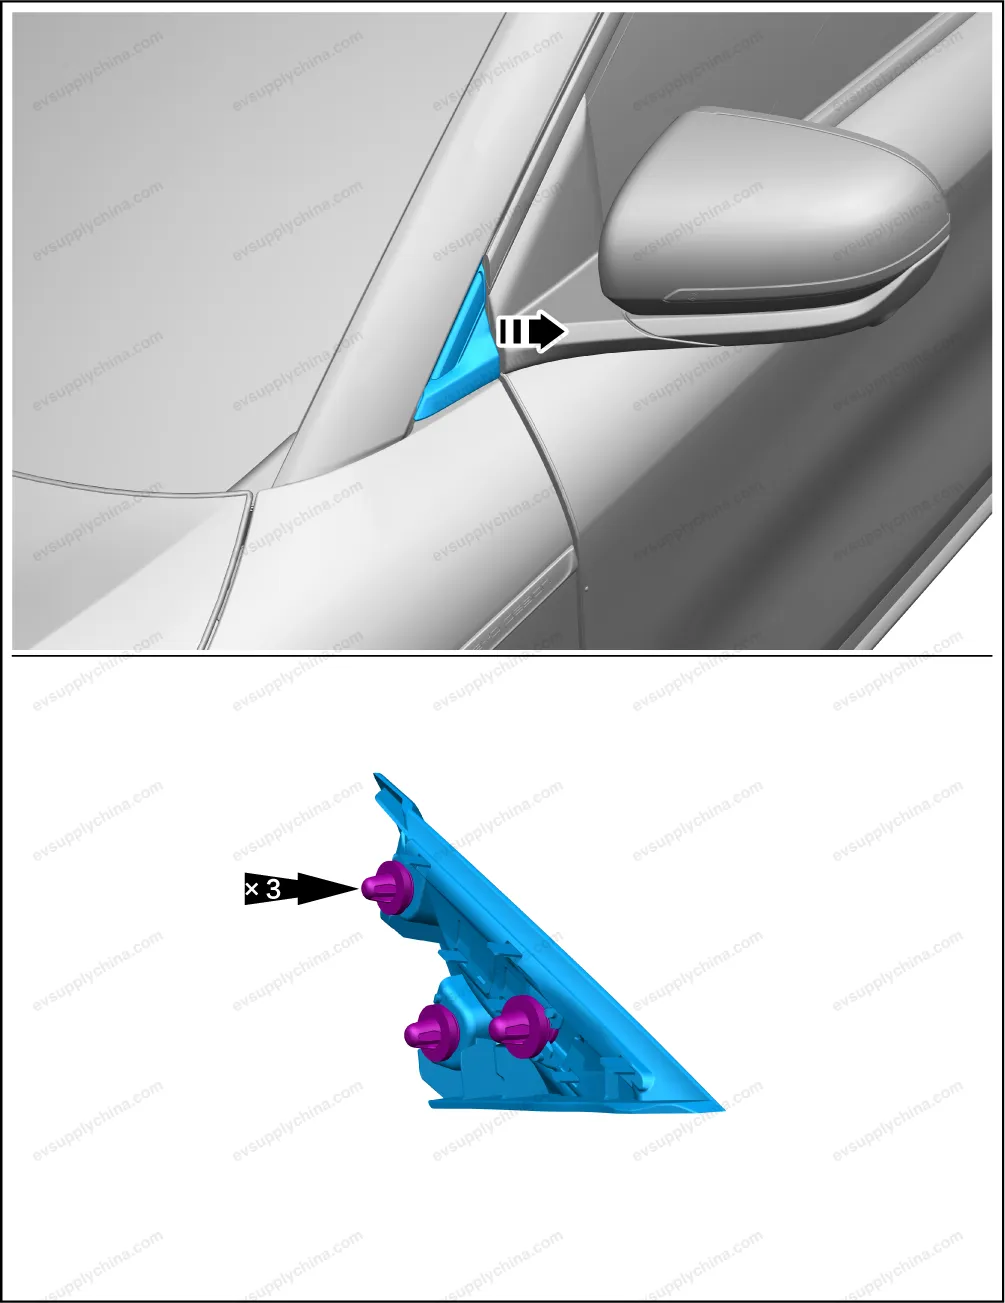
Right Fender Corner Trim Assembly - Removal and Installation
Removal
- Pry up the right fender corner trim assembly with a plastic lever.
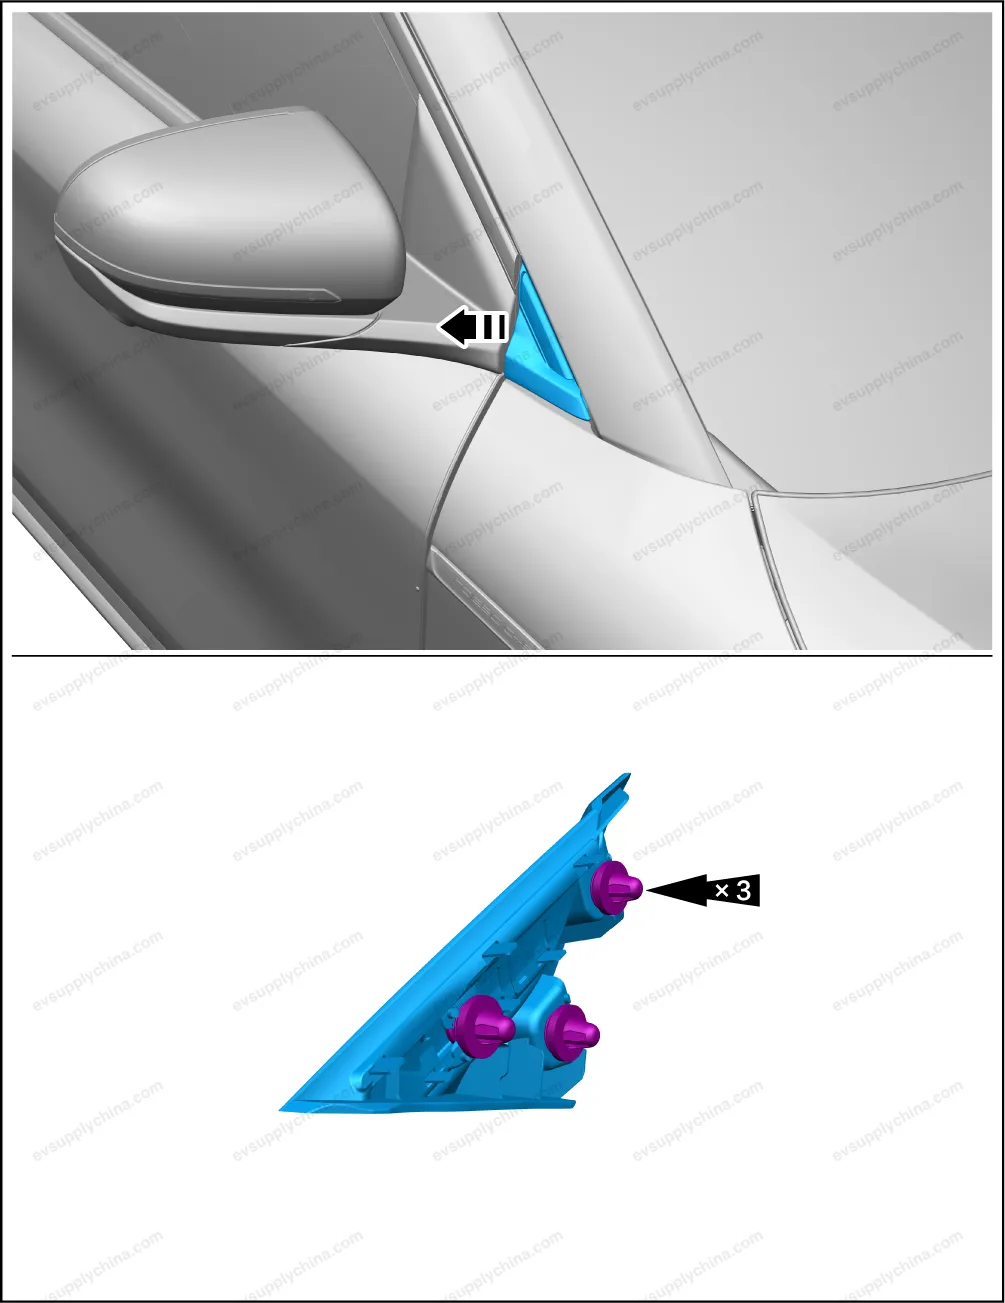
Caution When removing the trim panel, be careful not to damage the vehicle paint.
Installation
- The installation steps are opposite to the removal steps.
Caution Before installation, it is necessary to check whether all the clips are missing or damaged, and if so, install new clips, and then install the trim panel; After installation, check whether all clips are installed in place. The installation position of the trim panel may deviate, resulting in warping or abnormal gaps.
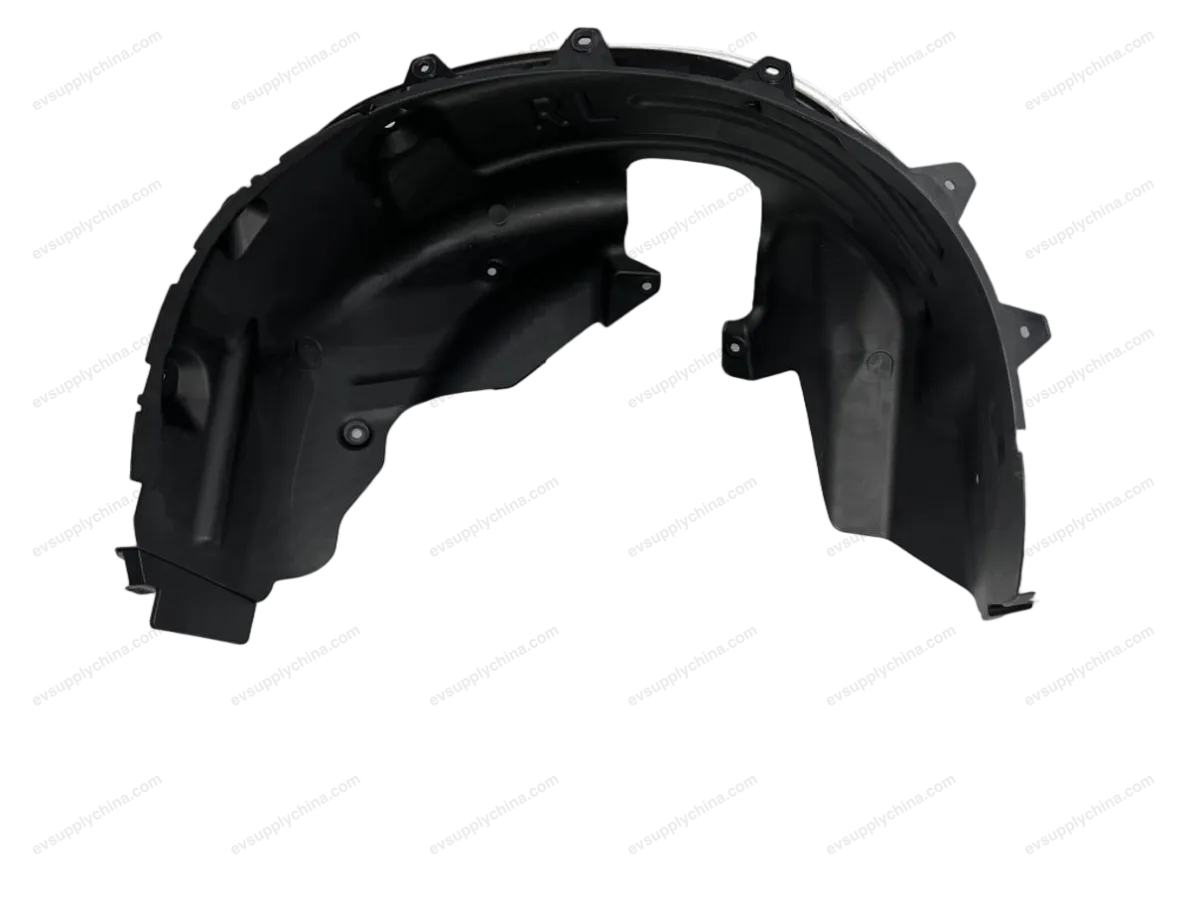
Left Fender Corner Trim Assembly - Removal and Installation
Removal
- Pry up the left fender corner trim assembly with a plastic lever.
Caution When removing the trim panel, be careful not to damage the vehicle paint.
Installation
- The installation steps are opposite to the removal steps.
Caution Before installation, it is necessary to check whether all the clips are missing or damaged, and if so, install new clips, and then install the trim panel; After installation, check whether all clips are installed in place. The installation position of the trim panel may deviate, resulting in warping or abnormal gaps.
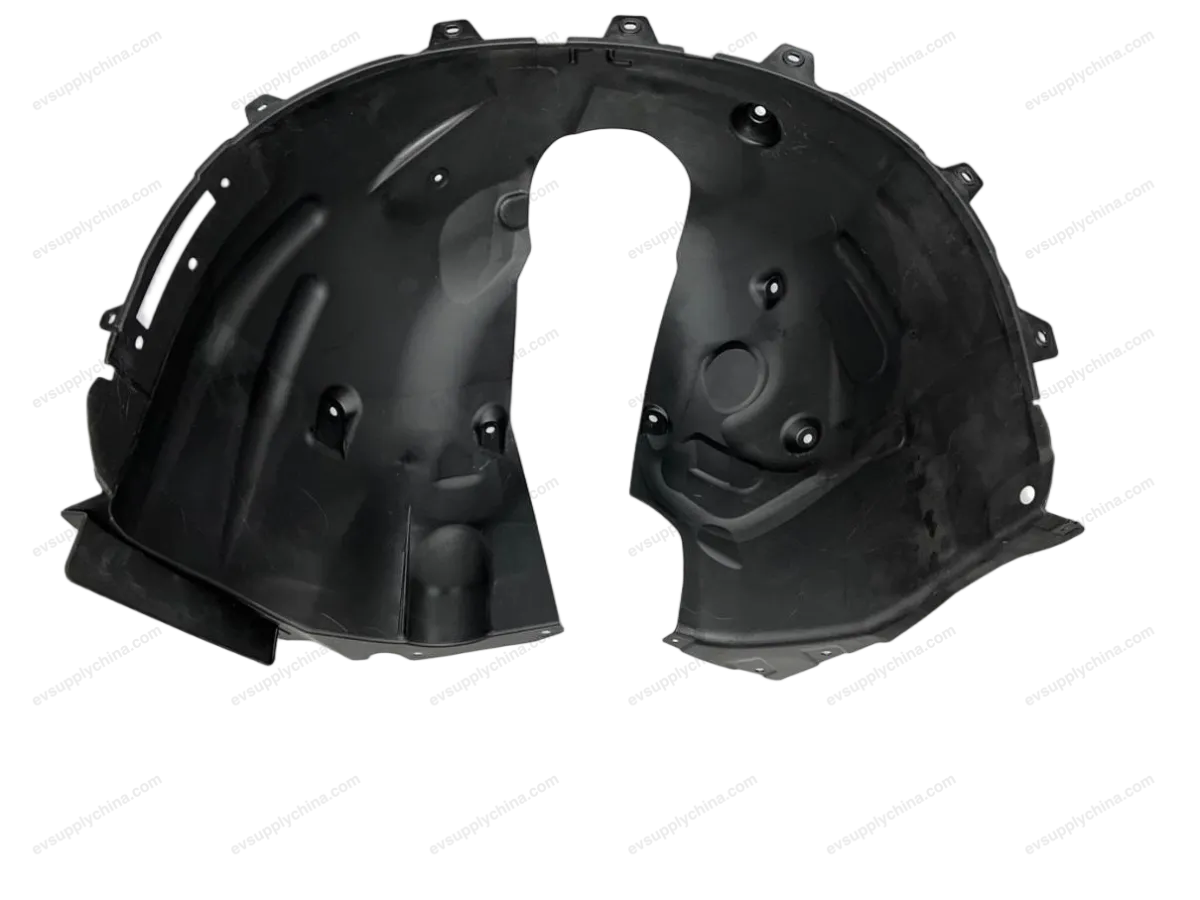
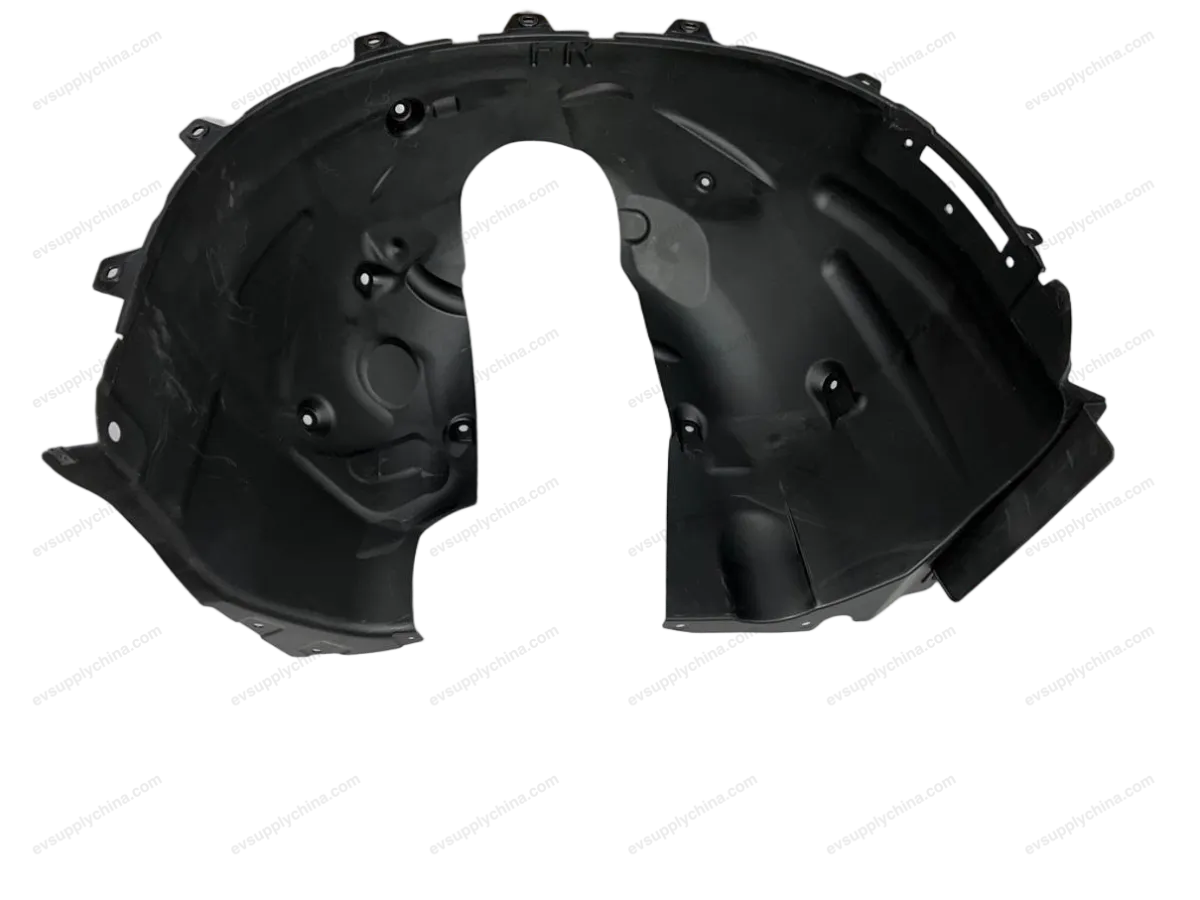
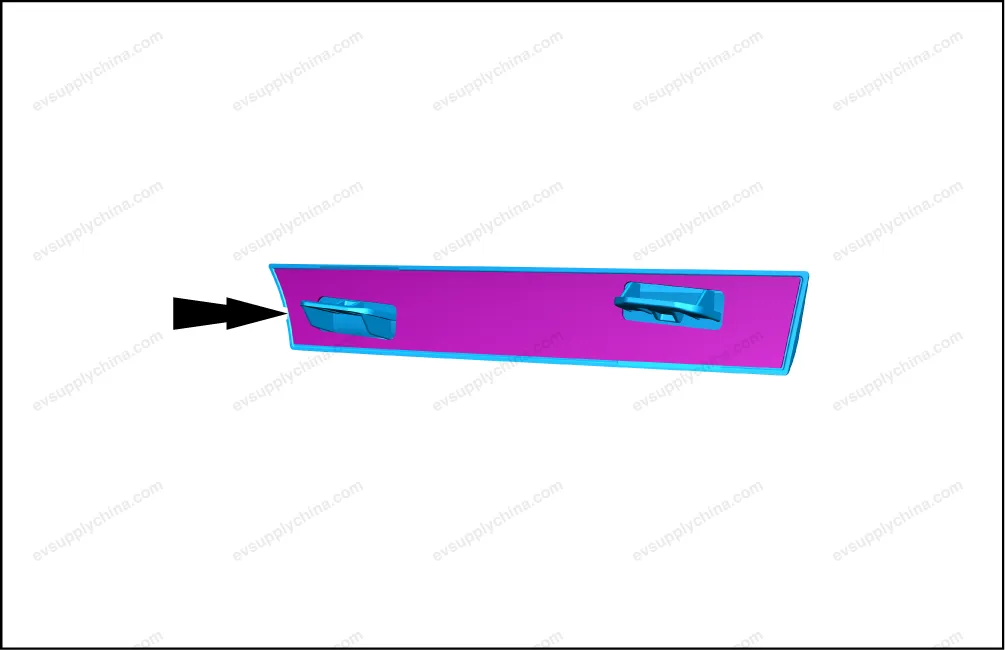
Right Fender Trim Strip Assembly - Removal and Installation
Removal
- Remove the right front wheel mudguard assembly. See Right Front Wheel Mudguard Assembly - Removal and Installation
- Pry up the right fender trim strip assembly.
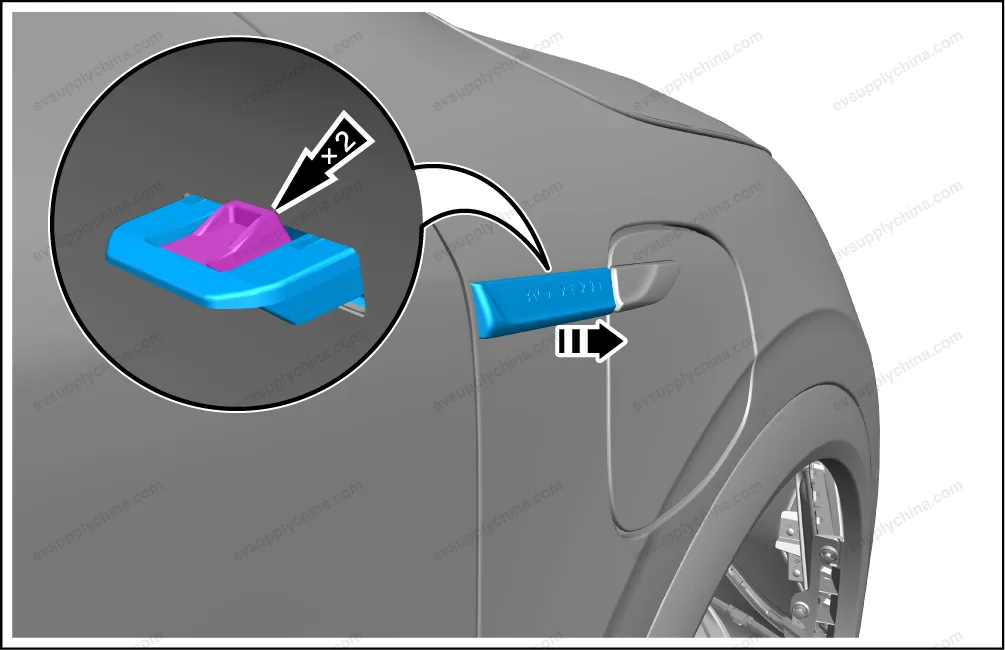
- Remove the adhesive left on the contact surface between the right fender trim strip assembly and the right fender.
Caution Before the operation, place a buffering material between the tool and the fender, so as to prevent paint damage by the tool.
Installation
- Install new double-sided adhesive tape onto the right fender trim strip assembly.
- The installation steps are opposite to the removal steps.