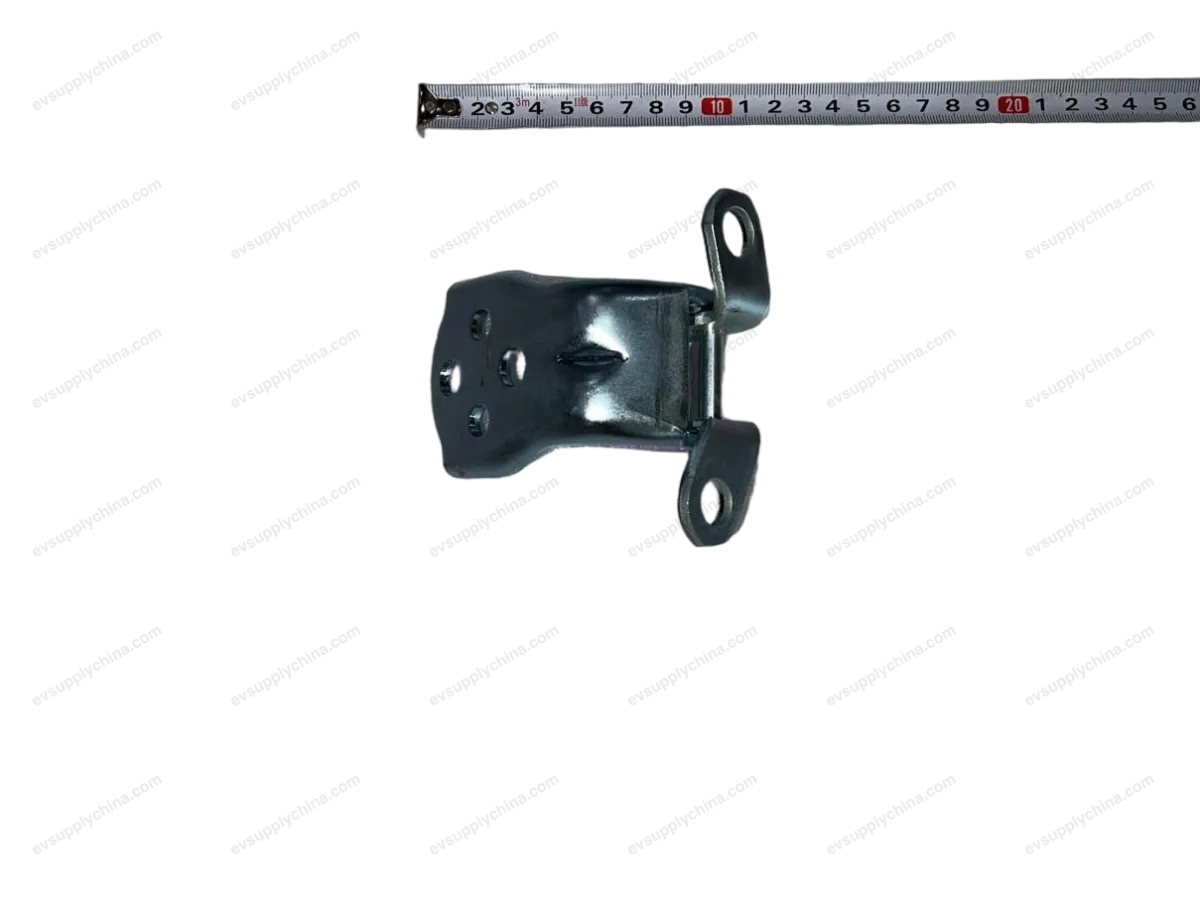
Кронштейн задней левой двери с газовым амортизатором
OE / Каталожные коды
13732965-00SC2EM-6309115Технические характеристики
- Модель
- BYD Atto 3
- Конфигурация рулевого
- Универсальный (LHD и RHD)
- Категория
- Двери и багажники
Доставка и возврат
Доставка по всему миру из Китая авиа или морем. Стандартная доставка 5–30 рабочих дней, экспресс 2–10 рабочих дней. Стоимость рассчитывается на оформлении заказа.
7-дневный возврат для неиспользованных товаров в оригинальной упаковке. Свяжитесь с нами до отправки возврата.
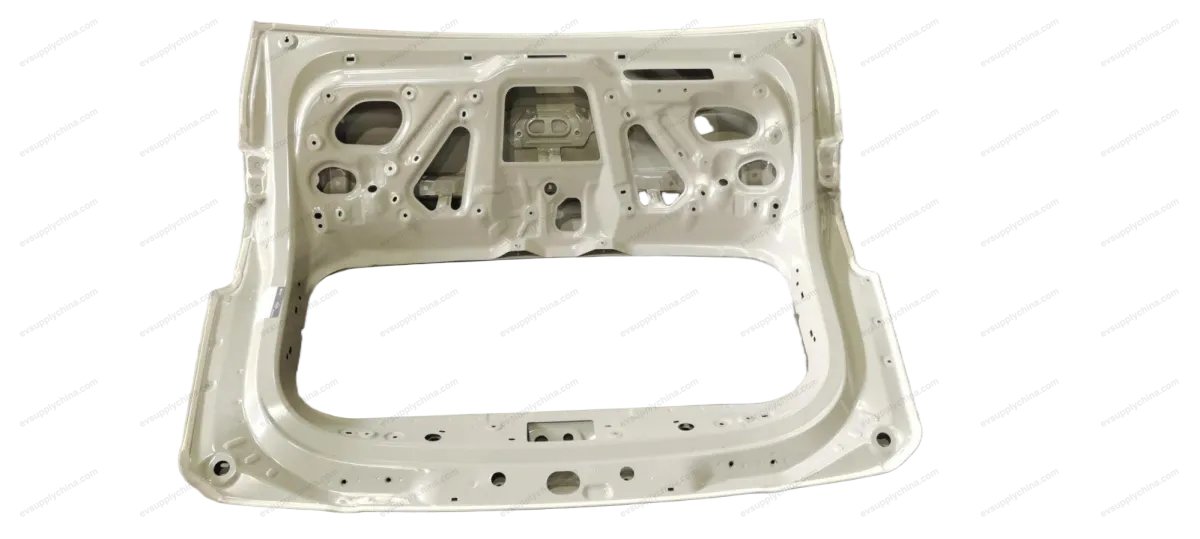
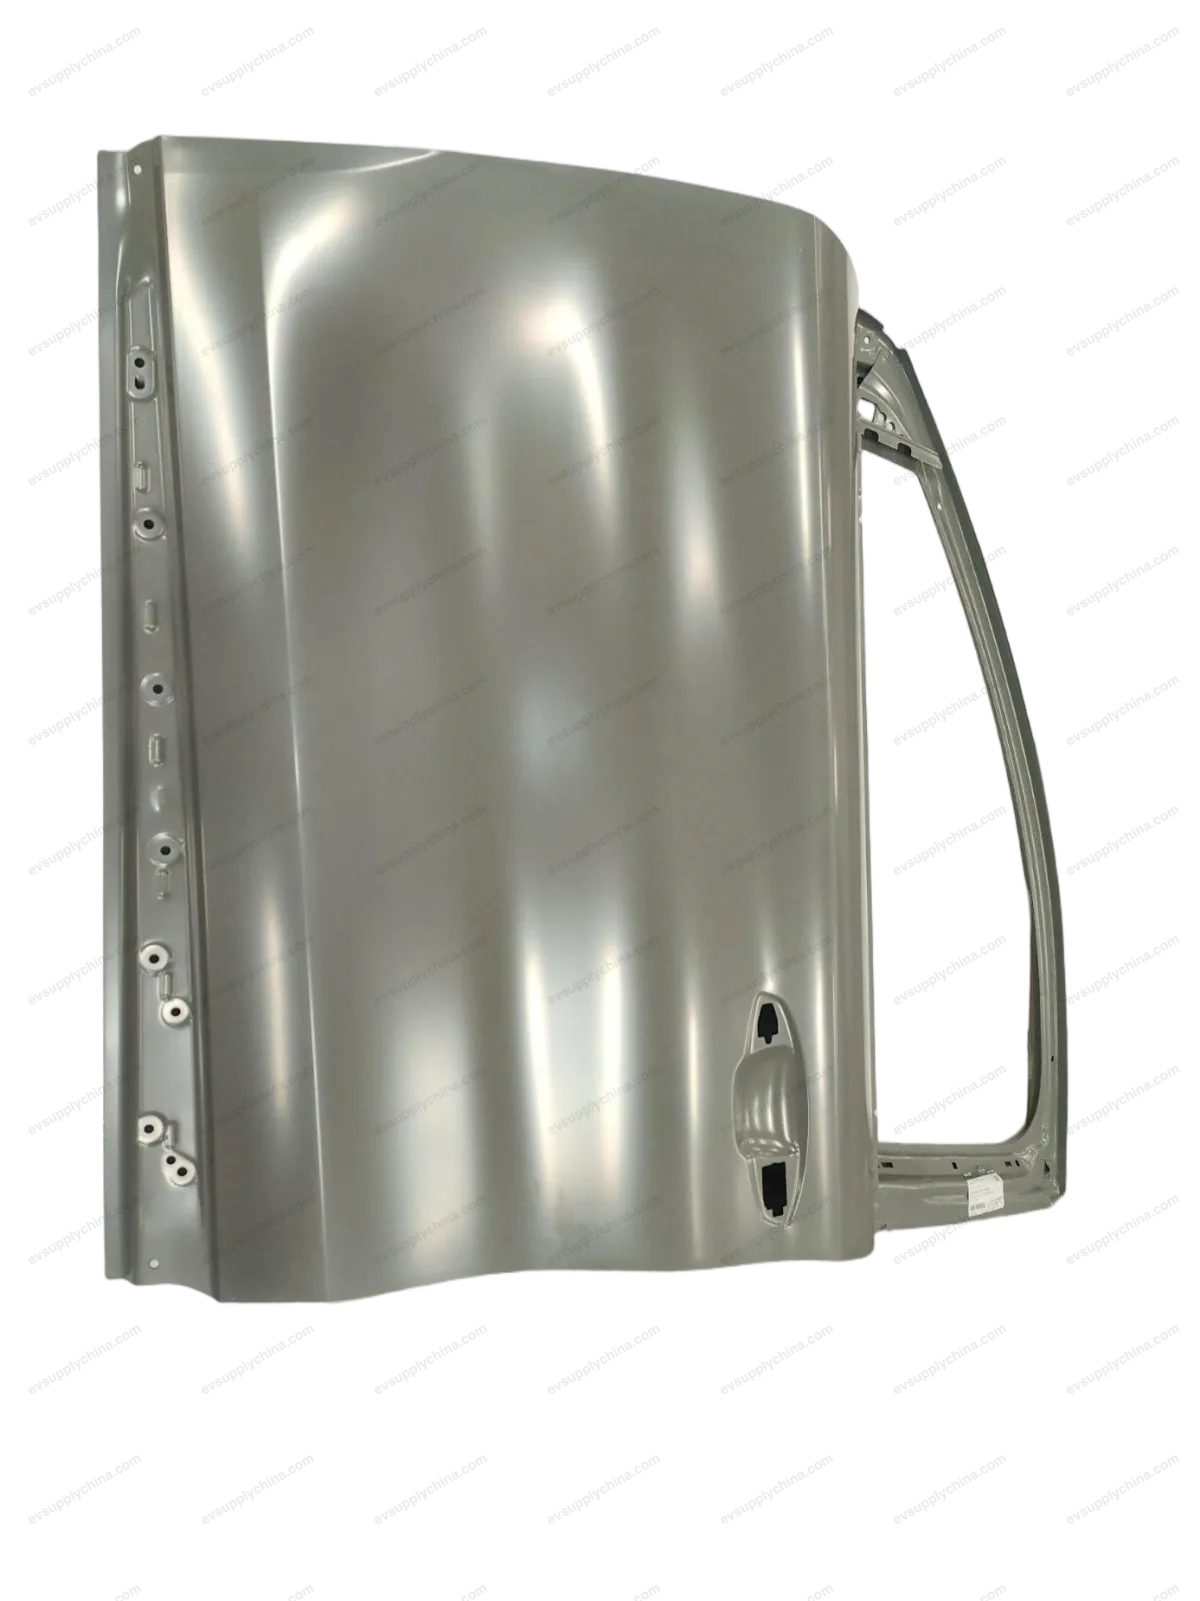
Совместимые автомобили — Кронштейн задней левой двери с газовым амортизатором
Кронштейн задней левой двери с газовым амортизатором Руководство по ремонту — BYD Atto 3
Tailgate Left Gas Spring Door Bracket - Removal and Installation
Removal
- Open the tailgate.
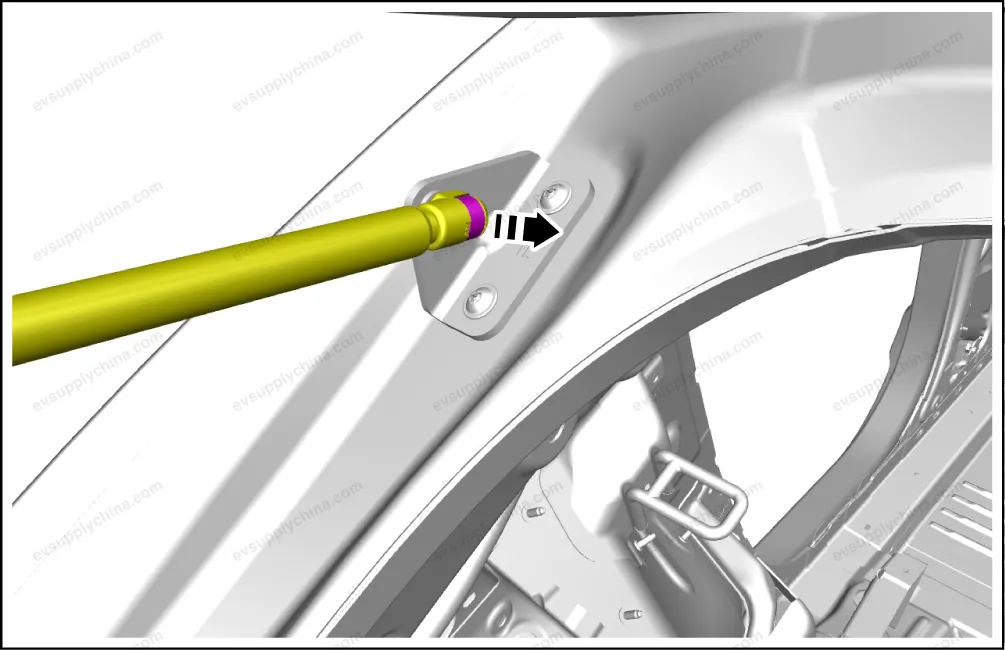
- Pry up the pin with a minisize flat-head screwdriver, and detach from the tailgate left gas spring door bracket.
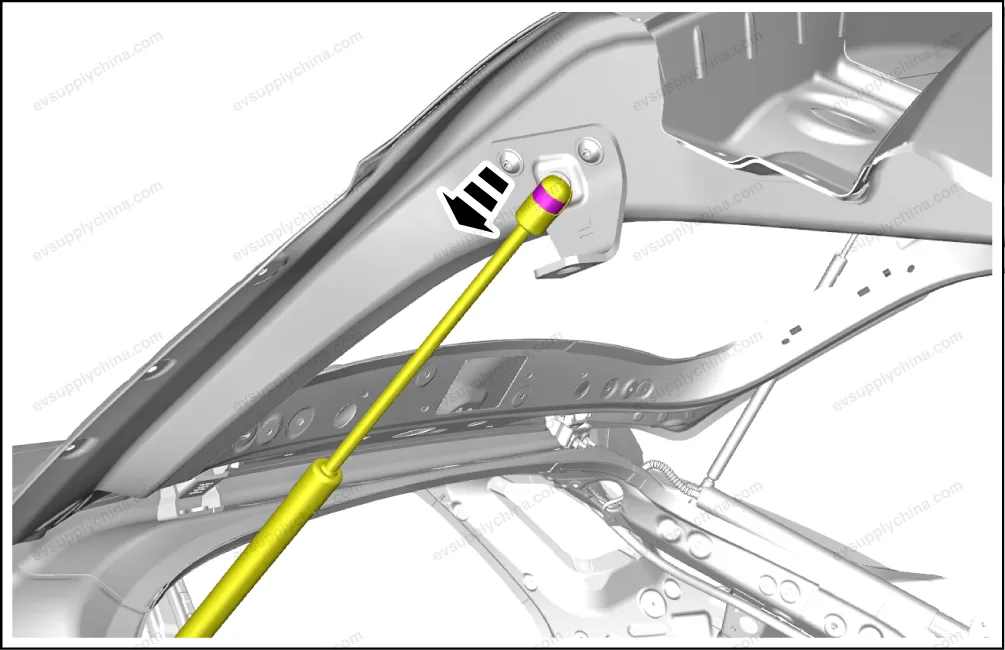
- Remove 2 fixing bolts, and take out the tailgate left air spring door bracket.
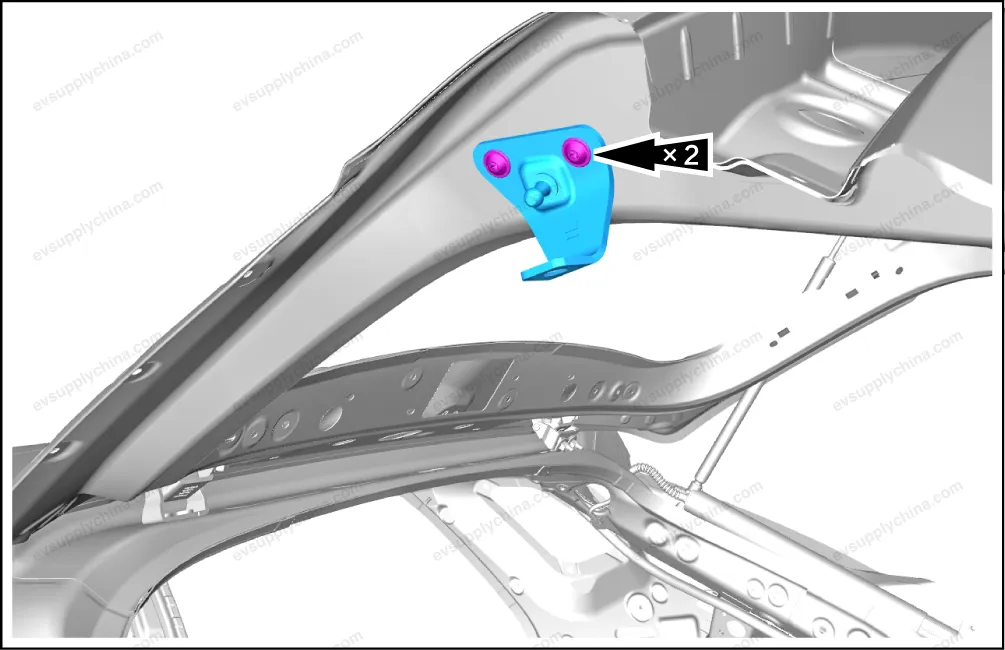
Caution When detaching the tailgate left air spring body, the help of another technician is required to support the tailgate assembly. When prying up the pin with a minisize slot type screwdriver, do not pry up the pin completely from the ball cage.
Installation
- The installation steps are opposite to the removal steps.
Tailgate Left Air Spring Body Bracket - Removal and Installation
Removal
- Open the tailgate.
- Pry up the pin with a minisize flat-head screwdriver, and detach from the tailgate left gas spring body bracket.
- Remove 2 fixing bolt. Take out the tailgate left air spring body bracket.
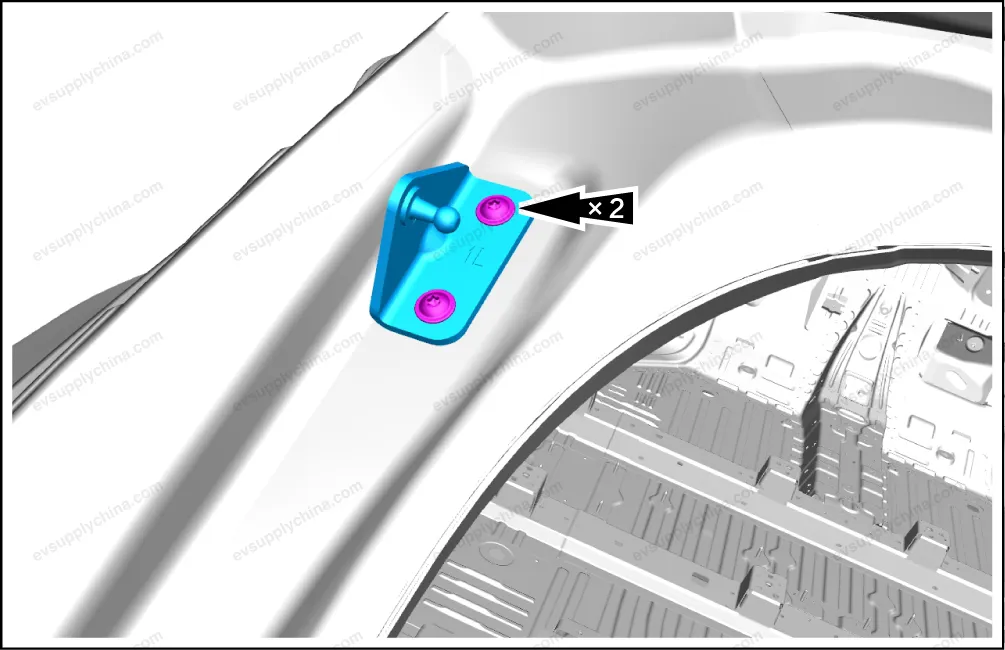
Caution When detaching the tailgate left air spring body, the help of another technician is required to support the tailgate assembly. When prying up the pin with a minisize slot type screwdriver, do not pry up the pin completely from the ball cage.
Installation
- The installation steps are opposite to the removal steps.