Оригинал
BYD Atto 3
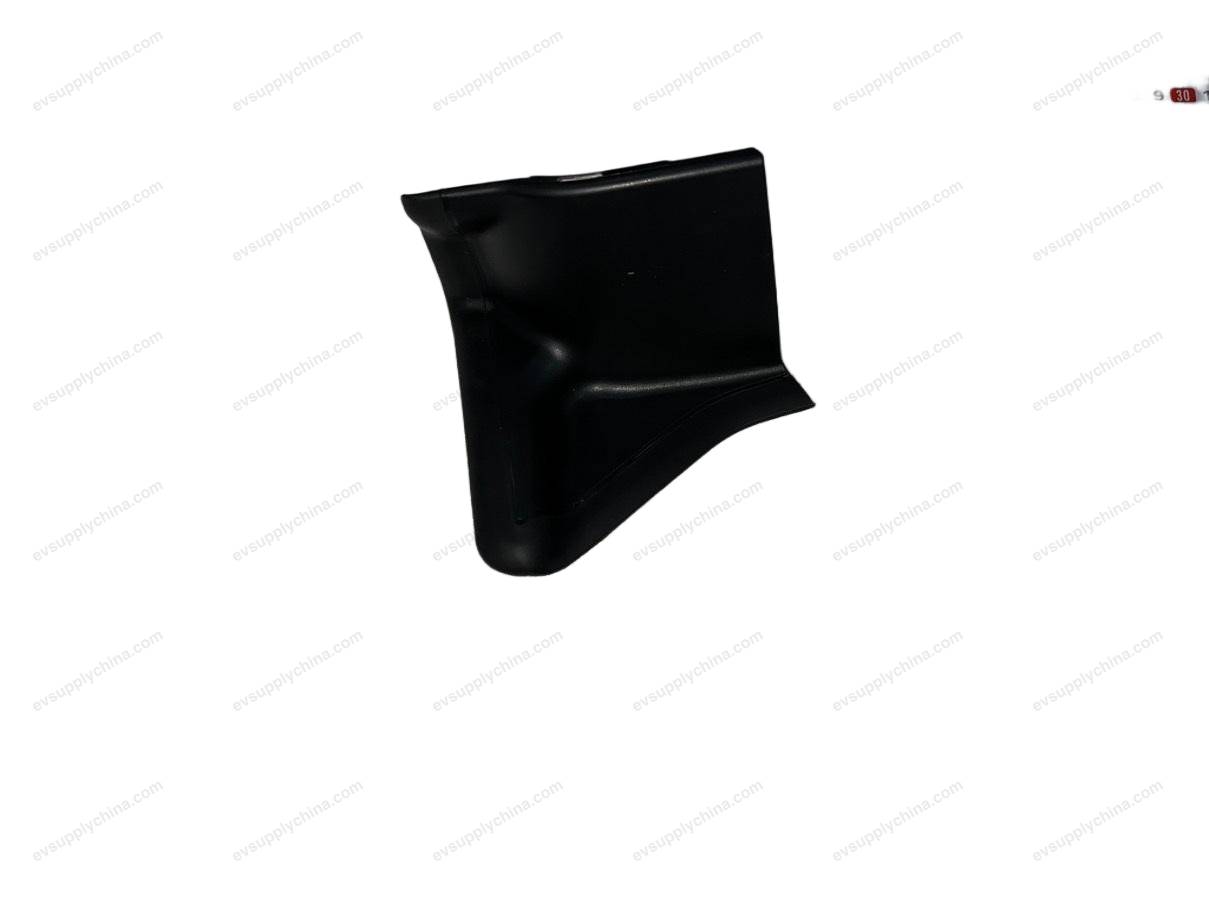
Индикатор зарядного порта
OE / Каталожные коды
10983083-00e6U-4115100Цена по запросуВ наличии
Технические характеристики
- Модель
- BYD Atto 3
- Конфигурация рулевого
- Универсальный (LHD и RHD)
- Категория
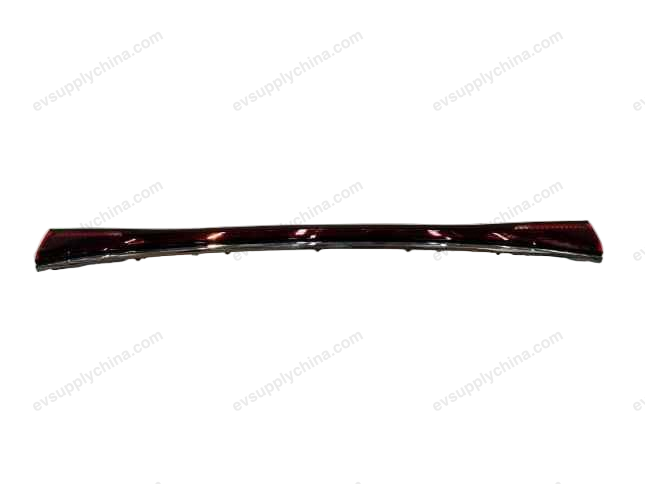
- Задние фонари
Доставка и возврат
Доставка по всему миру из Китая авиа или морем. Стандартная доставка 5–30 рабочих дней, экспресс 2–10 рабочих дней. Стоимость рассчитывается на оформлении заказа.
7-дневный возврат для неиспользованных товаров в оригинальной упаковке. Свяжитесь с нами до отправки возврата.
Совместимые автомобили — Индикатор зарядного порта
BYDe5 450
2018BYDe5 300
2016–2017BYDe6 400
2016–2017BYDE6
2012–2014BYDTang New Energy
2015–2017BYDTang 100
2017BYDSong MAX New Energy DM
2019BYDSong New Energy EV400
2018BYDSong New Energy DM
2017BYDSong New Energy EV300
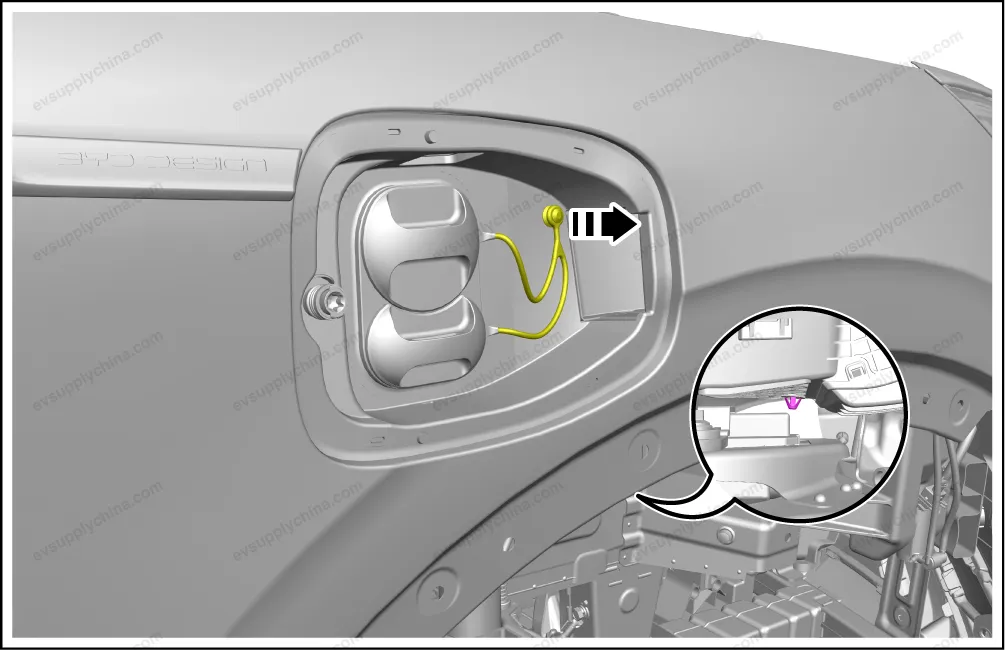
2017Индикатор зарядного порта Руководство по ремонту — BYD Atto 3
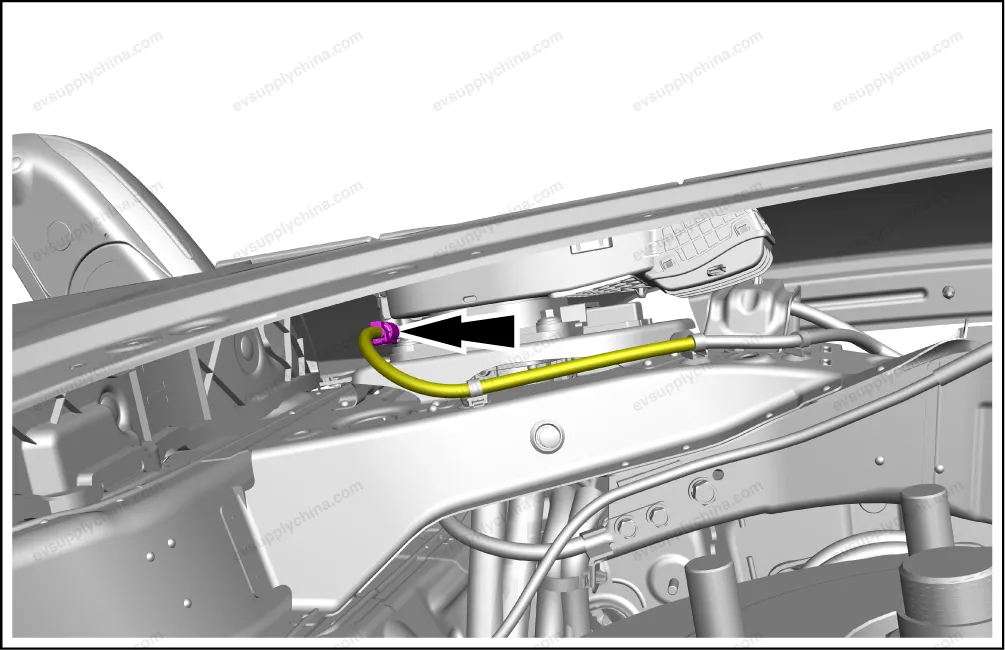
Charging Port Light - Removal and Installation
Removal
- Power off the low voltage electrical system. See Power-off and Power-on of Low Voltage Electrical System
- Remove the front compartment right trim panel assembly. See Front Compartment Right Trim Panel Assembly - Removal and Installation
- Disconnect 1 connector of the charging port light.
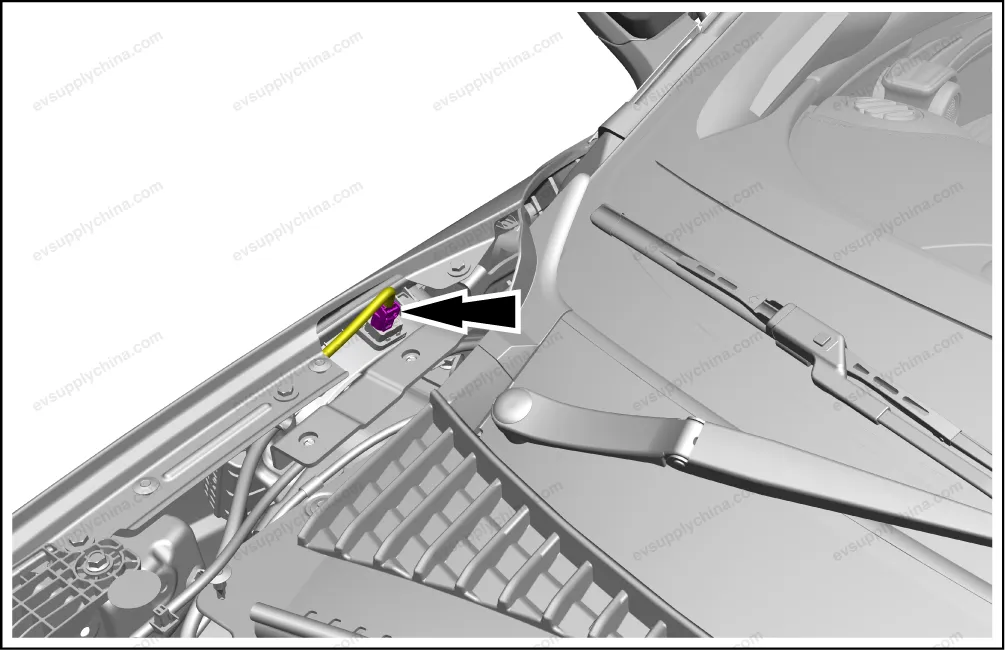
- Pry up the charging port light.

Installation
- The installation steps are opposite to the removal steps.
AC/DC Charging Port Cover Assembly - Removal and Installation
Removal
- Remove the right front wheel mudguard assembly. See Right Front Wheel Mudguard Assembly - Removal and Installation
- Remove the charging port light. See Charging Port Light - Removal and Installation
- Disconnect 1 harness connector of AC/DC charging port cover assembly I.
- Detach the cover cable from the integrated AC/DC charging socket.
- Pry up the AC/DC charging port cover assembly I.
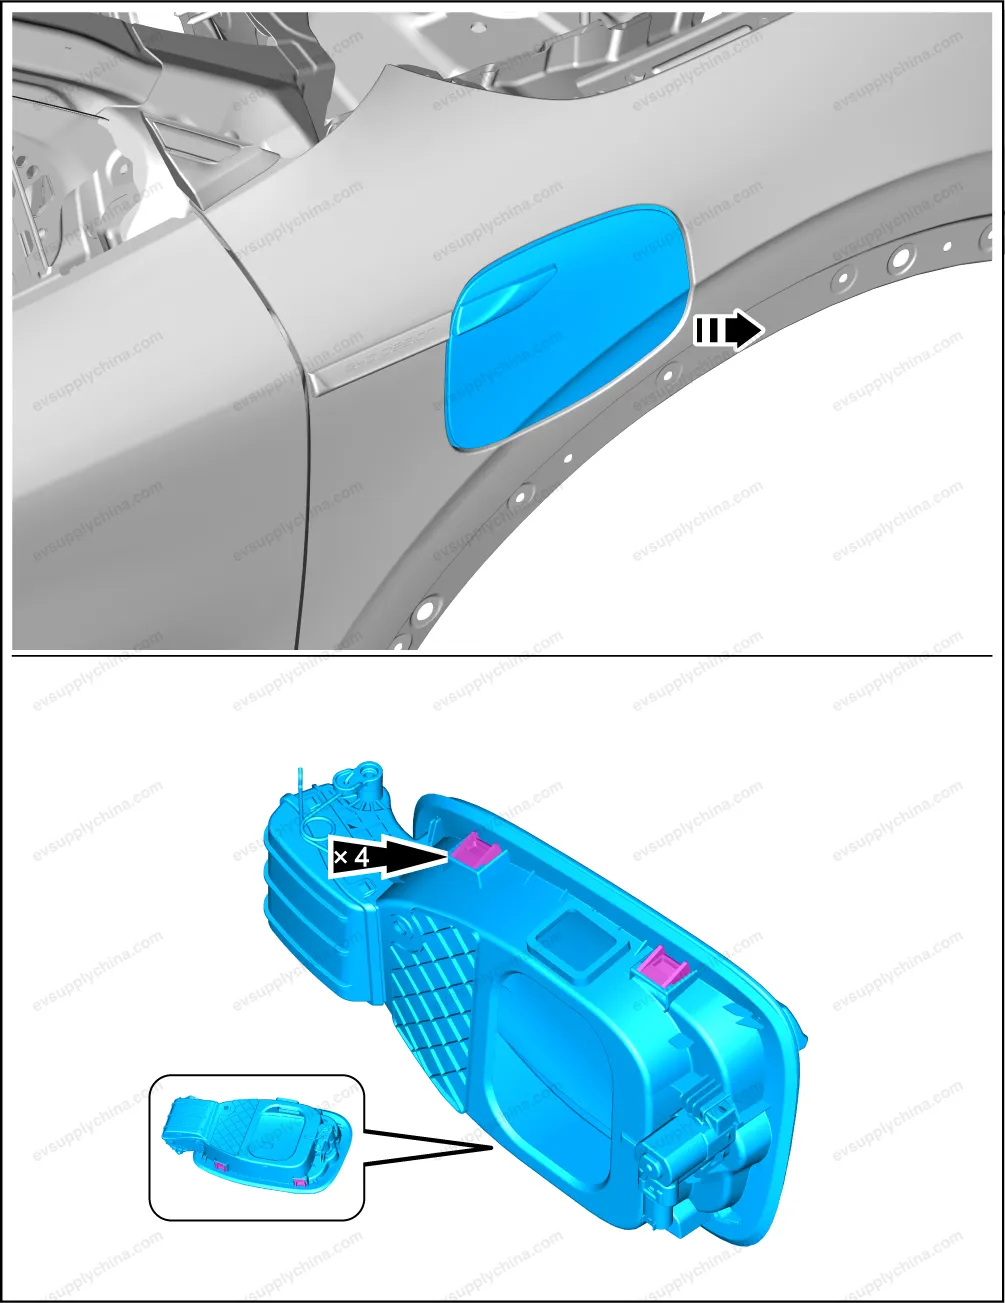
Install
- The installation is performed in reverse order of removal.