Orisinil
BYD Atto 3
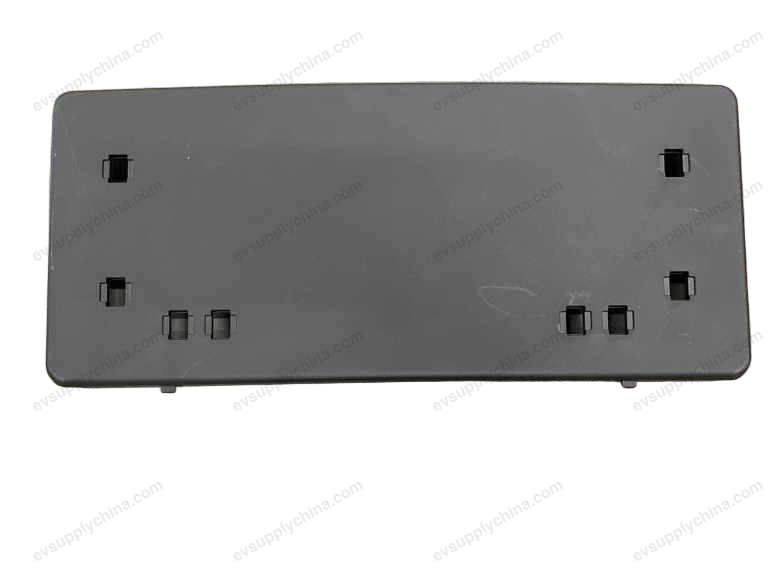
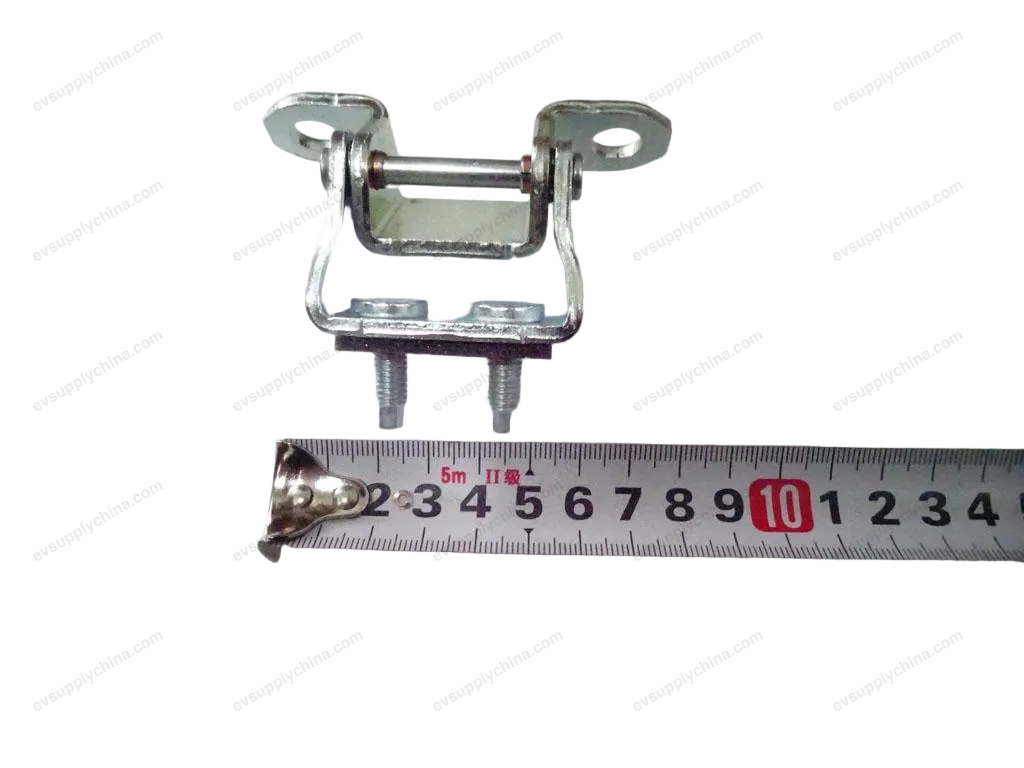
Rakitan Braket Jendela Pintu Belakang Kanan
Kode OE / Material
13177382-00SC2E-6204120$22USD
TersediaSpesifikasi Teknis
- Model Kendaraan
- BYD Atto 3
- Konfigurasi Kemudi
- Universal (Setir Kiri & Kanan)
- Kategori
- Komponen Bodi Eksterior
Pengiriman & Pengembalian
Dikirim ke seluruh dunia dari Tiongkok melalui pengiriman udara atau laut. Pengiriman standar 5–30 hari kerja, ekspres 2–10 hari kerja. Biaya pengiriman dihitung saat checkout.
Jendela pengembalian 7 hari untuk barang yang belum digunakan dalam kemasan asli. Hubungi kami sebelum mengembalikan barang apa pun.
Kendaraan yang Kompatibel — Rakitan Braket Jendela Pintu Belakang Kanan
BYDYuan PLUS/Atto 3
2022–2025Rakitan Braket Jendela Pintu Belakang Kanan Panduan Bengkel — BYD Atto 3
Right Rear Window Regulator Bracket Assembly - Removal and Installation
Removal
- Remove the right rear door glass assembly. See Right Rear Door Glass Assembly - Removal and Installation
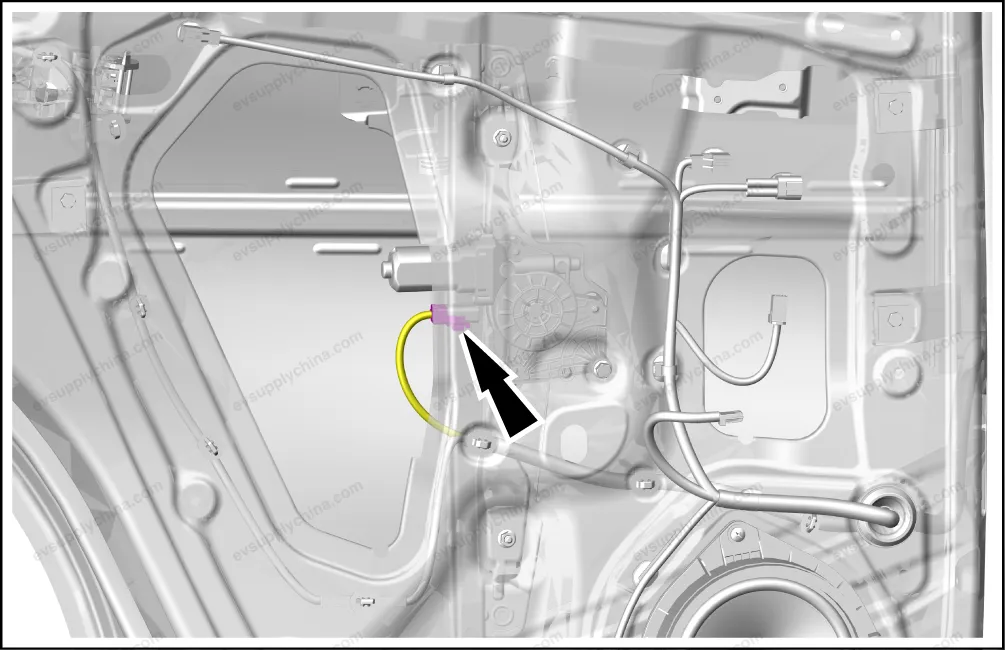
- Disconnect 1 connector of the right rear window regulator bracket assembly.
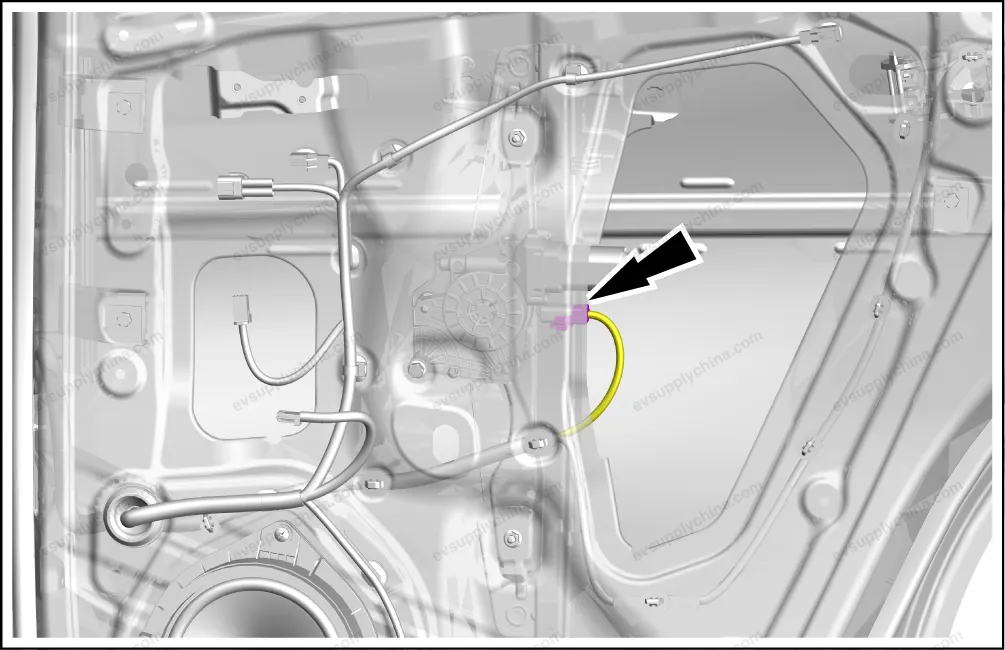
- Remove the right rear window regulator bracket assembly.
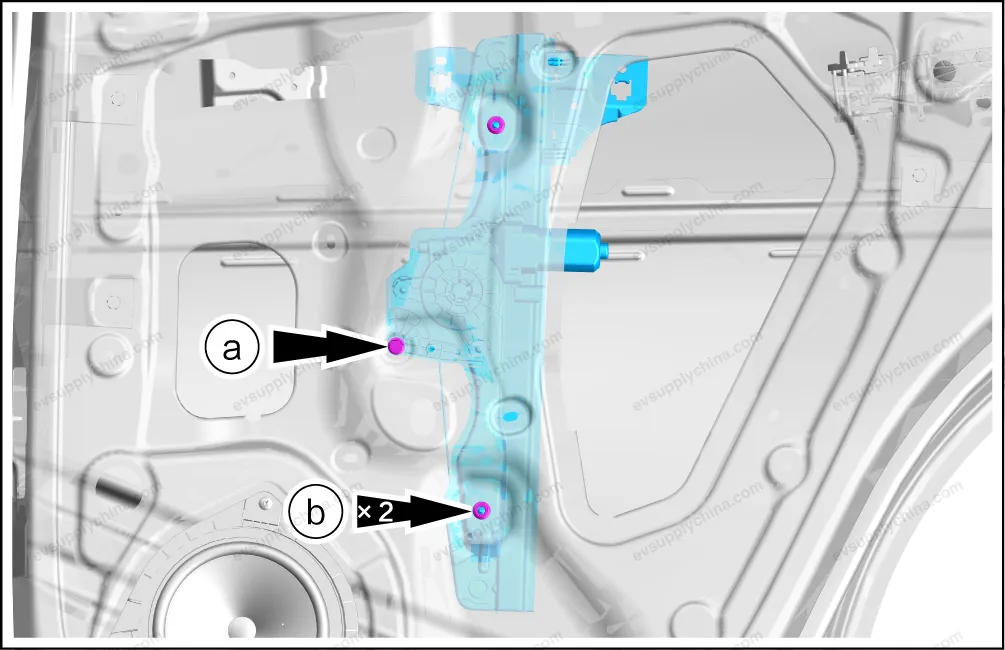
- Remove 1 fixing bolt.
- Remove 2 fixing nuts, and take out the right rear window regulator bracket assembly.
Installation
- The installation steps are opposite to the removal steps.
Caution On completion of installation, test the rear window regulator bracket assembly for normal function.
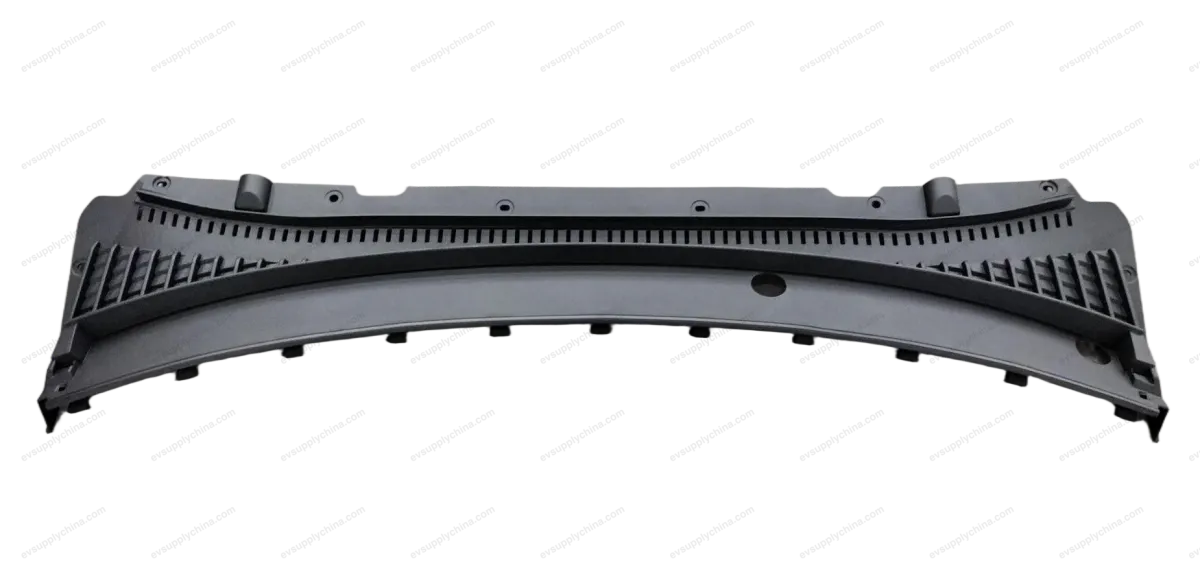
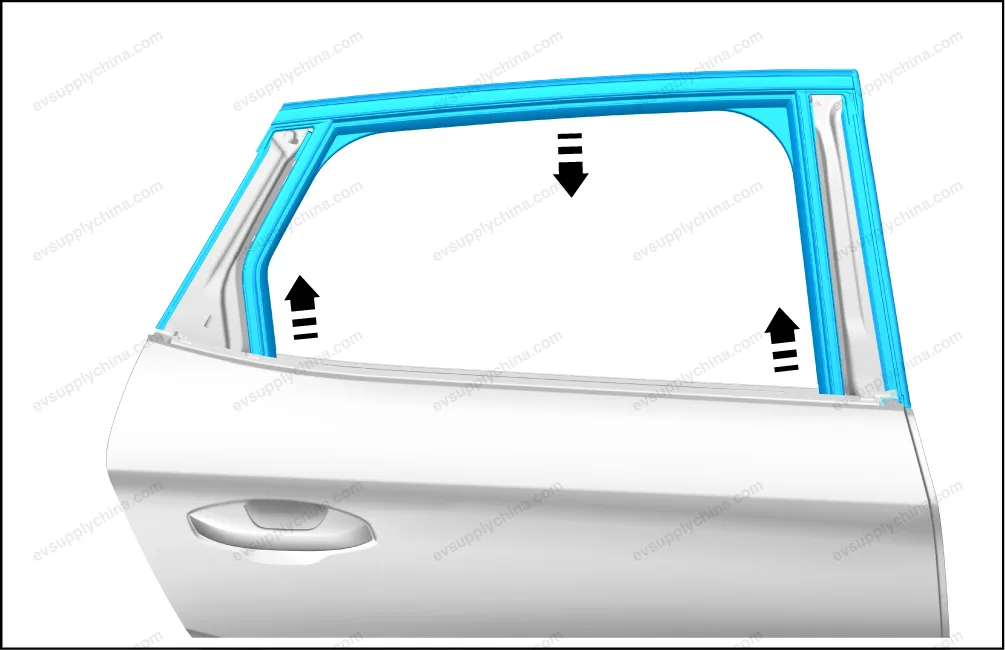
Right Rear Door Window Mud Tank Assembly - Removal and Installation
Removal
- Remove the right rear B-pillar exterior trim panel assembly. See Right Rear B-Pillar Exterior Trim Panel Assembly - Removal and Installation
- Remove the right C-pillar exterior trim panel assembly. See Right C-Pillar Exterior Trim Panel Assembly - Removal and Installation
- Take out the right rear door mud tank assembly.
Installation
- The installation steps are opposite to the removal steps.
Left Rear Window Regulator Bracket Assembly - Removal and Installation
Removal
- Remove the left rear door glass assembly. See Left Rear Door Glass Assembly - Removal and Installation
- Disconnect 1 connector of the left rear window regulator bracket assembly.
- Remove the left rear window regulator bracket assembly.
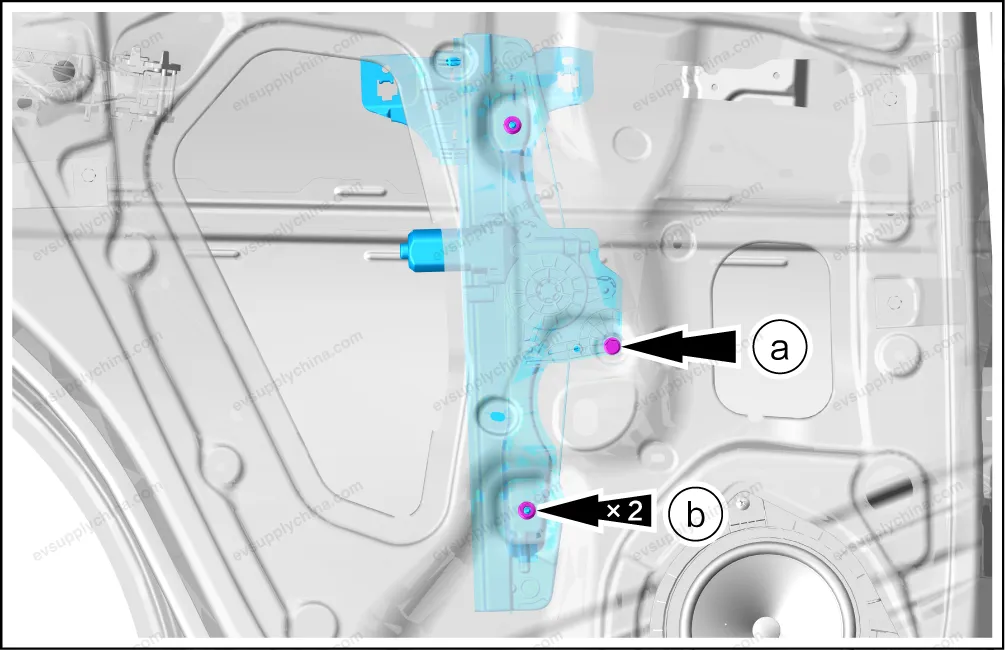
- Remove 1 fixing bolt.
- Remove 2 fixing nuts, and take out the left rear window regulator bracket assembly.
Installation
- The installation steps are opposite to the removal steps.
Caution On completion of installation, test the rear window regulator bracket assembly for normal function.