Orisinil
BYD Atto 3
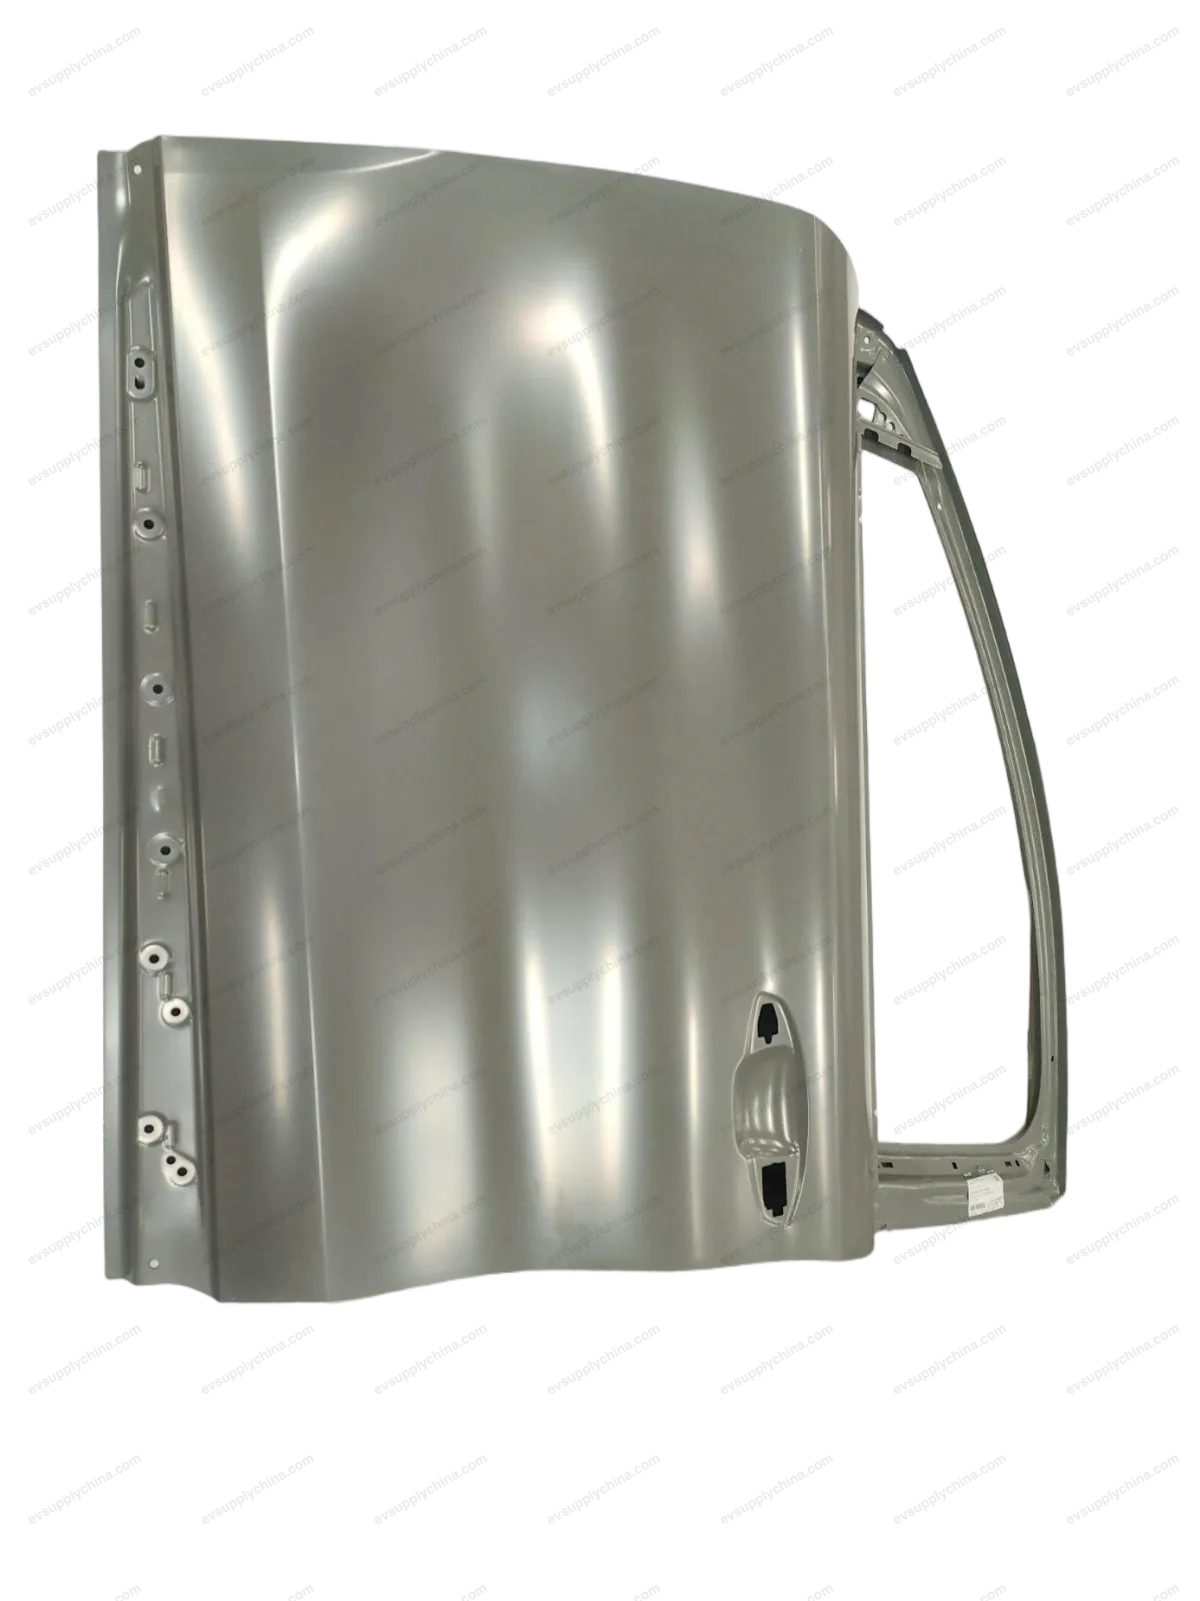
Rakitan pegangan luar pintu belakang kanan
Kode OE / Material
13168425-00SA3F-6205109DHarga atas permintaanTersedia
Spesifikasi Teknis
- Model Kendaraan
- BYD Atto 3
- Konfigurasi Kemudi
- Universal (Setir Kiri & Kanan)
- Kategori
- Pintu & Pintu Belakang
Pengiriman & Pengembalian
Dikirim ke seluruh dunia dari Tiongkok melalui pengiriman udara atau laut. Pengiriman standar 5–30 hari kerja, ekspres 2–10 hari kerja. Biaya pengiriman dihitung saat checkout.
Jendela pengembalian 7 hari untuk barang yang belum digunakan dalam kemasan asli. Hubungi kami sebelum mengembalikan barang apa pun.
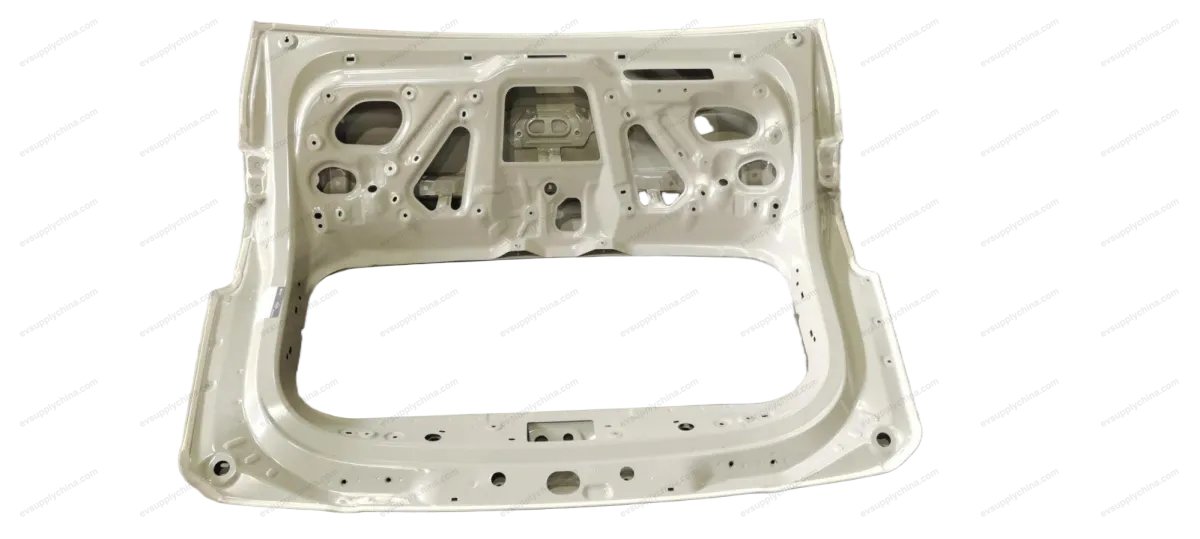
Kendaraan yang Kompatibel — Rakitan pegangan luar pintu belakang kanan
BYDYuan PLUS/Atto 3
2022–2025Rakitan pegangan luar pintu belakang kanan Panduan Bengkel — BYD Atto 3
Right Rear Door Outer Handle Assembly - Removal and Installation
Removal
- Lift the right rear door glass to the limit position.
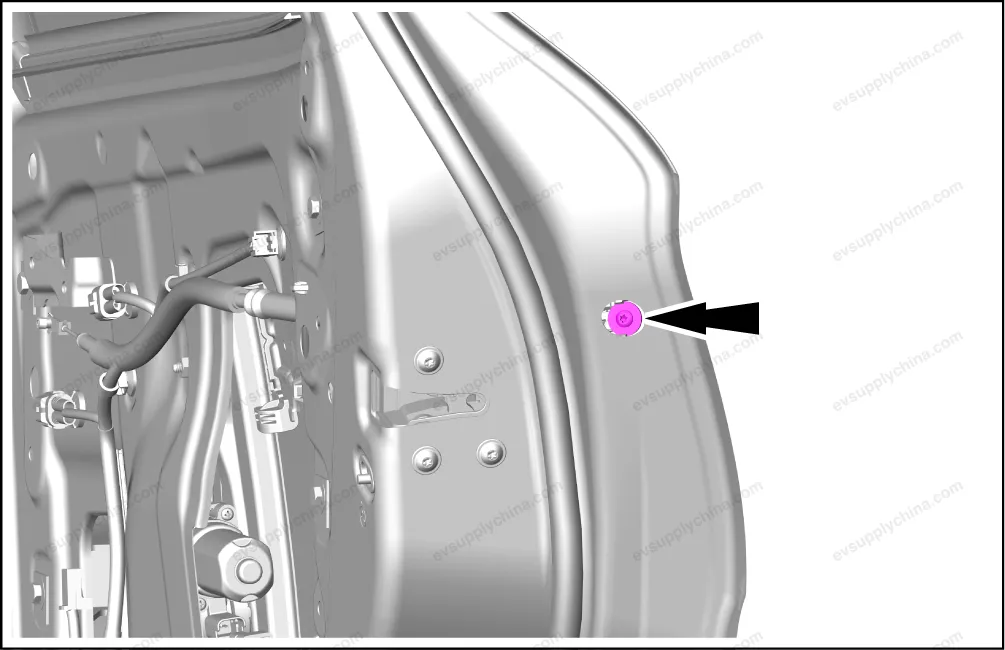
- Remove the right rear door sealing plug I. See Right Rear Door Sealing Plug I - Removal and Installation
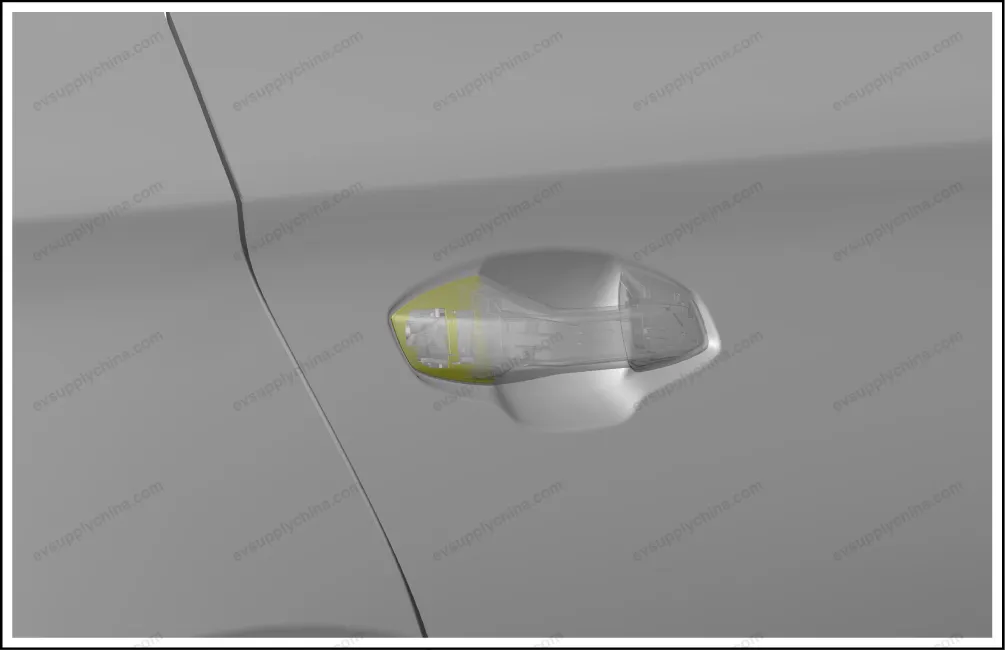
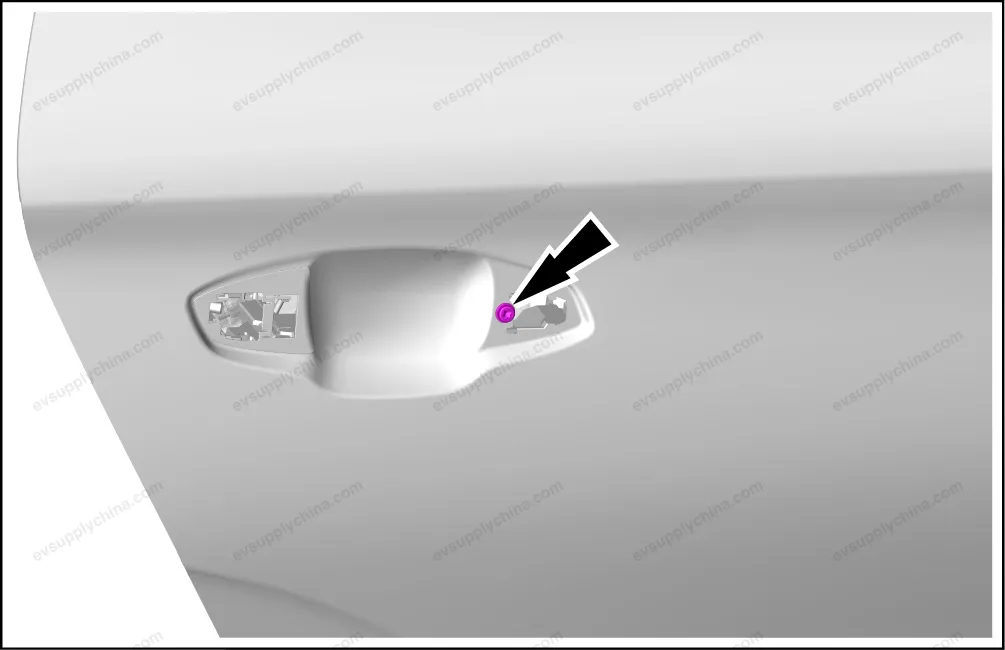
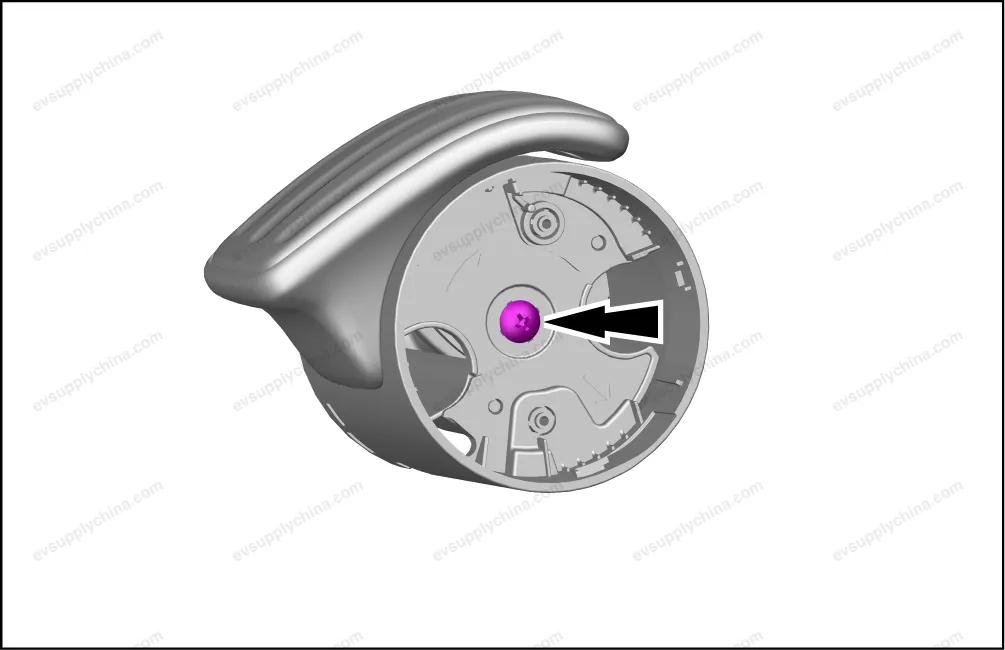
- Take out 1 screw cover, and loosen 1 fixing screw of the right rear door outer handle assembly.
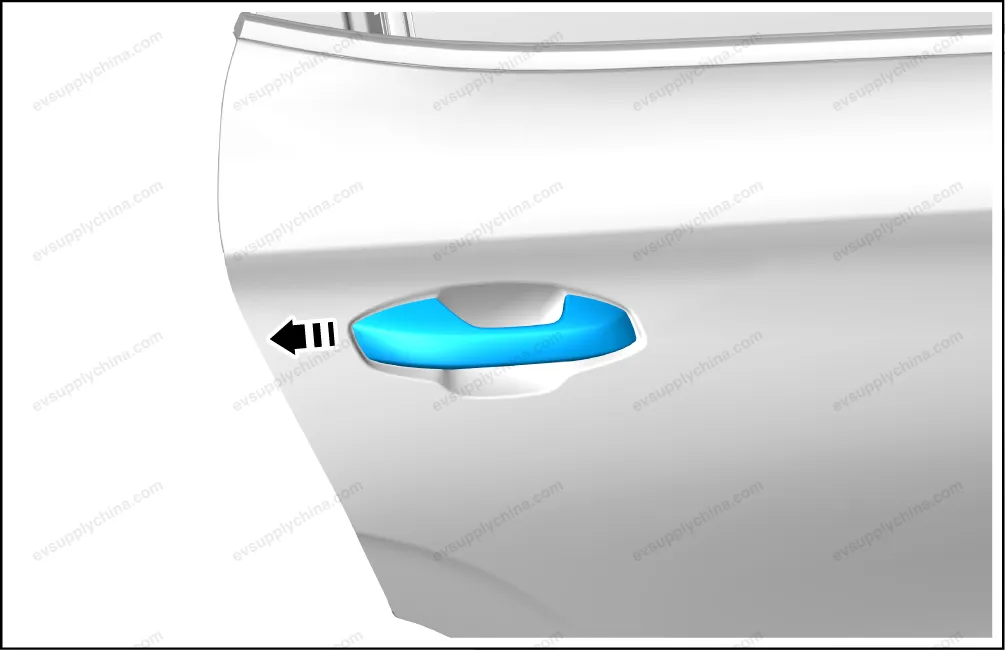
- Pull the outer handle, and take out the plug.

- Detach the outer handle gasket.
- Unlock the right rear door outer handle assembly.
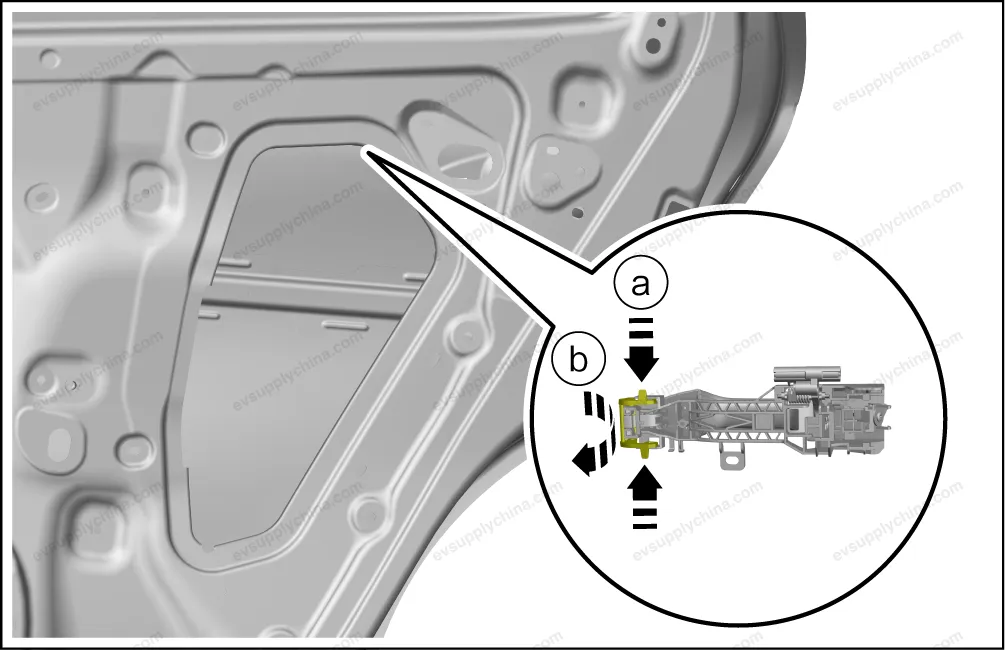
- Press the locking mechanism by hand.
- And turn the unlocking mechanism over at the same time.
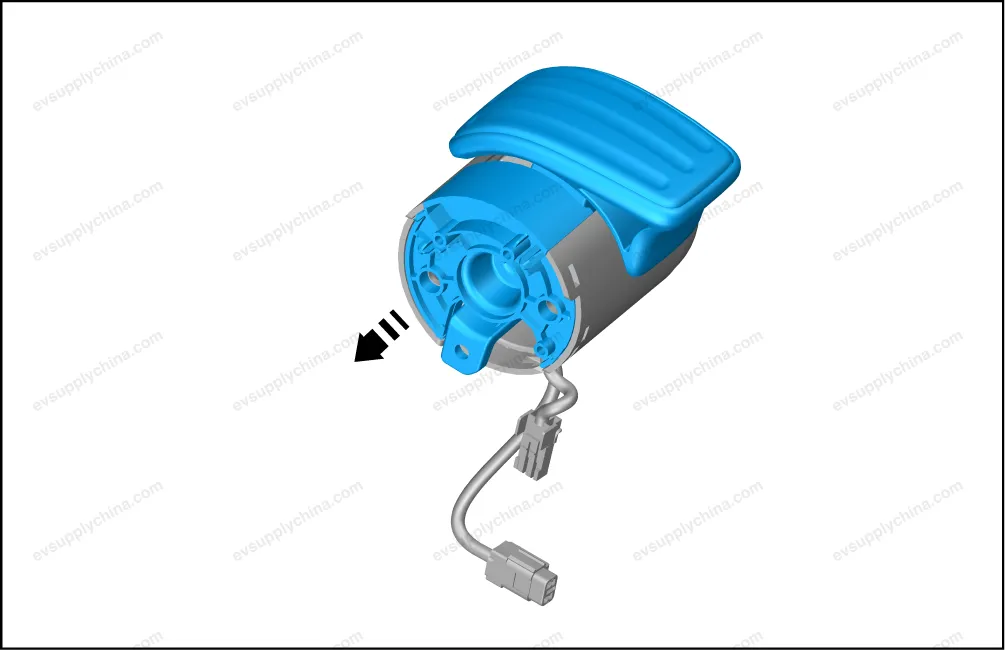
- Take out the right rear door outer handle assembly.
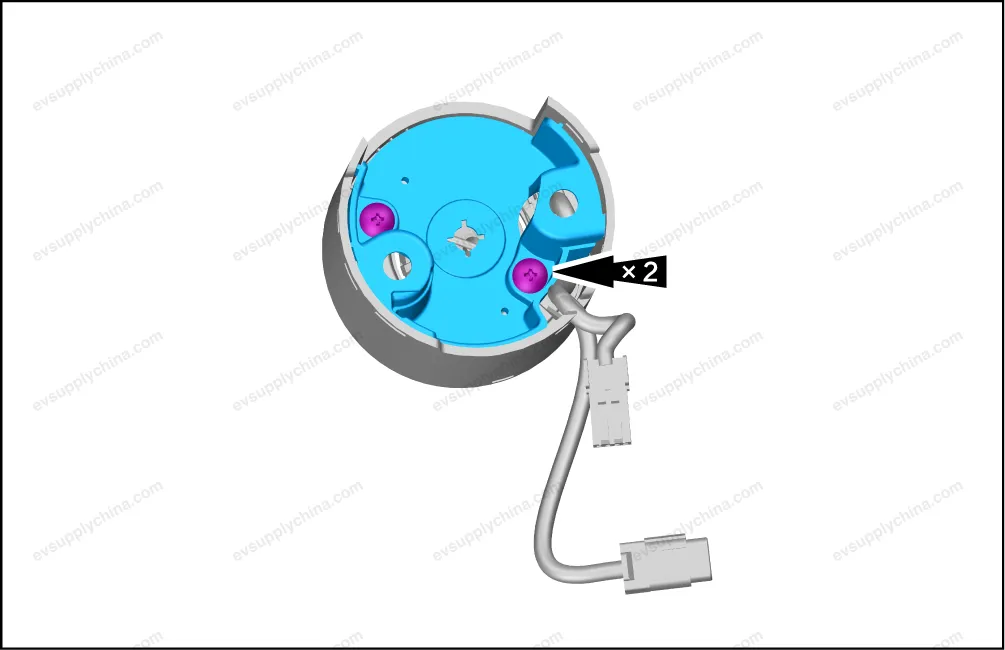
- Remove 1 fixing screw of the right rear door outer handle seat assembly.
- Remove the right rear door outer handle seat assembly.
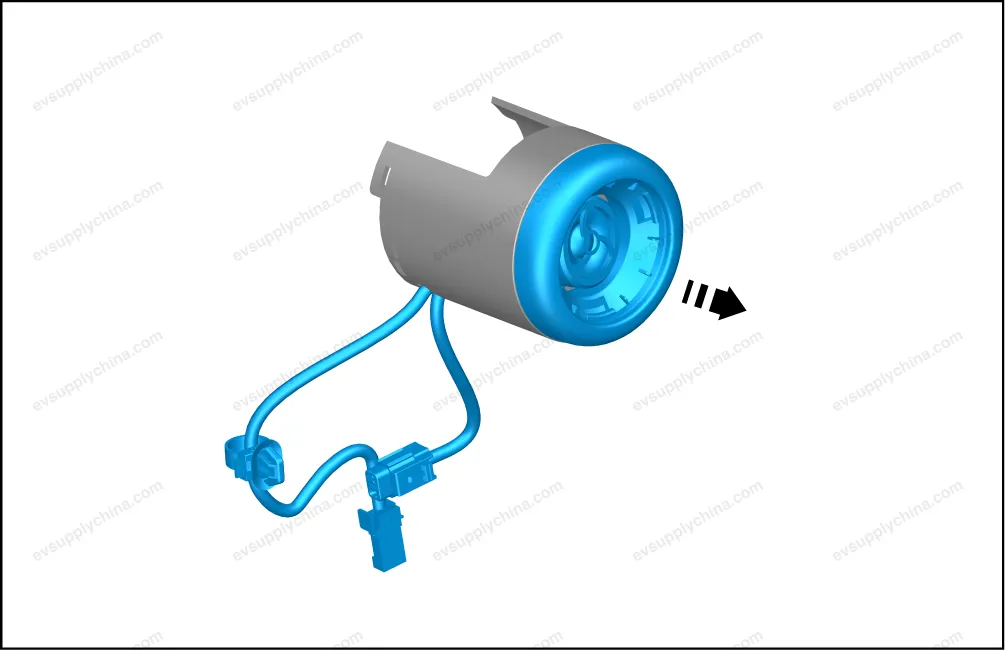
- Detach 1 fixing clip, and detach the right rear door lock outward-opening lever from the right rear door outer handle seat assembly.
- Take out the right rear door outer handle seat assembly.
Installation
- The installation steps are opposite to the removal steps.
Right Rear Door Handle Box Cover - Removal and Installation
Removal
- Pry up the right rear door handle box cover.
Caution Be careful when removing the trim panel to avoid scratching the surface material.
Installation
- The installation steps are opposite to the removal steps.
Right Rear Door Snap Handle Ambient Light Assembly - Removal and Installation
Removal
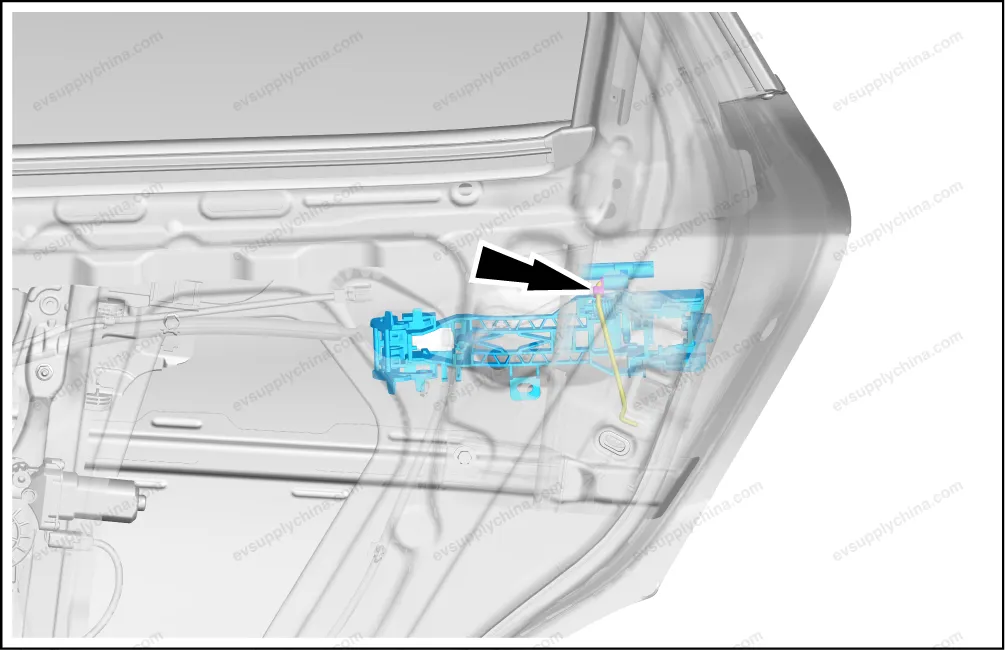
- Remove the right rear door guard board assembly. Right Rear Door Guard Assembly - Removal and Installation
- Remove the right rear door snap handle ambient light control module.
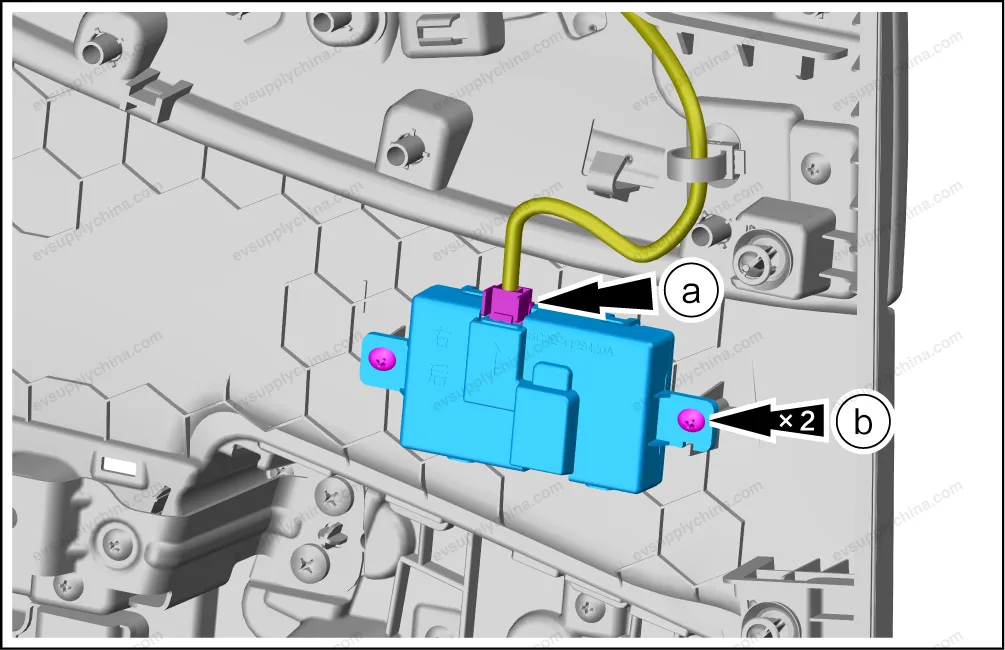
- Disconnect 1 connectors.
- Remove 2 fixing screws, and take out the right rear door snap handle ambient light control module.
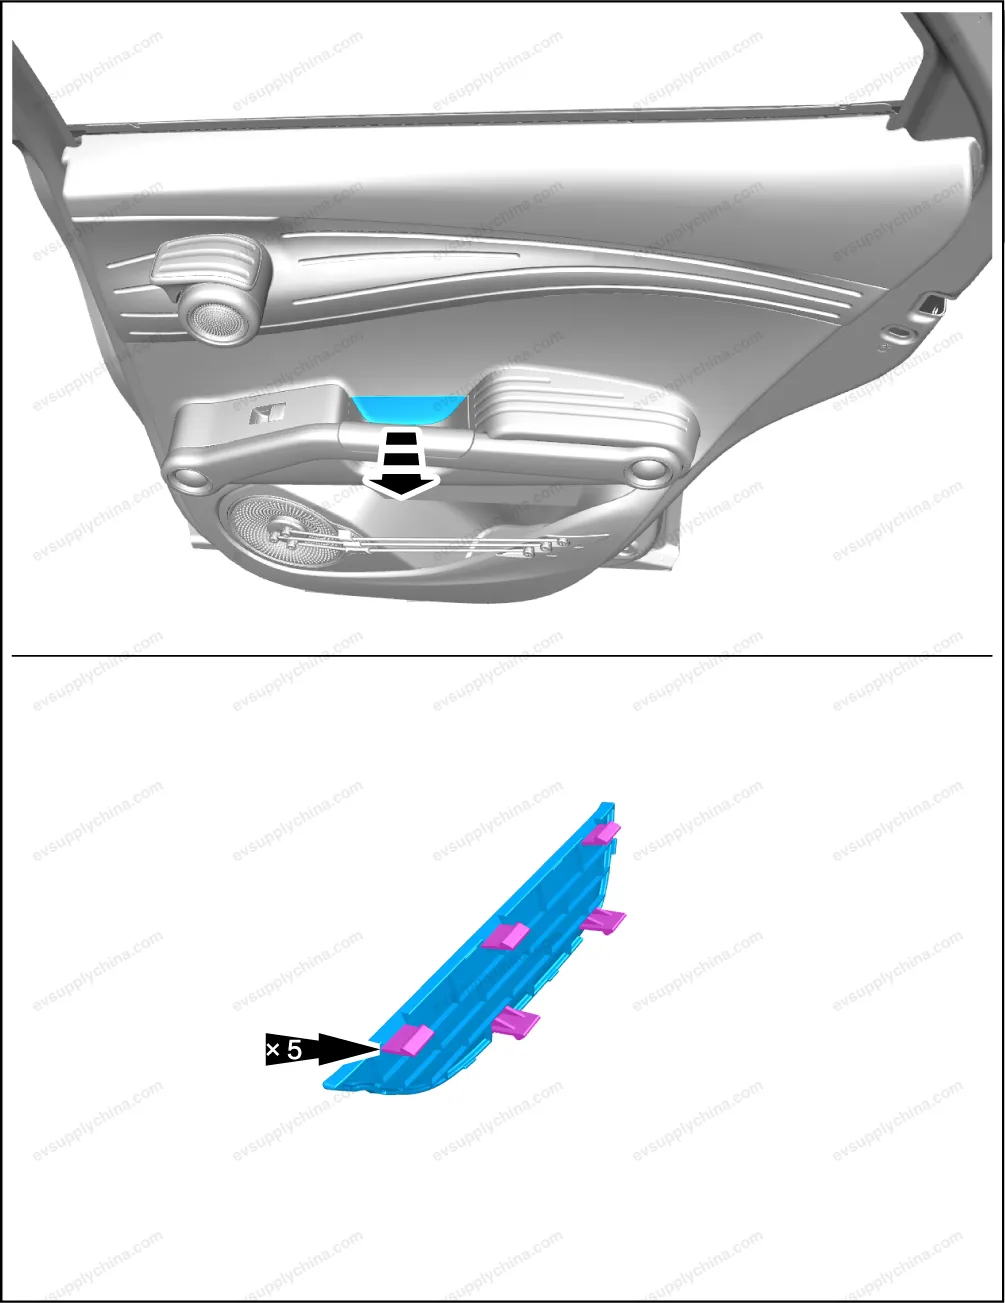
- Remove the right rear door inner snap handle assembly.

- Detach 1 fixing clip.
- Remove 3 fixing screws, and take out the right rear door inner snap handle assembly.
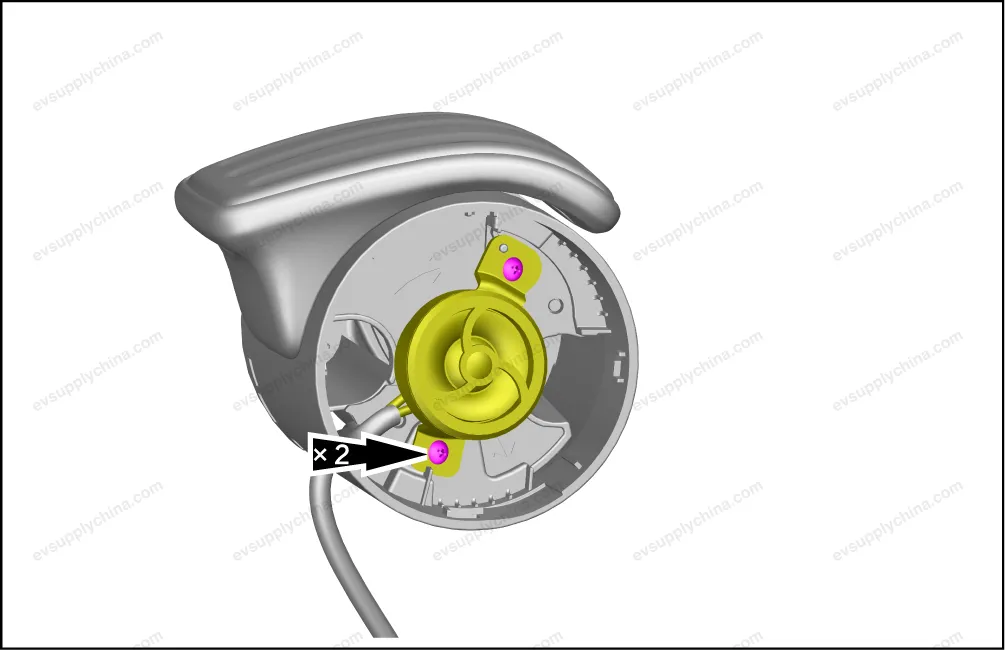
- Remove 2 fixing screws, and put aside the right rear tweeter horn.
- Remove 1 fixing screws.
- Pry up the right rear door inner snap handle seat and the handle.
- Remove 2 fixing screws, and take out the right door inner snap handle inner plate.
- Take out the right rear door inner snap handle ambient light and the tweeter horn.
Install
- The installation is performed in reverse order of removal.