Orisinil
BYD Atto 3
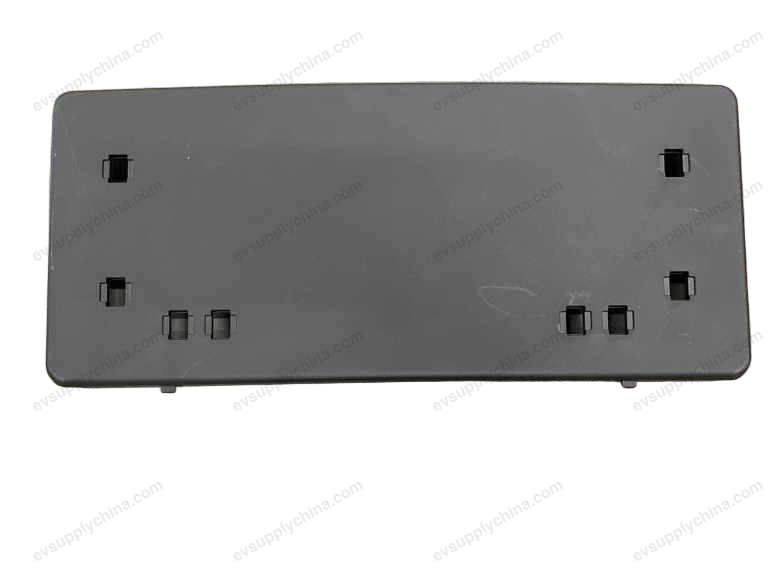
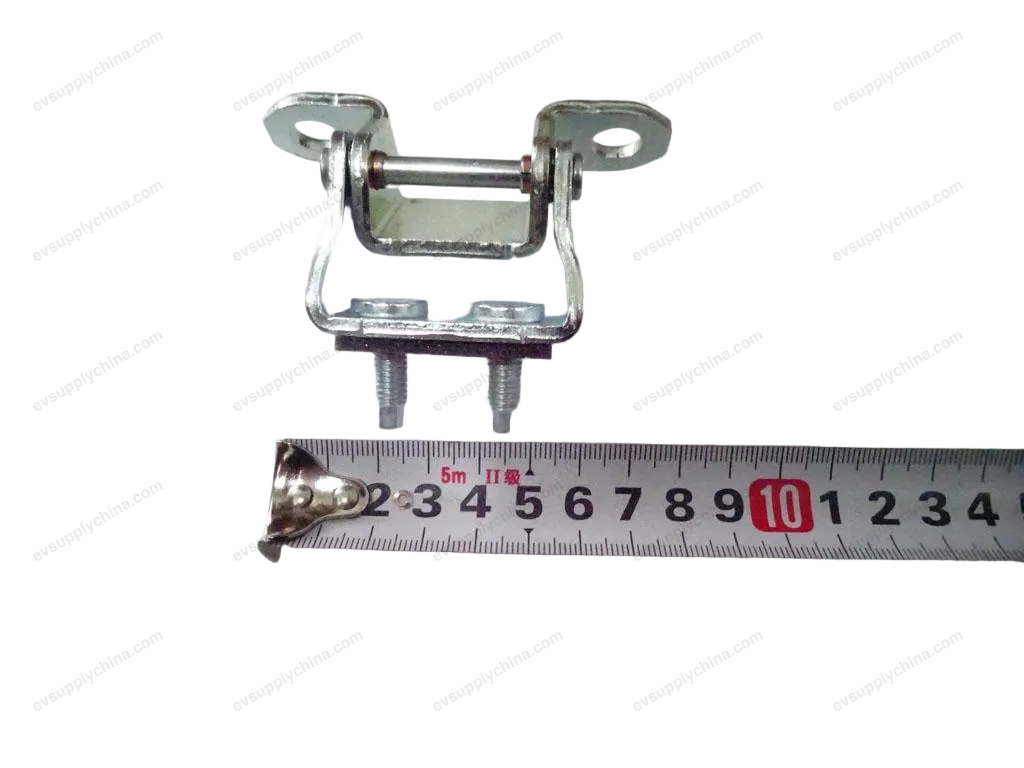
Braket pemasangan
Kode OE / Material
12451852-00VBH-4134202Harga atas permintaanTersedia
Spesifikasi Teknis
- Model Kendaraan
- BYD Atto 3
- Konfigurasi Kemudi
- Universal (Setir Kiri & Kanan)
- Kategori
- Komponen Bodi Eksterior
Pengiriman & Pengembalian
Dikirim ke seluruh dunia dari Tiongkok melalui pengiriman udara atau laut. Pengiriman standar 5–30 hari kerja, ekspres 2–10 hari kerja. Biaya pengiriman dihitung saat checkout.
Jendela pengembalian 7 hari untuk barang yang belum digunakan dalam kemasan asli. Hubungi kami sebelum mengembalikan barang apa pun.
Kendaraan yang Kompatibel — Braket pemasangan
BYDS2
2019BYDe1
2019BYDYuan New Energy EV360
2019BYDYuan New Energy EV535
2019BYDTang
2019BYDTang New Energy EV600
2019BYDTang New Energy EV600D
2019BYDSong MAX
2019Braket pemasangan Panduan Bengkel — BYD Atto 3
Console Middle Mounting Bracket Assembly - Removal and Installation
Removal
- Remove the floor duct assembly. See Floor Duct Assembly - Removal and Installation
- Detach 2 wiring harness clips from the console middle mounting bracket assembly.
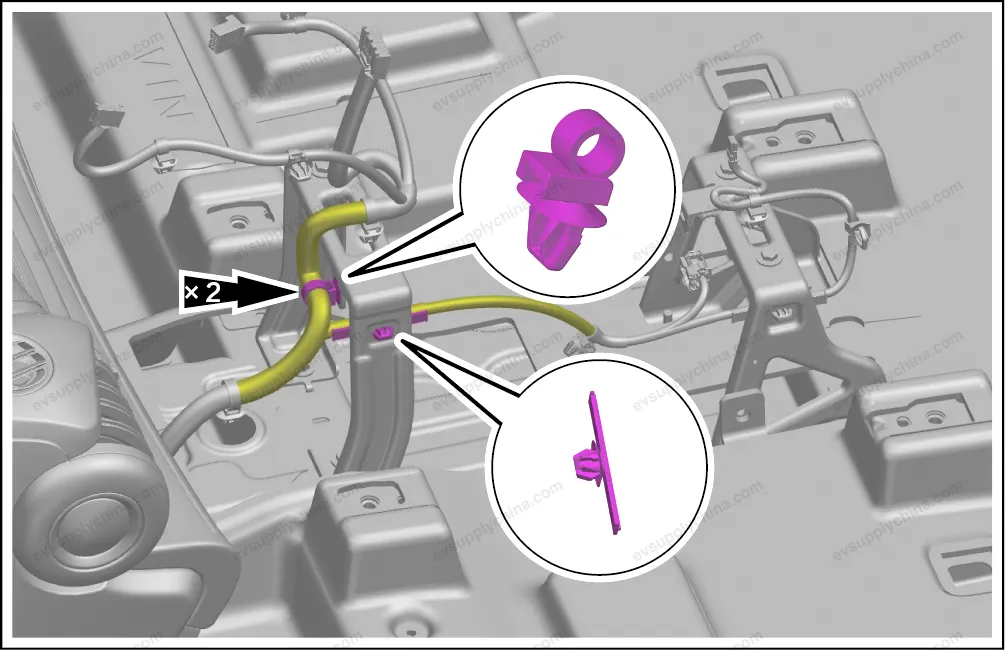
- Remove 2 fixing nuts, and take out the console middle mounting bracket assembly.
Installation
- The installation steps are opposite to the removal steps.
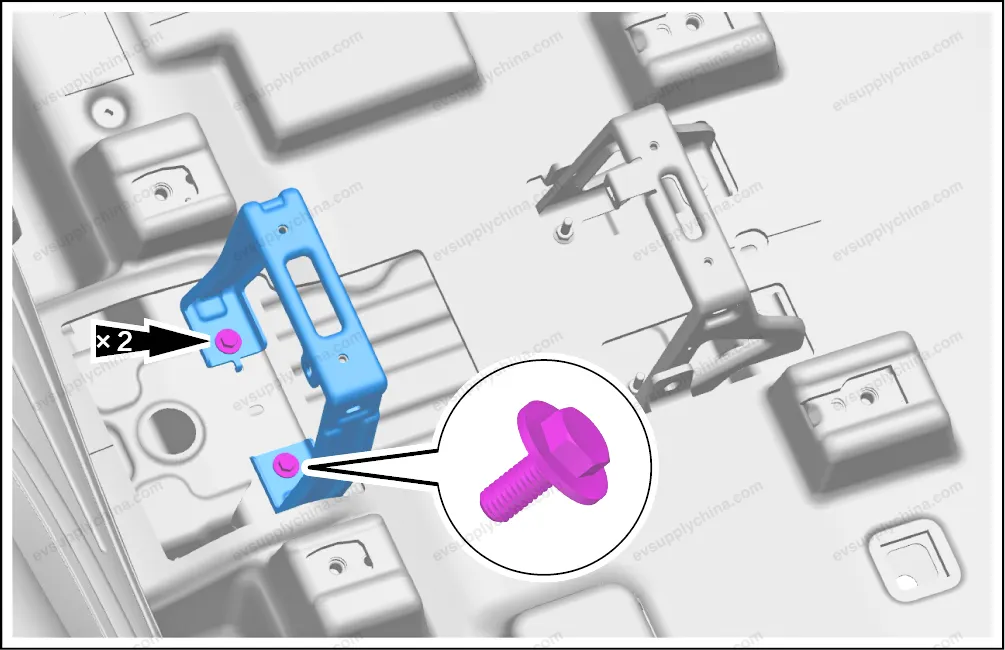
Console Rear Mounting Bracket Assembly - Removal and Installation
Removal
- Remove the console body assembly. See Console Body Assembly - Removal and Installation
- Remove the interior detection antenna assembly (console rear mounting bracket). See Interior Detection Antenna Assembly (Rear Mounting Bracket of Console) - Removal and Installation
- Detach the floor wiring harness clip from the console rear mounting bracket assembly.
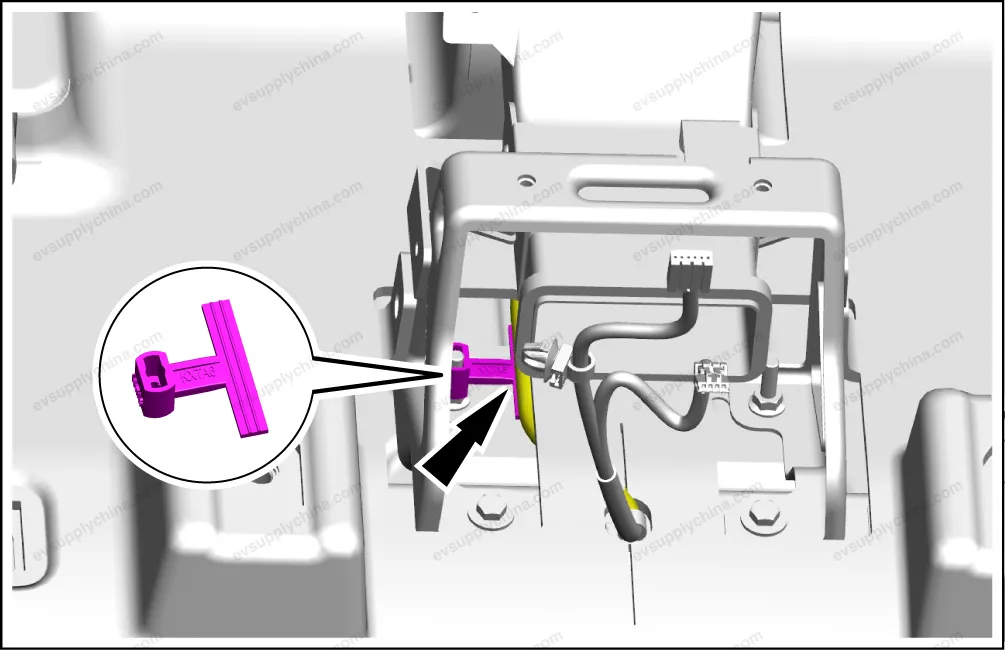
- Detach the instrument wiring harness clip from the console rear mounting bracket assembly.

- Remove 2 clips connecting the console rear mounting bracket assembly and the carpet.
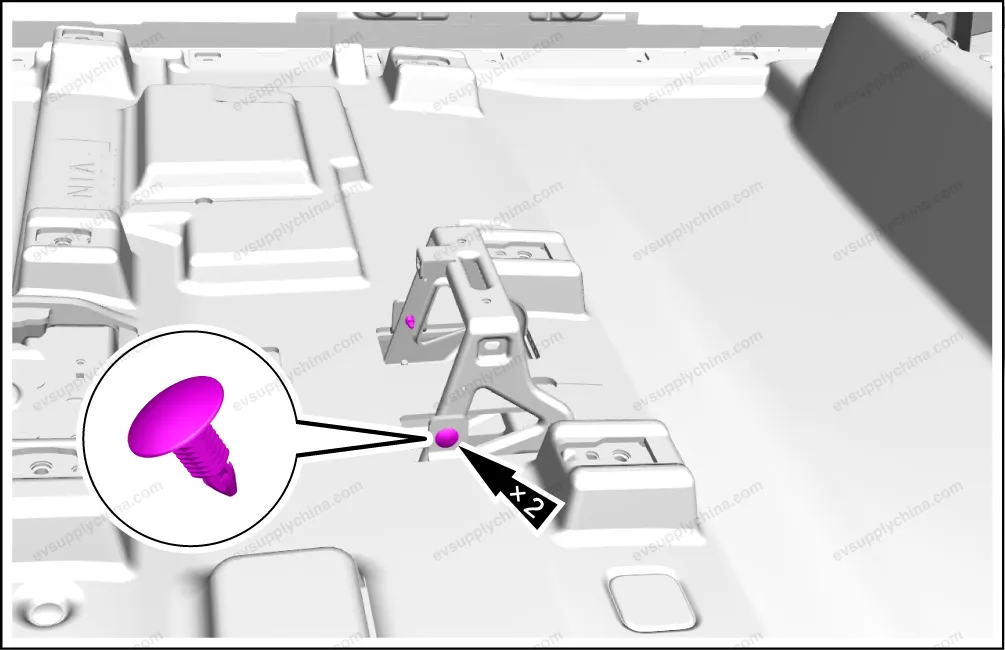
- Remove the console rear mounting bracket assembly.
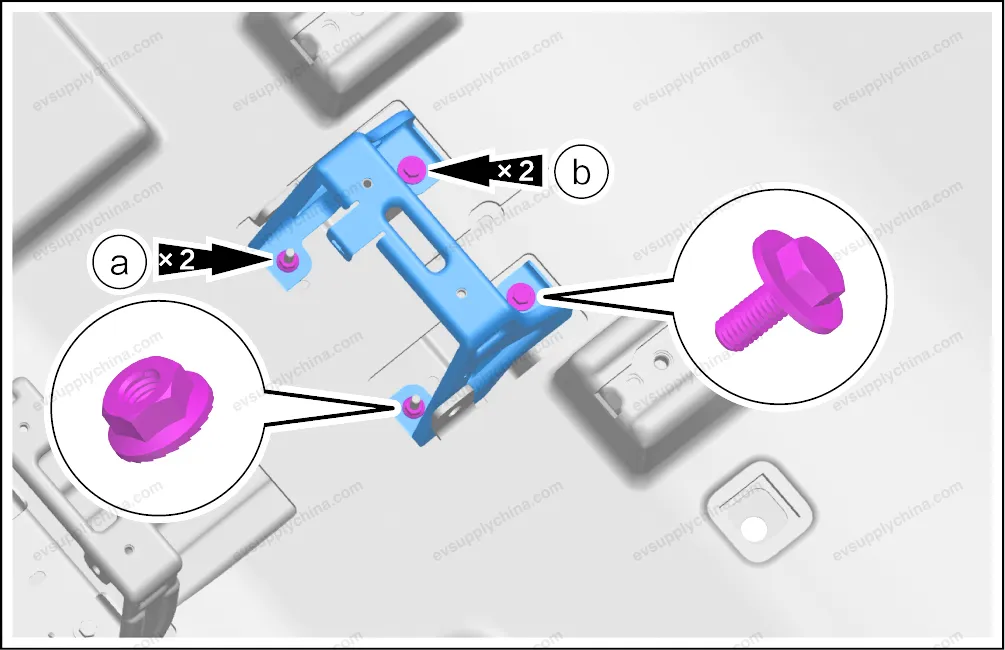
- Remove 2 fixing nuts.
- Remove 2 fixing screws, and take out the console rear mounting bracket assembly.
Installation
- The installation steps are opposite to the removal steps.
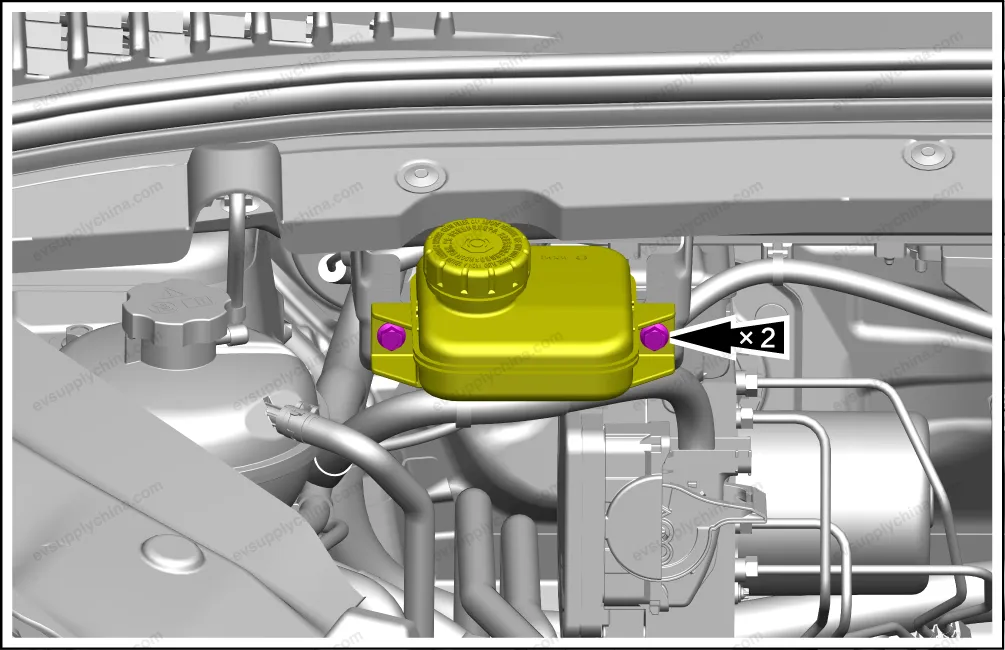
Brake Fluid Reservoir Mounting Bracket Assembly - Removal and Installation
Removal
- Remove 2 fixing bolts, and detach the brake fluid reservoir assembly.
- Remove the brake fluid reservoir mounting bracket assembly.
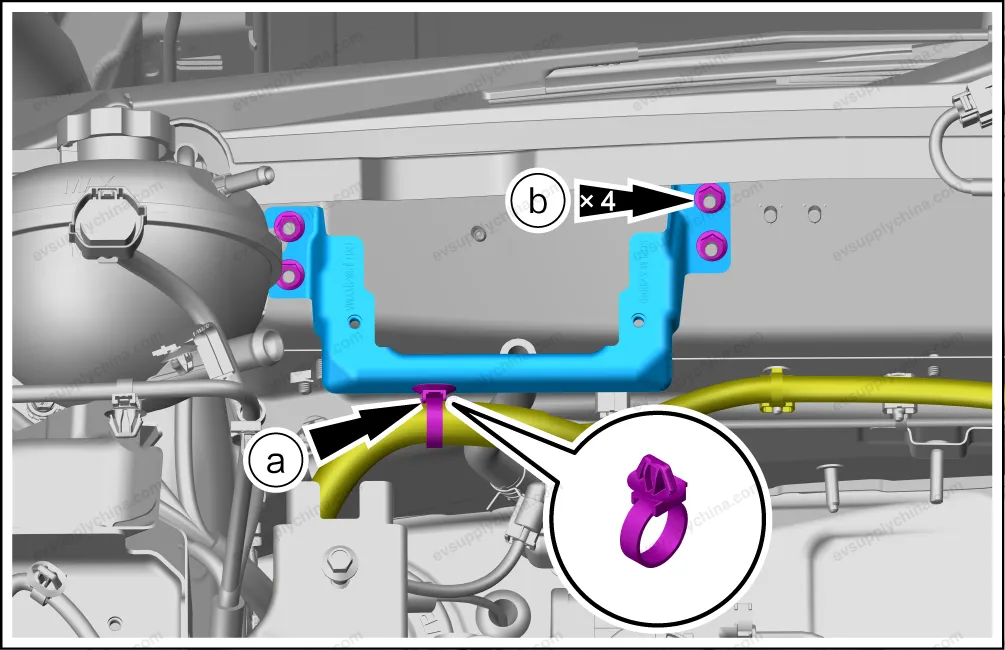
- Remove 1 fixing clip, and detach the front compartment wiring harness.
- Remove 4 fixing nuts, and take out the brake fluid reservoir mounting bracket assembly.
Installation
- The installation steps are opposite to the removal steps.