OrisinilPremiumAftermarket
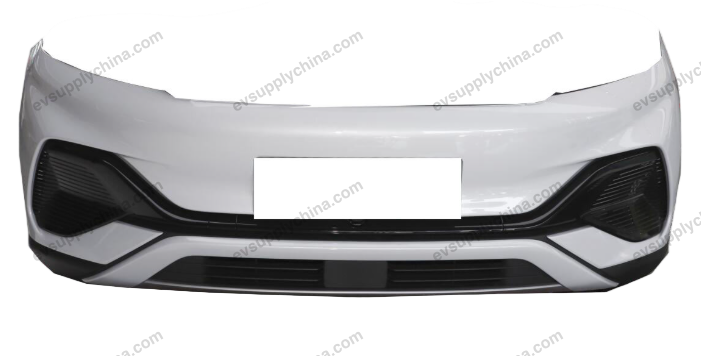
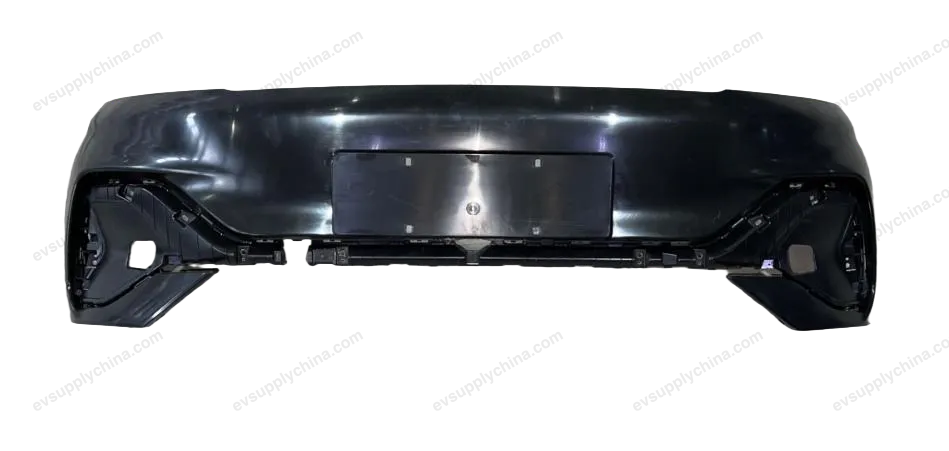
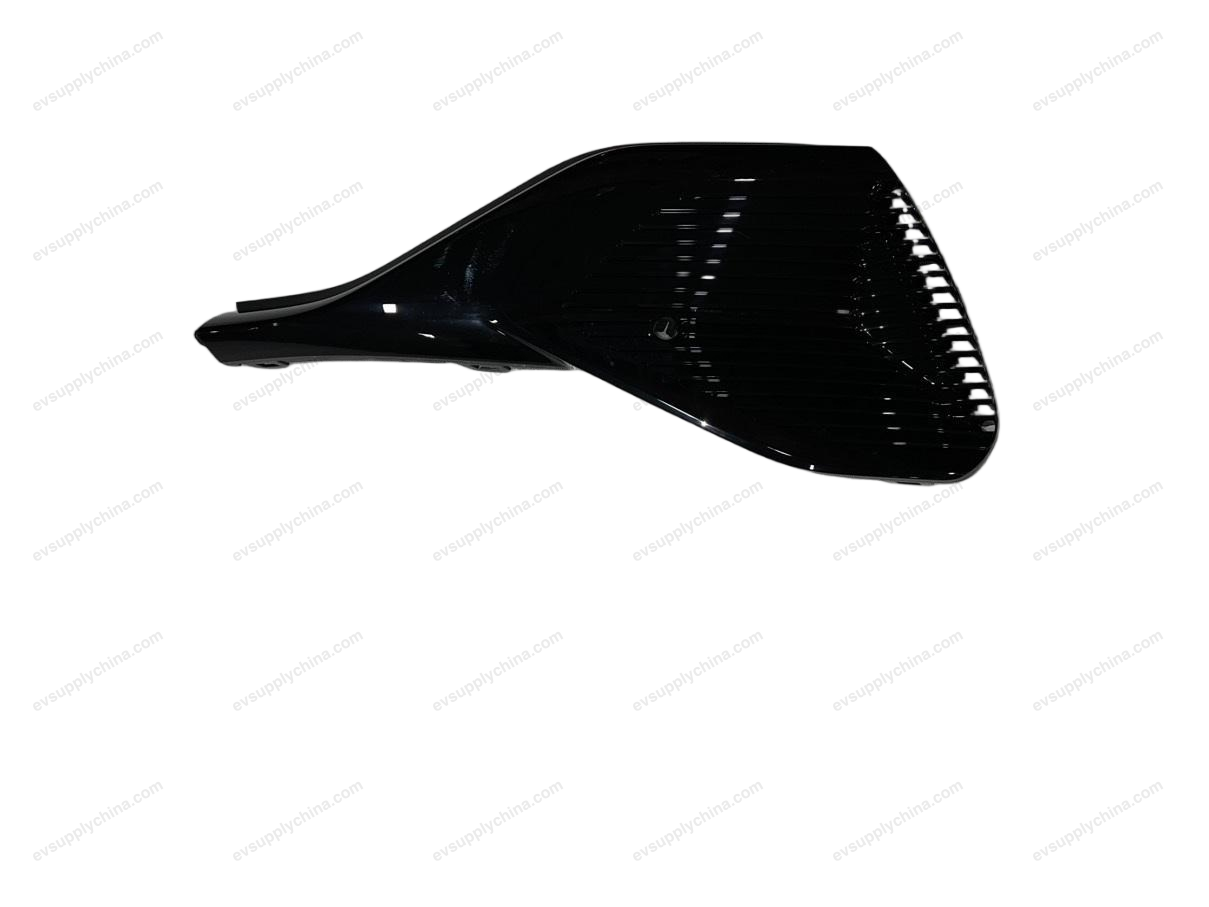
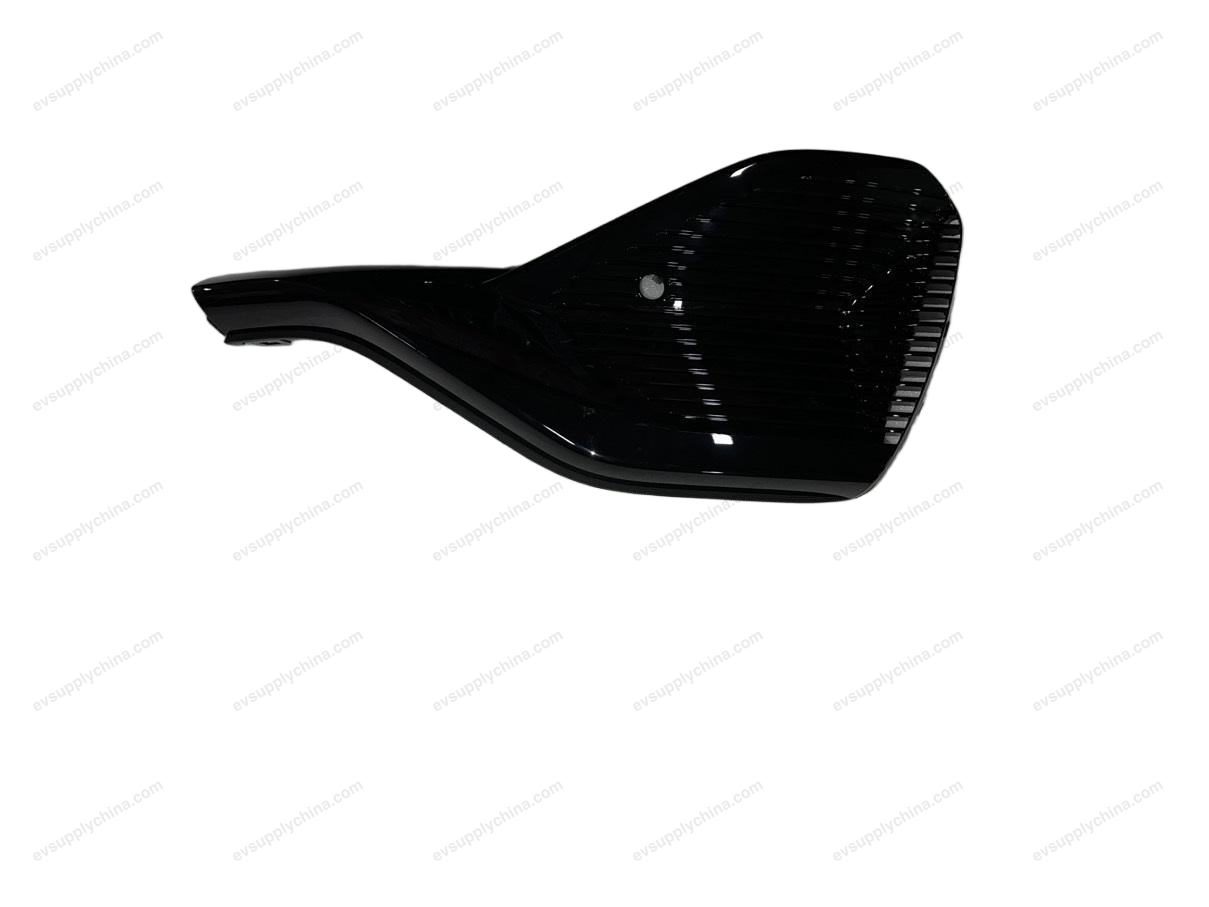
BYD Atto 3
Braket kiri bemper depan
Kode OE / Material
13161560-00SC2E-2803311$5USD
TersediaSpesifikasi Teknis
- Model Kendaraan
- BYD Atto 3
- Konfigurasi Kemudi
- Universal (Setir Kiri & Kanan)
- Kategori
- Bumper
Pengiriman & Pengembalian
Dikirim ke seluruh dunia dari Tiongkok melalui pengiriman udara atau laut. Pengiriman standar 5–30 hari kerja, ekspres 2–10 hari kerja. Biaya pengiriman dihitung saat checkout.
Jendela pengembalian 7 hari untuk barang yang belum digunakan dalam kemasan asli. Hubungi kami sebelum mengembalikan barang apa pun.
Kendaraan yang Kompatibel — Braket kiri bemper depan
BYDYuan PLUS/Atto 3
2022–2025Braket kiri bemper depan Panduan Bengkel — BYD Atto 3
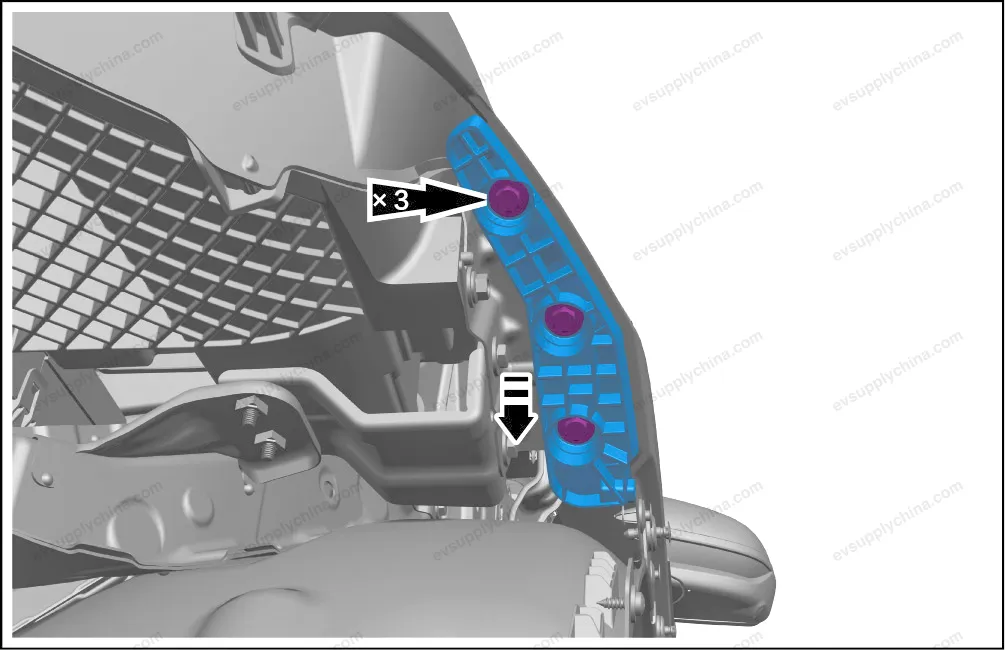
Front Bumper Left Bracket - Removal and Installation
Removal
- Remove the front bumper assembly. See Front Bumper Assembly - Removal and Installation
- Remove 3 fixing bolts, and take out the front bumper left bracket.
Installation
- The installation steps are opposite to the removal steps.
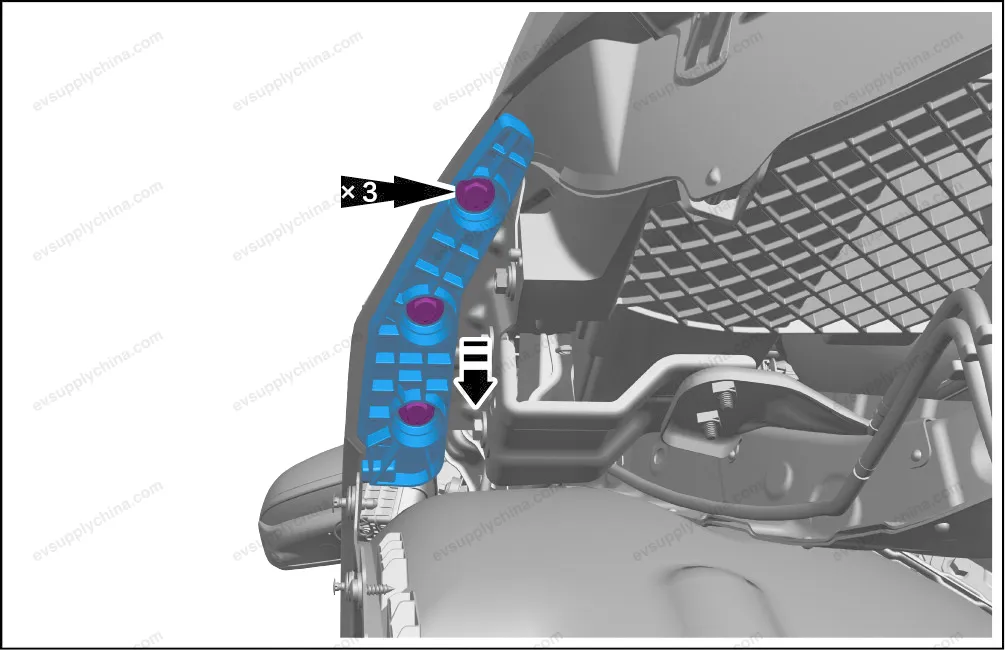
Front Bumper Right Bracket - Removal and Installation
Removal
- Remove the front bumper assembly. See Front Bumper Assembly - Removal and Installation
- Remove 3 fixing bolts, and take out the front bumper right bracket.
Installation
- The installation steps are opposite to the removal steps.
Upper Mounting Bracket of Front Bumper - Removal and Installation
Removal
- Remove the logo trim from the upper part of front bumper. See Logo Trim on the Upper Part of Front Bumper - Removal and Installation
- Detach the front bumper wiring harness.
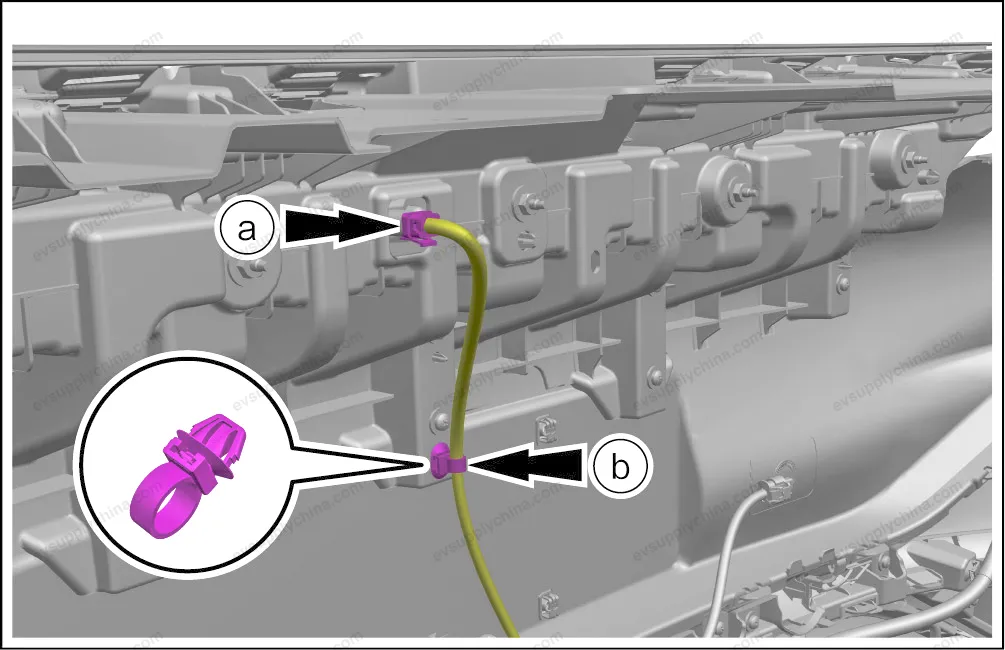
- Disconnect 1 connector.
- Detach 1 wiring harness clips.
- Remove the fasteners from the upper mounting bracket of front bumper.
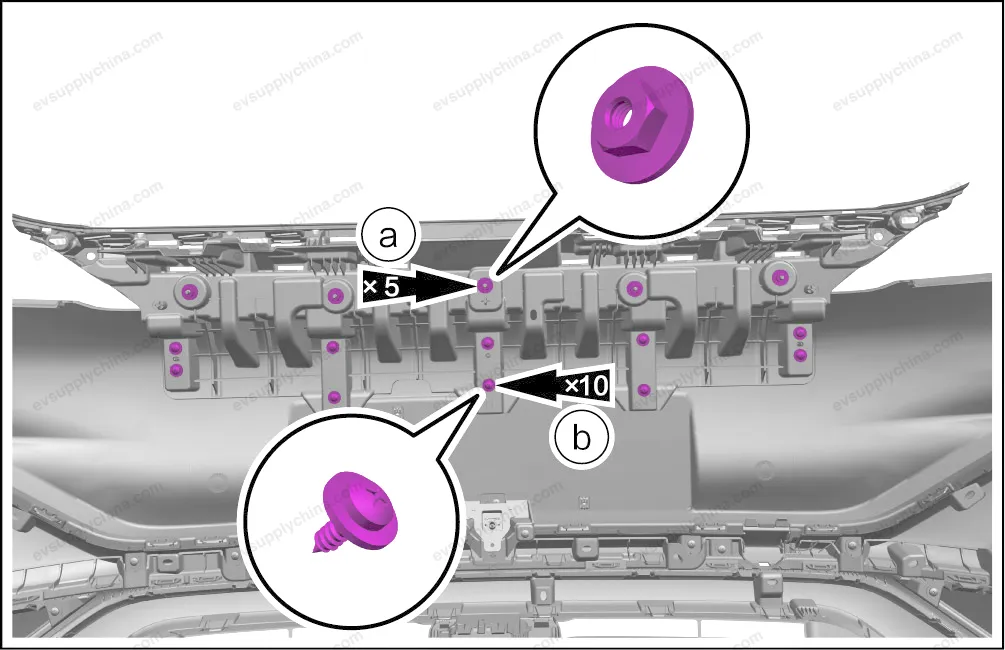
- Remove 5 fixing nuts.
- Remove 10 fixing screws.
- Take out the front bumper upper mounting bracket.

Installation
- The installation steps are opposite to the removal steps.