وكالة
BYD Atto 3
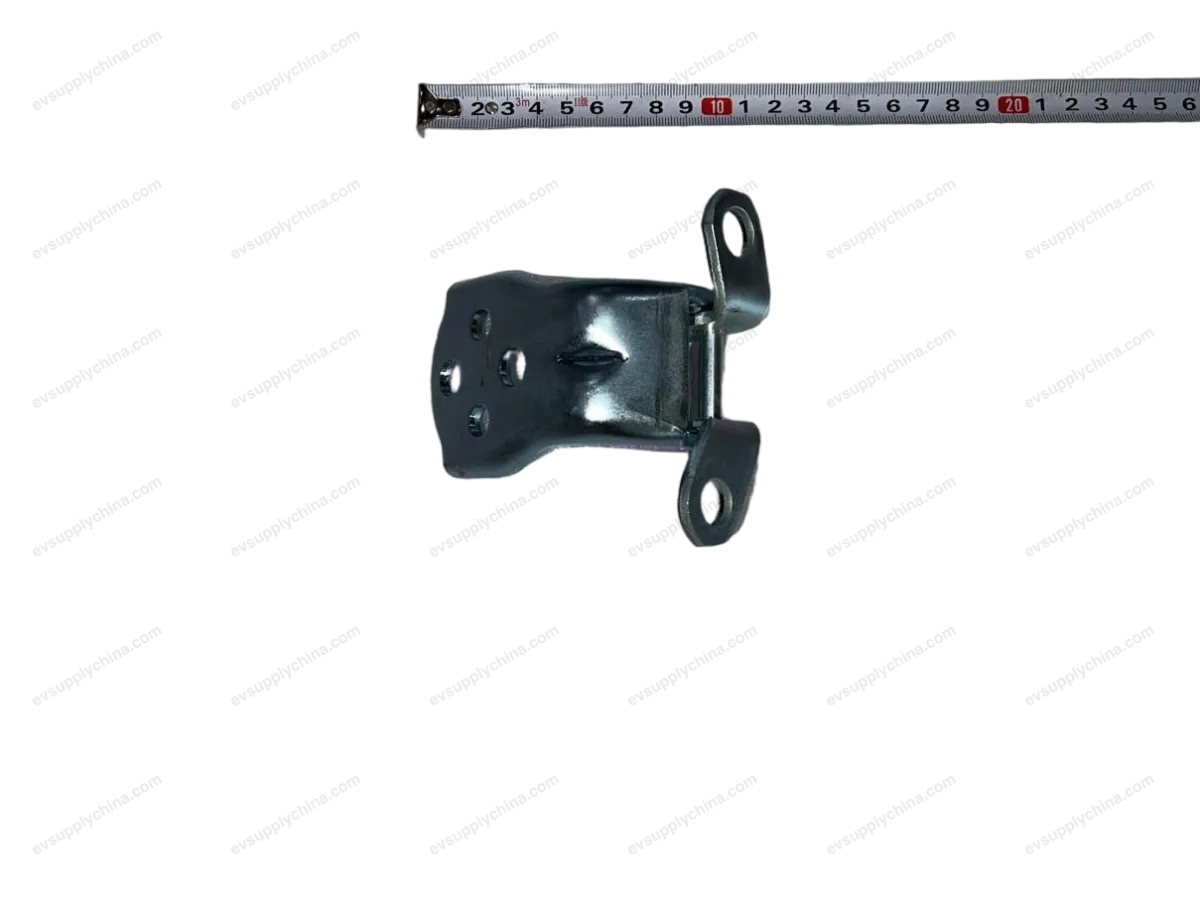
مجموعة المفصلة العلوية للباب الأمامي الأيمن
أكواد OE / المواد
13165115-00ST-6106109Cالسعر عند الطلبمتوفر
المواصفات الفنية
- موديل السيارة
- BYD Atto 3
- تكوين التوجيه
- عام (مقود يسار ومقود يمين)
- الفئة
- أبواب وأبواب خلفية
الشحن والإرجاع
شحن عالمي من الصين جواً أو بحراً. التسليم القياسي 5–30 يوم عمل، السريع 2–10 أيام عمل. تحسب تكلفة الشحن عند الدفع.
نافذة إرجاع 7 أيام للقطع غير المستخدمة في عبوتها الأصلية. تواصل معنا قبل إرجاع أي قطعة.
السيارات المتوافقة — مجموعة المفصلة العلوية للباب الأمامي الأيمن
BYDSong Plus New Energy DM-i
2021–2024BYDDolphin
2021–2024BYDSong Pro New Energy DM-i
2022–2024BYDYuan PLUS/Atto 3
2022–2024BYDSeagull
2023–2024BYDSong PLUS New Energy EV
2023–2024مجموعة المفصلة العلوية للباب الأمامي الأيمن دليل الورشة — BYD Atto 3
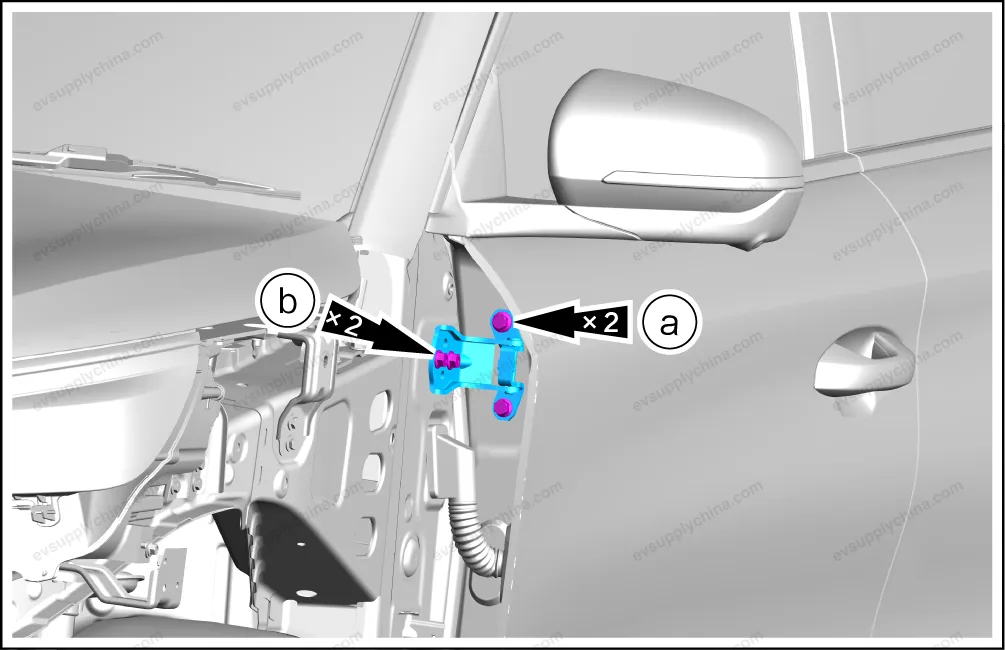
Right Front Door Upper Hinge Assembly - Removal and Installation
Removal
- Remove the right fender assembly. See Right Fender Assembly - Removal and Installation
- Remove the right front door upper hinge assembly.
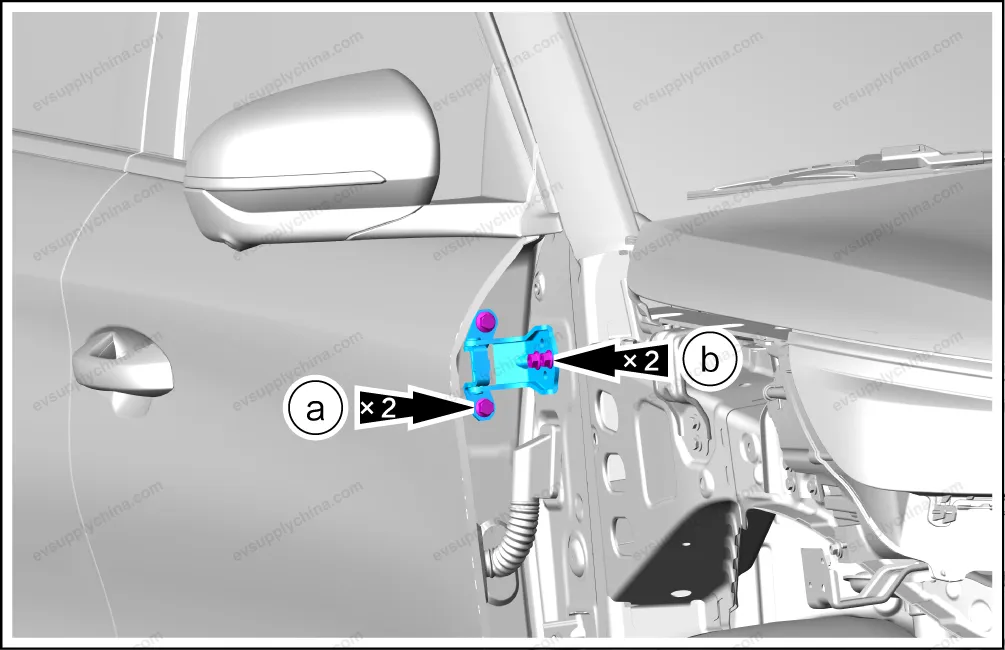
- Remove 2 connecting bolts between the right front door upper hinge assembly and the door.
- Remove the connecting bolts between the right front door upper hinge assembly and the vehicle body.
- Take out the right front door upper hinge assembly.
Installation
- The installation steps are opposite to the removal steps.
- After the installation, adjust the front door assembly. See Adjustment of Front Door Assembly
Left Front Door Upper Hinge Assembly - Removal and Installation
Removal
- Remove the left fender assembly. See Left Fender Assembly - Removal and Installation
- Remove the left front door upper hinge assembly.
- Remove 2 fixing bolts between the left front door upper hinge assembly and the door.
- Remove 2 fixing bolts between the left front door upper hinge assembly and the vehicle body.
- Take out the left front door upper hinge assembly.
Installation
- The installation steps are opposite to the removal steps.
- After the installation, adjust the front door assembly. See Adjustment of Front Door Assembly