وكالةتجاري
BYD Atto 3
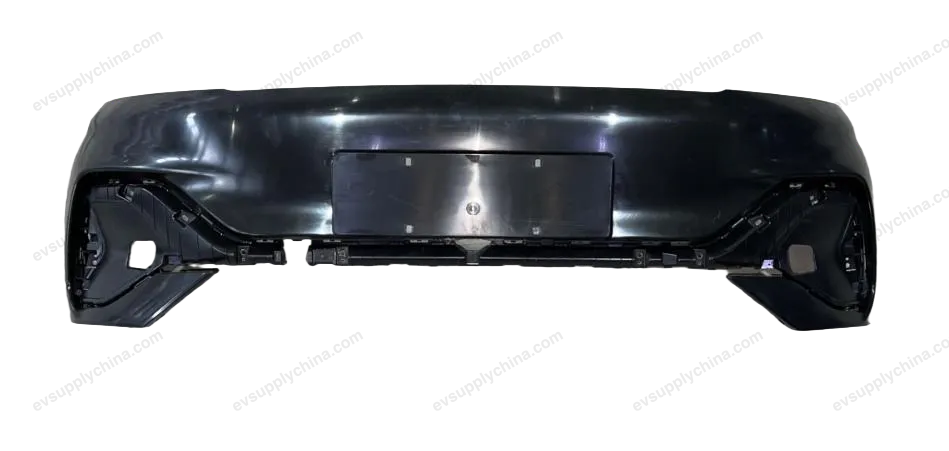
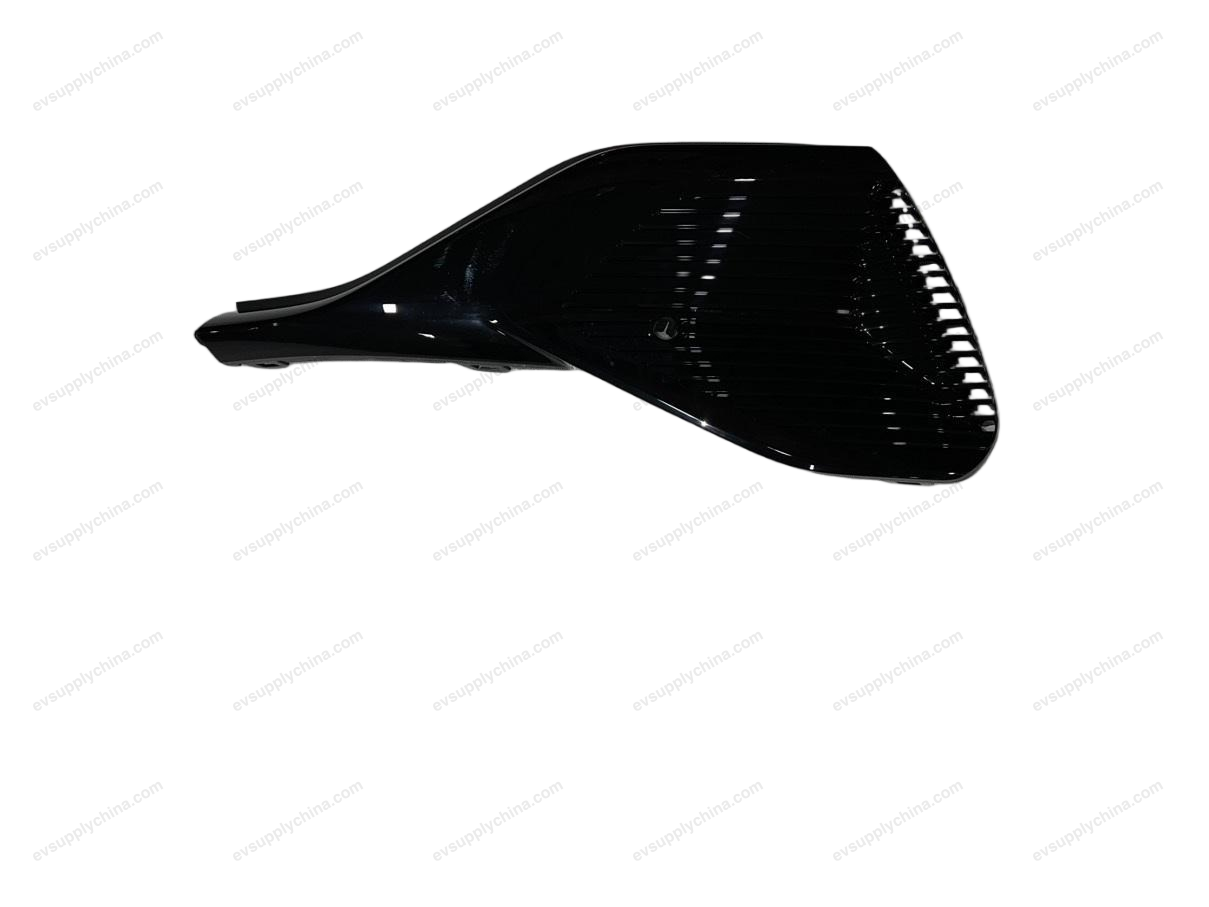
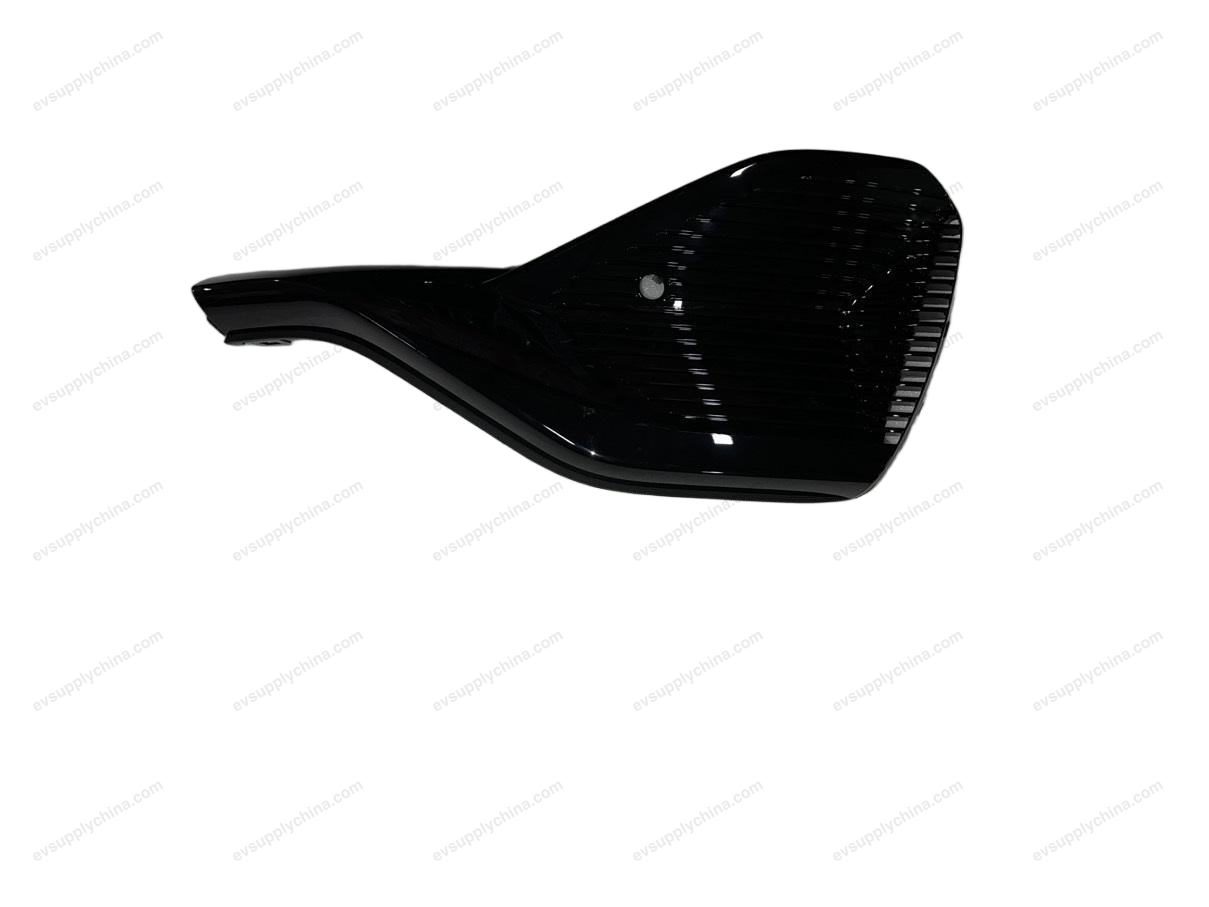
مجموعة كتيفة الدعم السفلية اليمنى للصدّام الخلفي
أكواد OE / المواد
13186484-00SC2E-2804430$8USD
متوفرالمواصفات الفنية
- موديل السيارة
- BYD Atto 3
- تكوين التوجيه
- عام (مقود يسار ومقود يمين)
- الفئة
- صدمات
الشحن والإرجاع
شحن عالمي من الصين جواً أو بحراً. التسليم القياسي 5–30 يوم عمل، السريع 2–10 أيام عمل. تحسب تكلفة الشحن عند الدفع.
نافذة إرجاع 7 أيام للقطع غير المستخدمة في عبوتها الأصلية. تواصل معنا قبل إرجاع أي قطعة.
السيارات المتوافقة — مجموعة كتيفة الدعم السفلية اليمنى للصدّام الخلفي
BYDYuan PLUS/Atto 3
2022–2025مجموعة كتيفة الدعم السفلية اليمنى للصدّام الخلفي دليل الورشة — BYD Atto 3
Rear Bumper Lower Right Support Bracket Assembly - Removal and Installation
Removal
- Remove the rear bumper assembly. See Rear Bumper Assembly - Removal and Installation
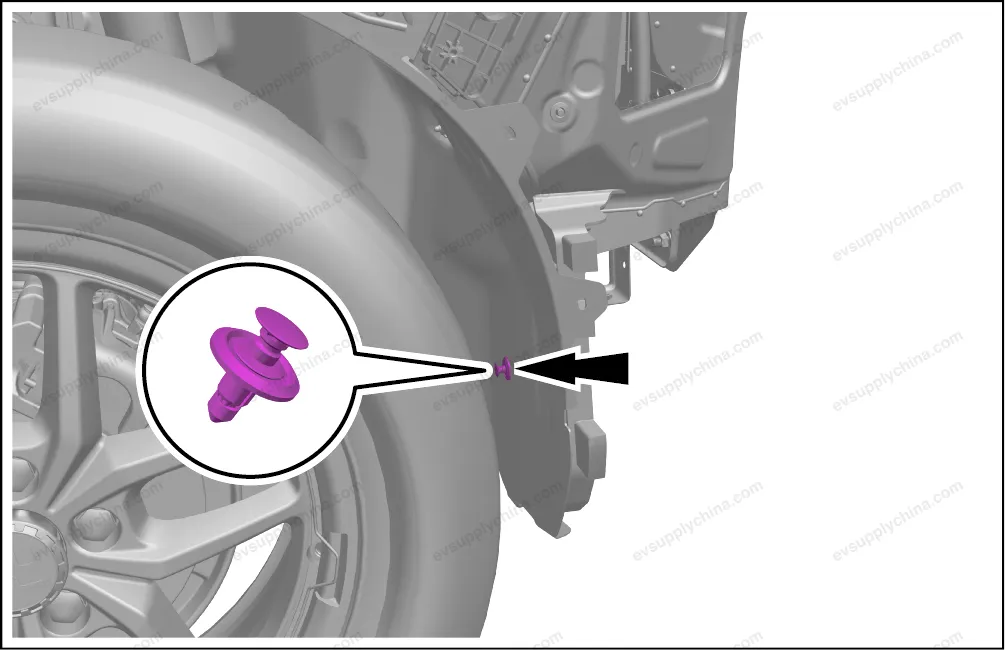
- Remove 1 fixing clip of the support bracket assembly on the lower right of the rear bumper.
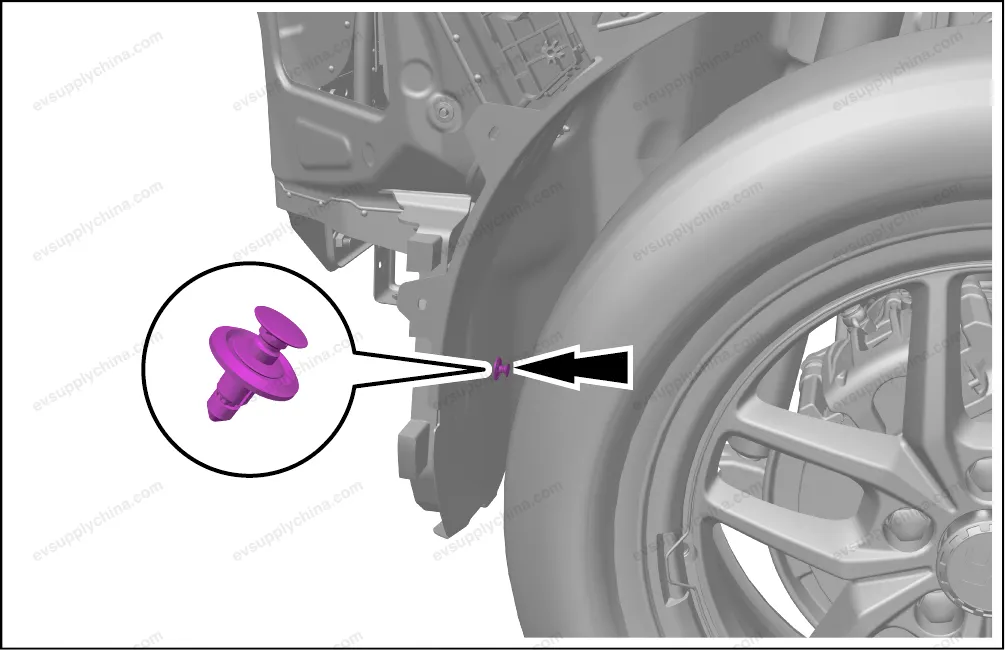
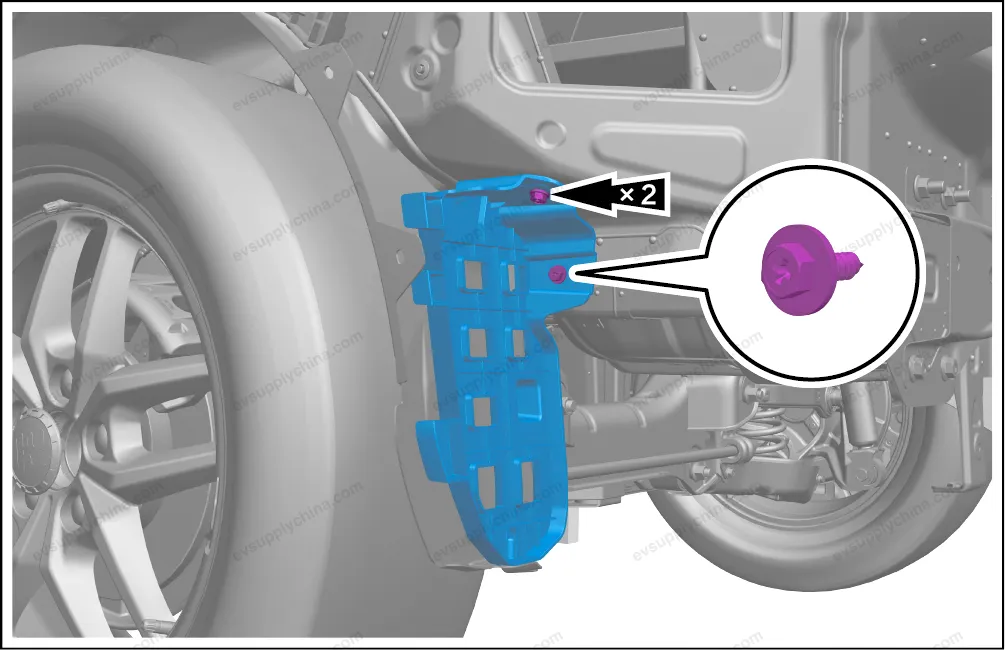
- Remove 2 fixing screws and take out the support bracket assembly on the lower right of the rear bumper.

Installation
- The installation steps are opposite to the removal steps.
Rear Bumper Lower Left Support Bracket Assembly - Removal and Installation
Removal
- Remove the rear bumper assembly. See Rear Bumper Assembly - Removal and Installation
- Remove 1 fixing clip of the left lower support bracket assembly of the rear bumper.
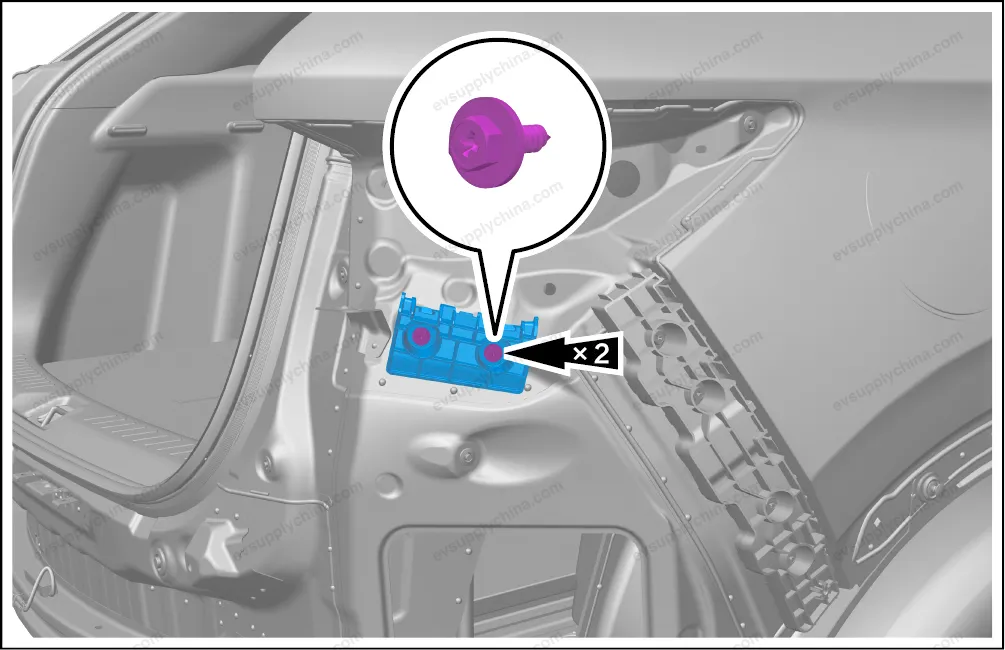
- Remove 2 fixing screws and take out the support bracket assembly on the lower left of the rear bumper.
Installation
- The installation steps are opposite to the removal steps.
Rear Bumper Right Rear Bracket Assembly - Removal and Installation
Removal
- Remove the rear bumper assembly. See Rear Bumper Assembly - Removal and Installation
- Remove 2 fixing screws from the right rear bracket assembly of rear bumper.
- Detach 2 fixing clips, and take out the right rear bracket assembly of rear bumper.

Installation
- The installation steps are opposite to the removal steps.