وكالة
BYD Atto 3
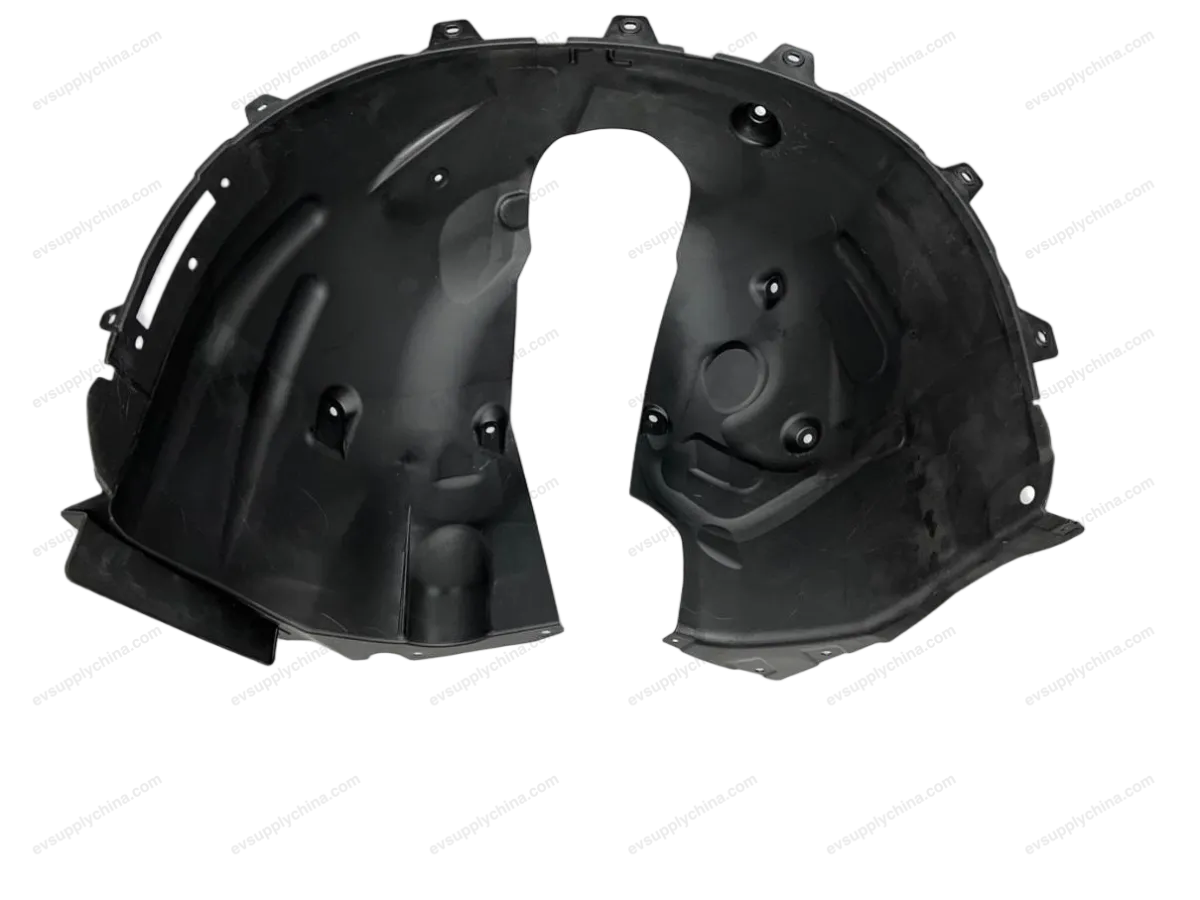
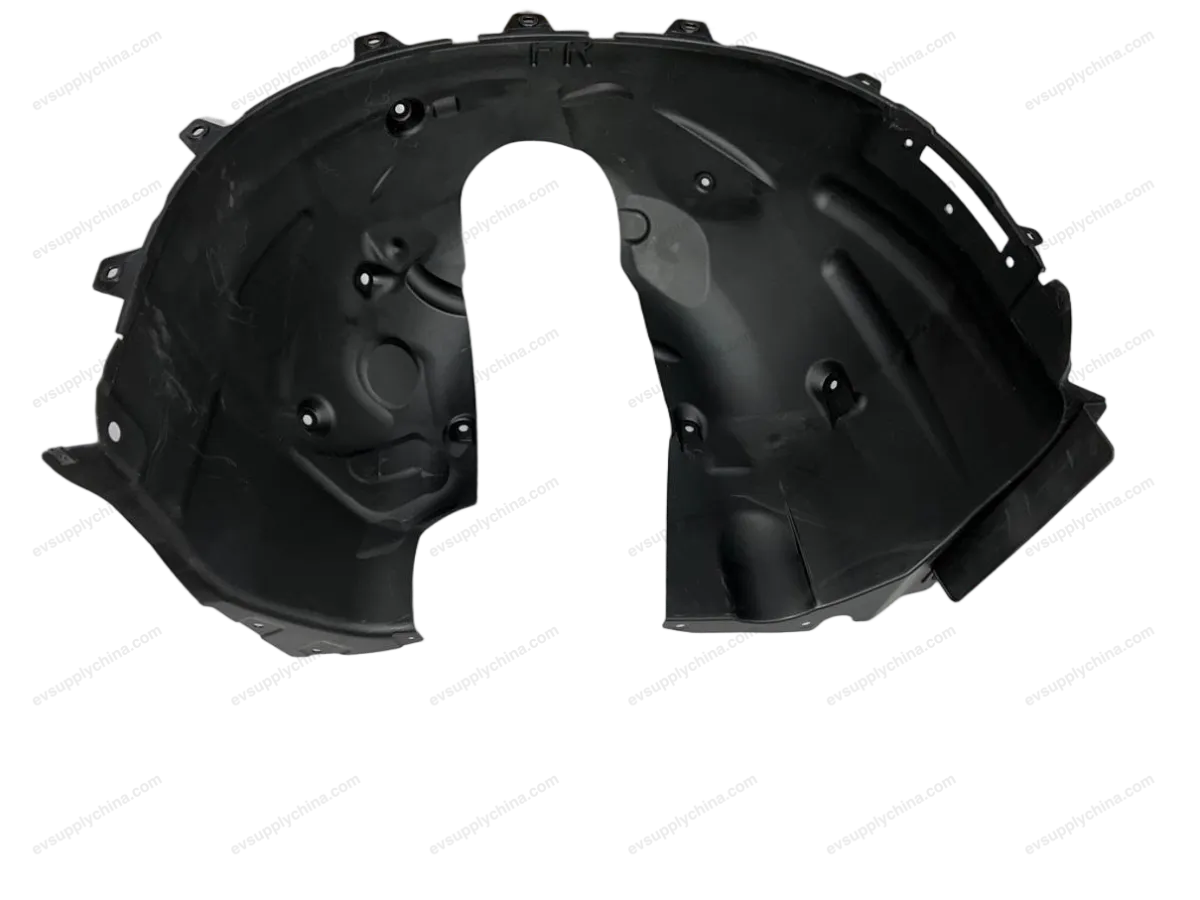
كتيفة الرفرف الخلفي الأيسر
أكواد OE / المواد
13778299-00SC2E-5301627ZQ/77السعر عند الطلبمتوفر
المواصفات الفنية
- موديل السيارة
- BYD Atto 3
- تكوين التوجيه
- عام (مقود يسار ومقود يمين)
- الفئة
- رفارف وحواجز طين
الشحن والإرجاع
شحن عالمي من الصين جواً أو بحراً. التسليم القياسي 5–30 يوم عمل، السريع 2–10 أيام عمل. تحسب تكلفة الشحن عند الدفع.
نافذة إرجاع 7 أيام للقطع غير المستخدمة في عبوتها الأصلية. تواصل معنا قبل إرجاع أي قطعة.
السيارات المتوافقة — كتيفة الرفرف الخلفي الأيسر
BYDYuan PLUS/Atto 3
2024كتيفة الرفرف الخلفي الأيسر دليل الورشة — BYD Atto 3
Left Rear Fender Bracket - Removal and Installation
Removal
- Remove the left front wheel mudguard assembly. See Left Front Wheel Mudguard Assembly - Removal and Installation
- Remove the front compartment left trim panel assembly. See Front Compartment Left Trim Panel Assembly - Removal and Installation
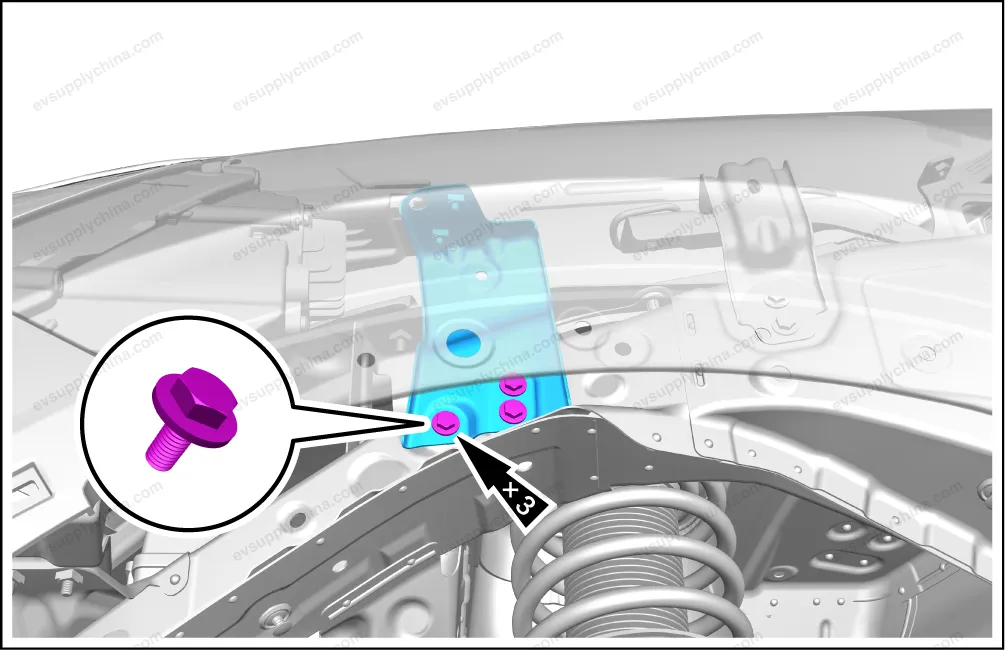
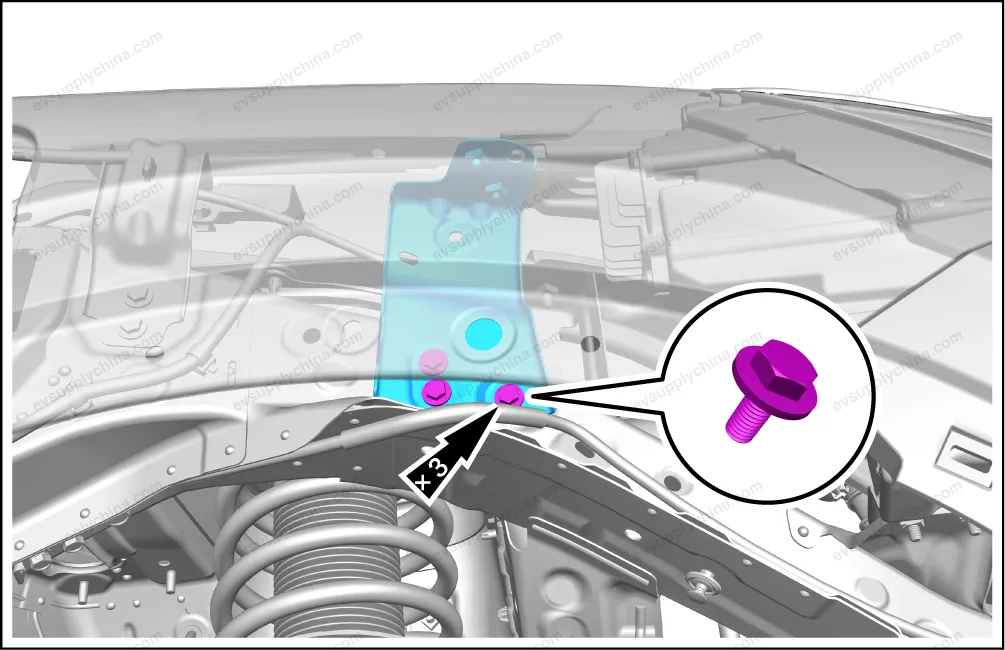
- Remove 2 fixing bolts from the left rear fender bracket.
- Remove 3 fixing bolts, and take out the left rear fender bracket.
Installation
- The installation steps are opposite to the removal steps.
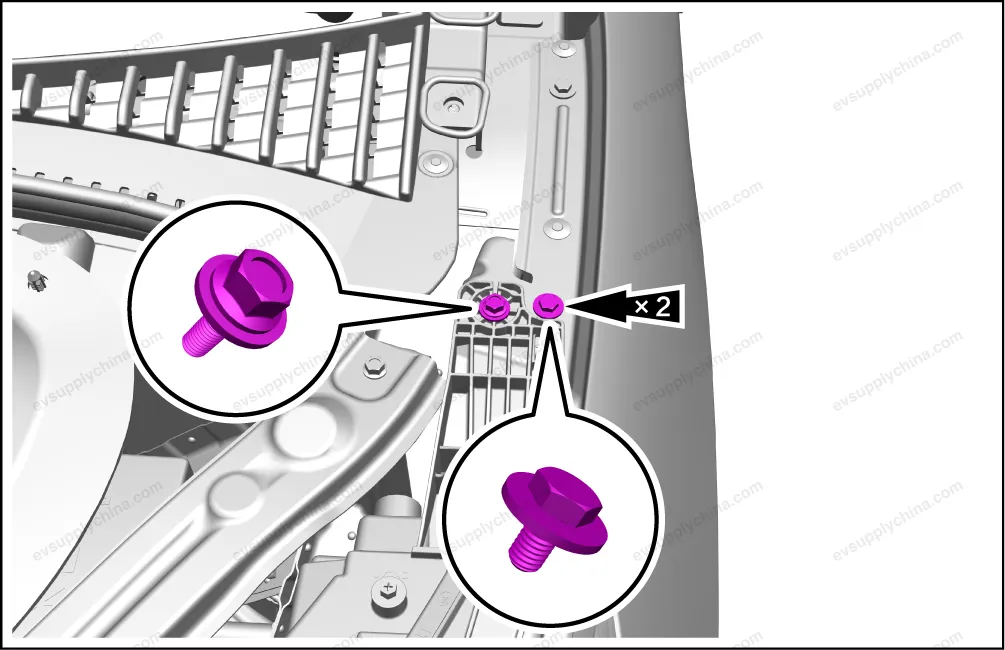
Right Rear Fender Bracket - Removal and Installation
Removal
- Remove the right front wheel mudguard assembly. See Right Front Wheel Mudguard Assembly - Removal and Installation
- Remove the front compartment right trim panel assembly. See Front Compartment Right Trim Panel Assembly - Removal and Installation
- Remove the upper fasteners from the right rear fender bracket.
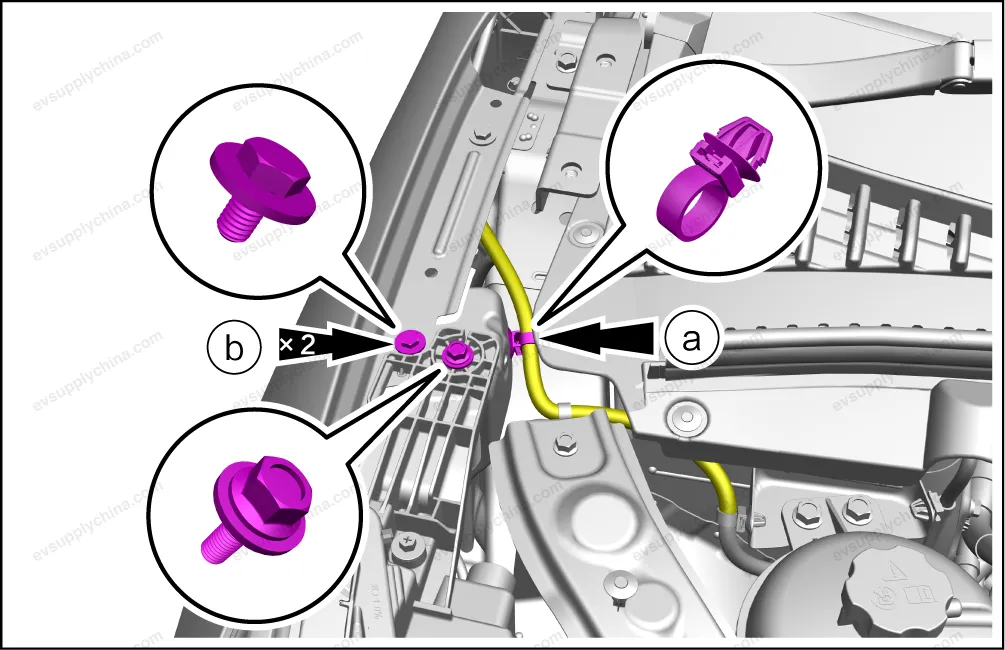
- Detach 1 wiring harness clips.
- Remove 2 fixing bolts, and take out the right rear fender bracket.
- Remove 3 fixing bolts, and take out the right rear fender bracket.
Installation
- The installation steps are opposite to the removal steps.
Upper Mounting Bracket of Left Fender - Removal and Installation
Removal
- Remove the left front wheel mudguard assembly. See Left Front Wheel Mudguard Assembly - Removal and Installation
- Remove the front compartment left trim panel assembly. See Front Compartment Left Trim Panel Assembly - Removal and Installation
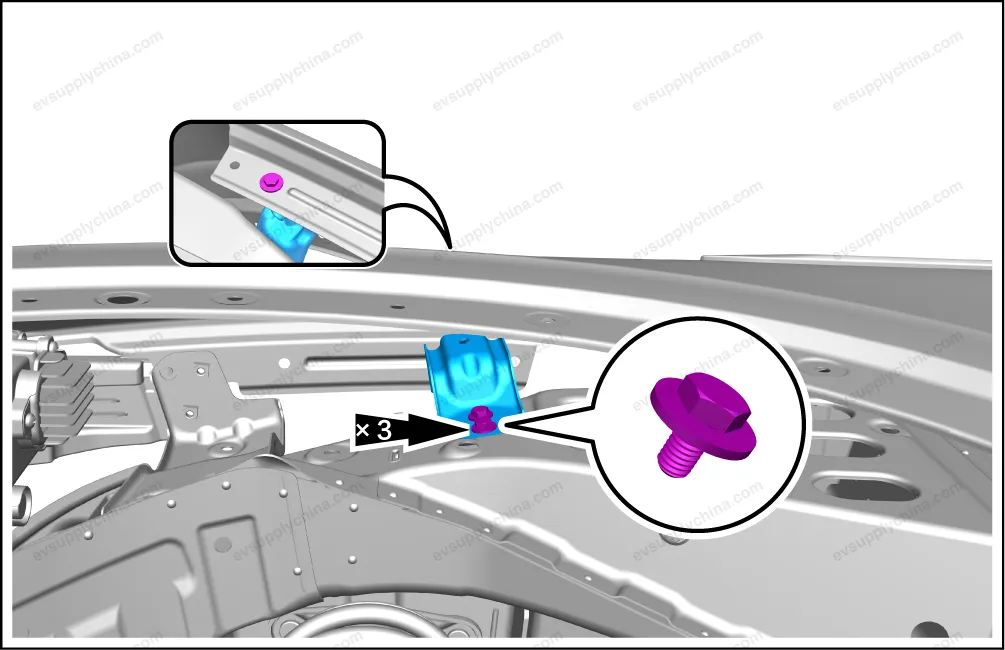
- Remove 3 fixing bolts, and take out the upper mounting bracket of left fender.
Installation
- The installation steps are opposite to the removal steps.