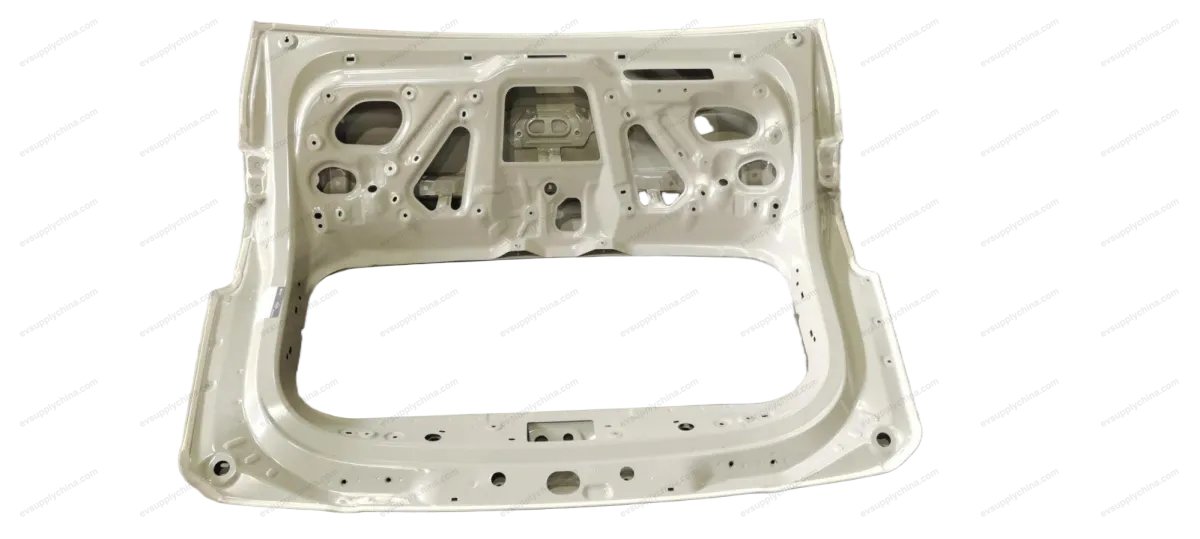
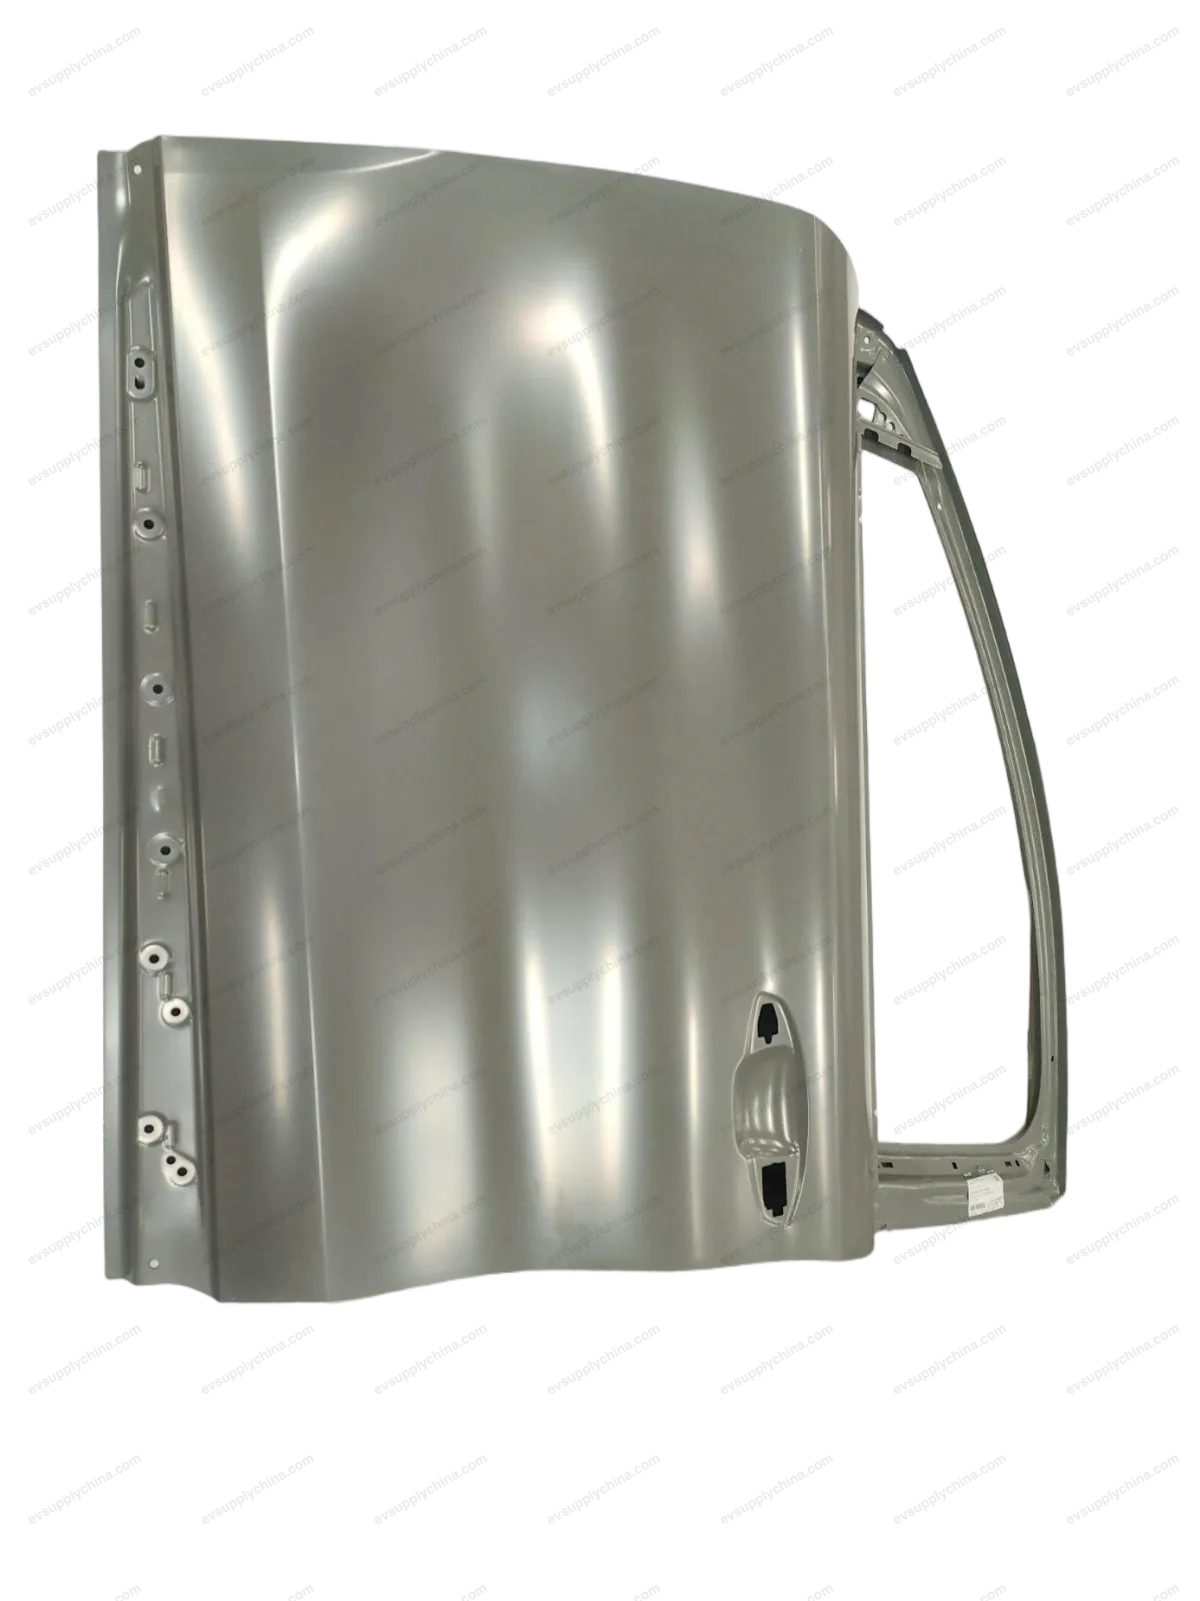
جسم زنبرك الغاز الأيسر للباب الخلفي
أكواد OE / المواد
13742240-00SC2EM-6309111المواصفات الفنية
- موديل السيارة
- BYD Atto 3
- تكوين التوجيه
- عام (مقود يسار ومقود يمين)
- الفئة
- أبواب وأبواب خلفية
الشحن والإرجاع
شحن عالمي من الصين جواً أو بحراً. التسليم القياسي 5–30 يوم عمل، السريع 2–10 أيام عمل. تحسب تكلفة الشحن عند الدفع.
نافذة إرجاع 7 أيام للقطع غير المستخدمة في عبوتها الأصلية. تواصل معنا قبل إرجاع أي قطعة.
السيارات المتوافقة — جسم زنبرك الغاز الأيسر للباب الخلفي
جسم زنبرك الغاز الأيسر للباب الخلفي دليل الورشة — BYD Atto 3
Left Rear Door Lock Body Assembly - Removal and Installation
Removal
- Remove the left rear door rear movable guide rail and mud tank assembly. See Left Rear Door Rear Movable Guide Rail and Mud Tank Assembly - Removal and Installation
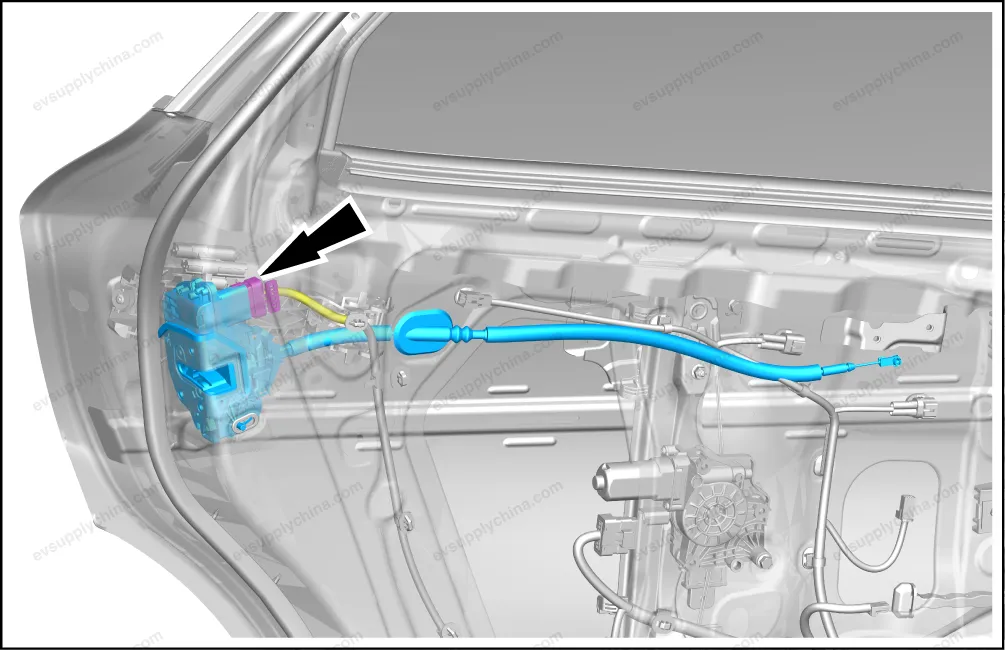
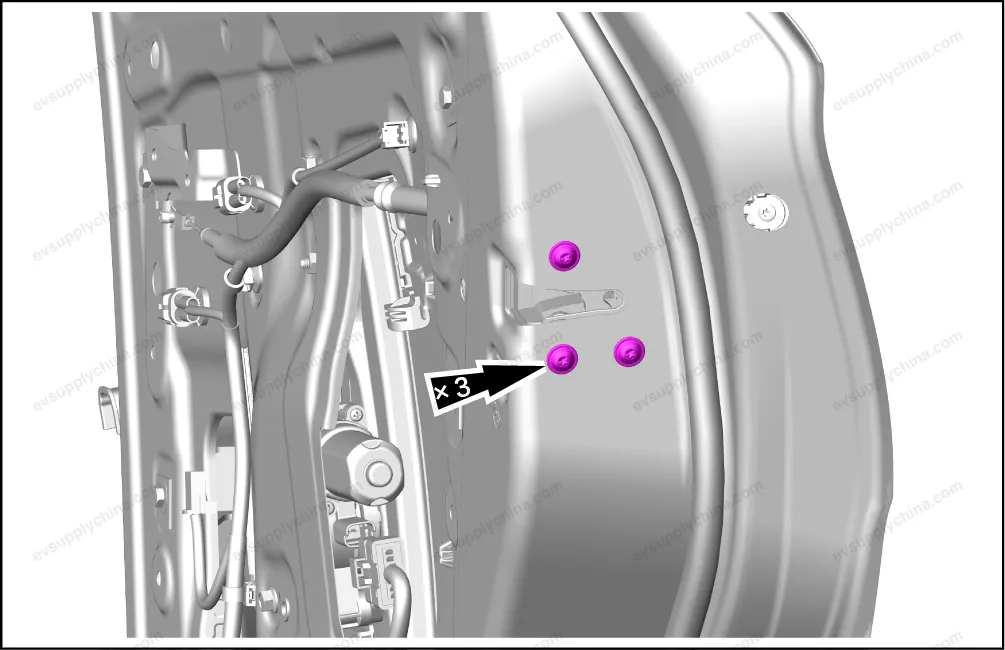
- Remove 3 fixing bolts of the left rear door lock body assembly.
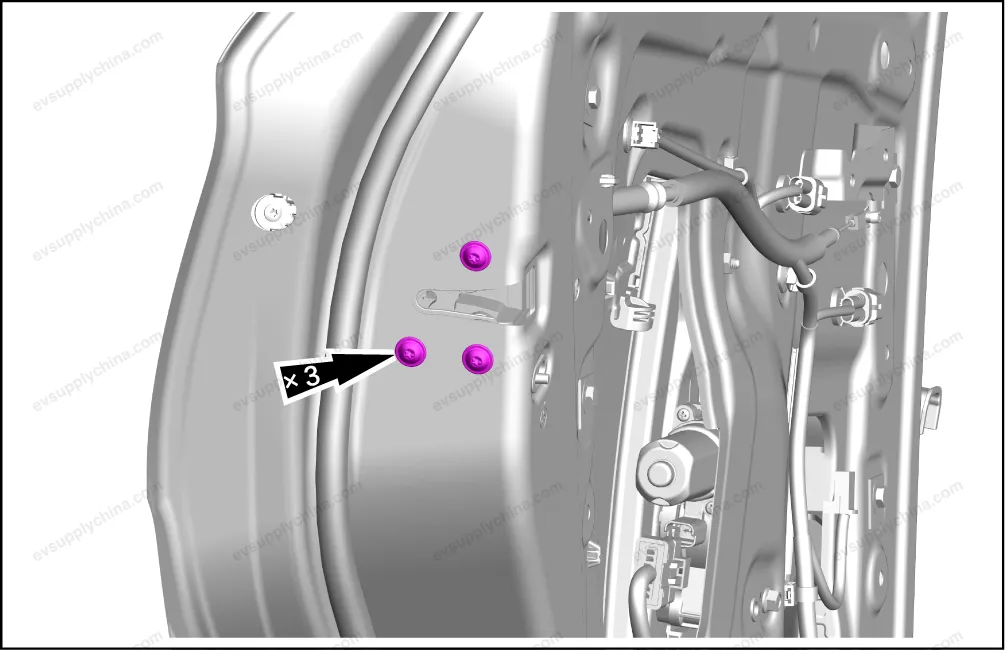
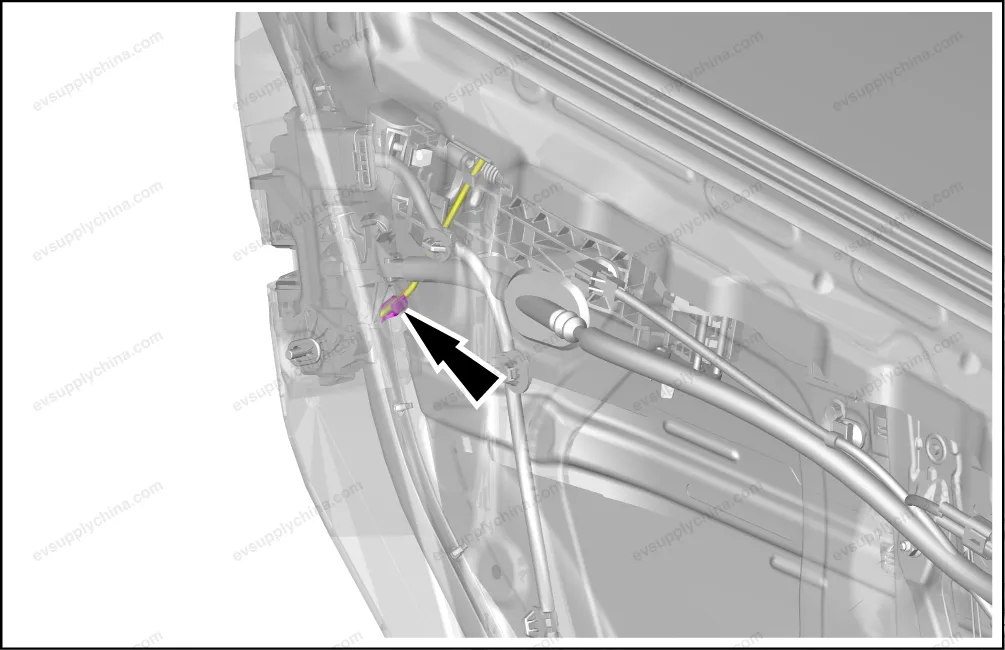
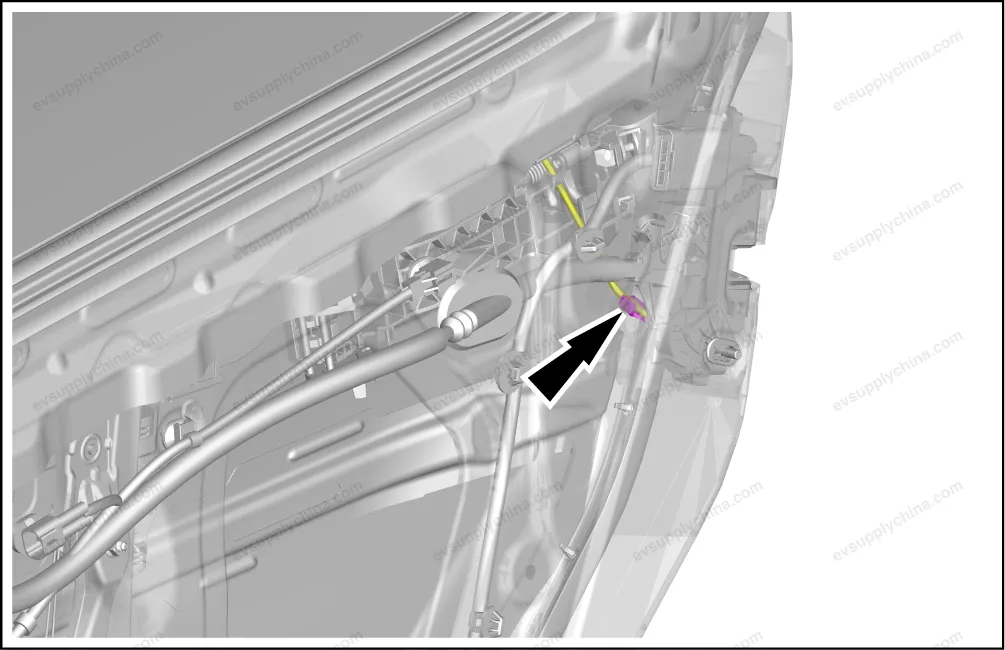
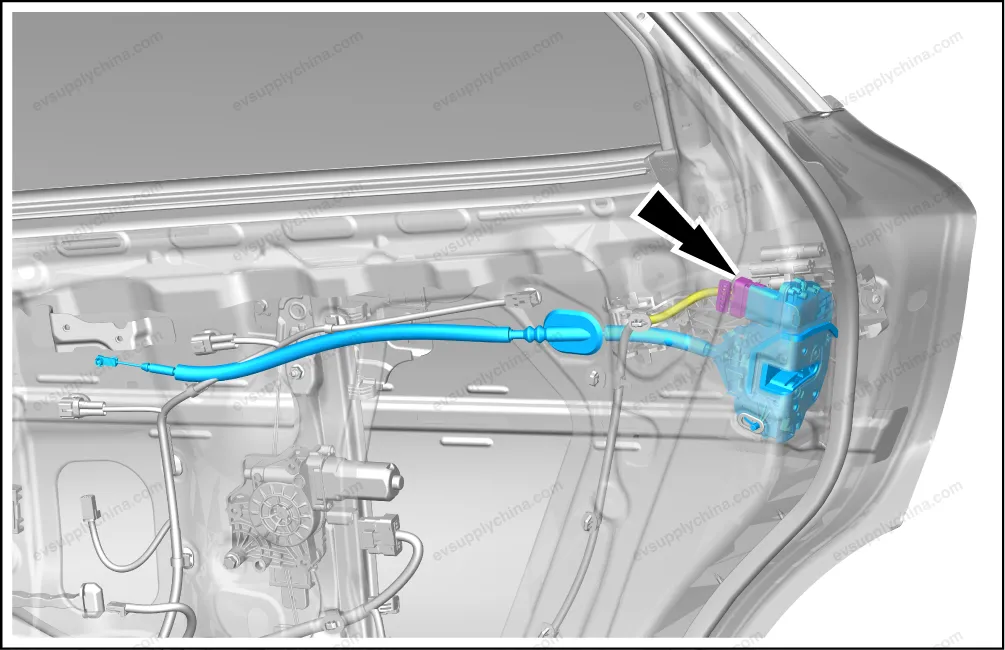
- Detach one fixing clip, and detach the left rear door lock outward-opening lever from the left rear door lock body assembly.
- Disconnect one connector, and take out the left rear door lock body assembly.
Caution To take out the rear door lock body assembly, the rubber plug connecting the rear door lock body assembly and the door shall be detached first.
Installation
- Follow the removal steps in reverse order to install.
Caution After the installation, check the functionality of the rear door lock body assembly.
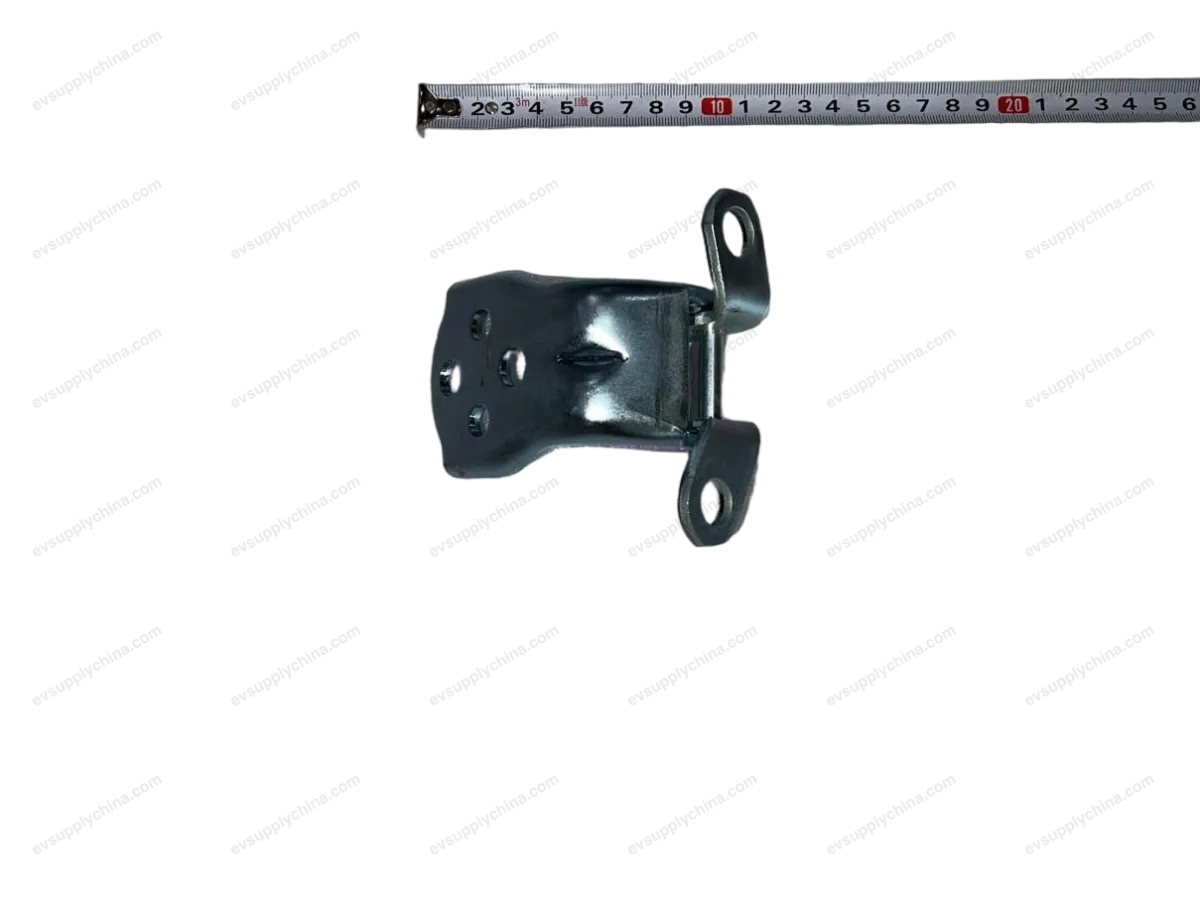
Tailgate Left Gas Spring Door Bracket - Removal and Installation
Removal
- Open the tailgate.
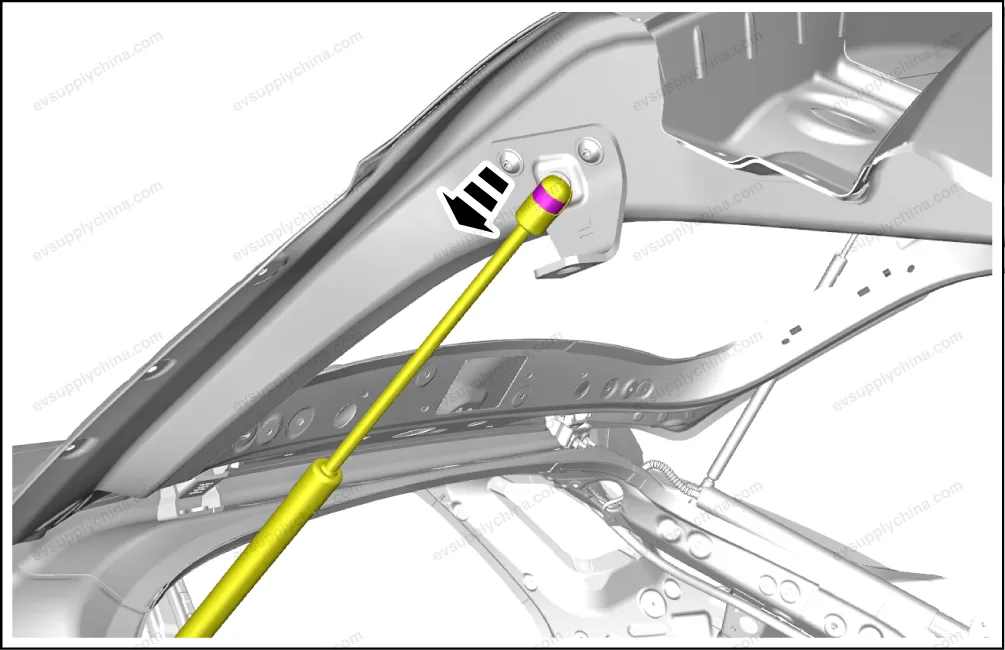
- Pry up the pin with a minisize flat-head screwdriver, and detach from the tailgate left gas spring door bracket.
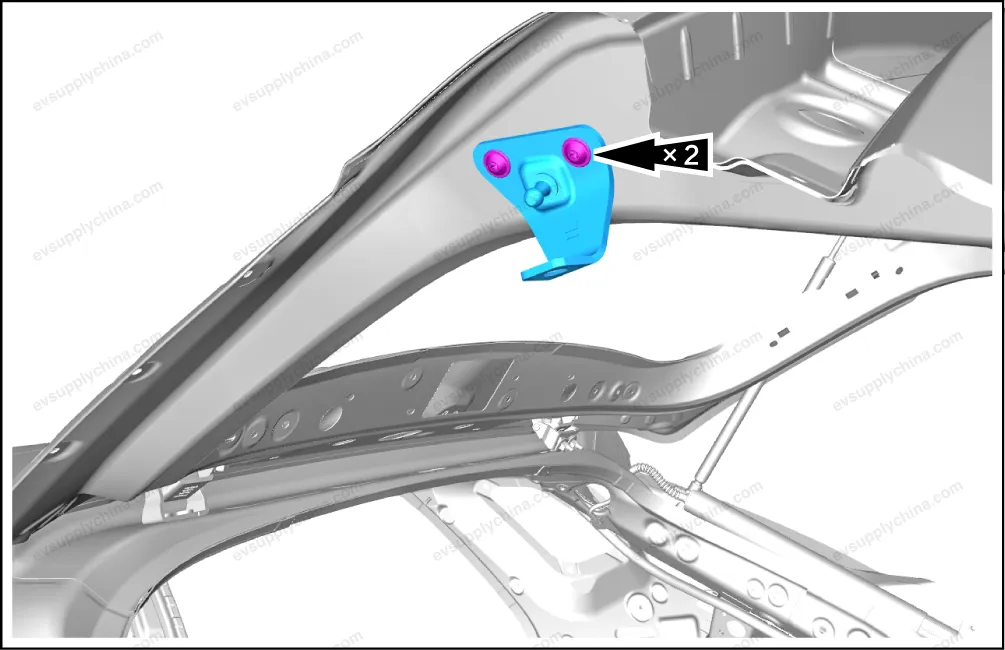
- Remove 2 fixing bolts, and take out the tailgate left air spring door bracket.
Caution When detaching the tailgate left air spring body, the help of another technician is required to support the tailgate assembly. When prying up the pin with a minisize slot type screwdriver, do not pry up the pin completely from the ball cage.
Installation
- The installation steps are opposite to the removal steps.
Right Rear Door Lock Body Assembly - Removal and Installation
Removal
- Remove the right rear door rear movable guide rail and mud tank assembly. See Right Rear Door Rear Movable Guide Rail and Mud Tank Assembly - Removal and Installation
- Detach one fixing clip, and detach the right rear door lock outward-opening lever from the right rear door lock body assembly.
- Remove 3 fixing bolts of the right rear door lock body assembly.
- Disconnect one connector, and take out the right rear door lock body assembly.
Caution To take out the rear door lock body assembly, the rubber plug connecting the rear door lock body assembly and the door shall be detached first.
Installation
- Follow the removal steps in reverse order to install.
Caution After the installation, check the functionality of the rear door lock body assembly.